Tutorial – How to paint Victory Star Destroyers for Star Wars Armada
This post is a tutorial guide for quickly re-painting your Star Wars Armada Star Destroyers. The Fantasy Flight paint job is basic and pretty dull. The imperials seriously need some more variety!
I had a couple of VSDs form the core set that I’d undercoated and were hanging around in my painting backlog. I finally got inspired to paint them after I bought a set of Armada stuff on eBay which contained a couple ships that had been painted in a particular style. I thought that I’d like to test out a similar style myself.
Painting objectives
I had a couple of specific goals in mind:
- To come up with a paint job that was quick and easy, using extensive dry-brushing
- To add enough additional details to bring the models to life
I planned to use dry-brushing to highlight the models, rather than doing any blending. The blue and grey rebel ships that I painted earlier this year took ages to paint, so I wanted to try a different technique.
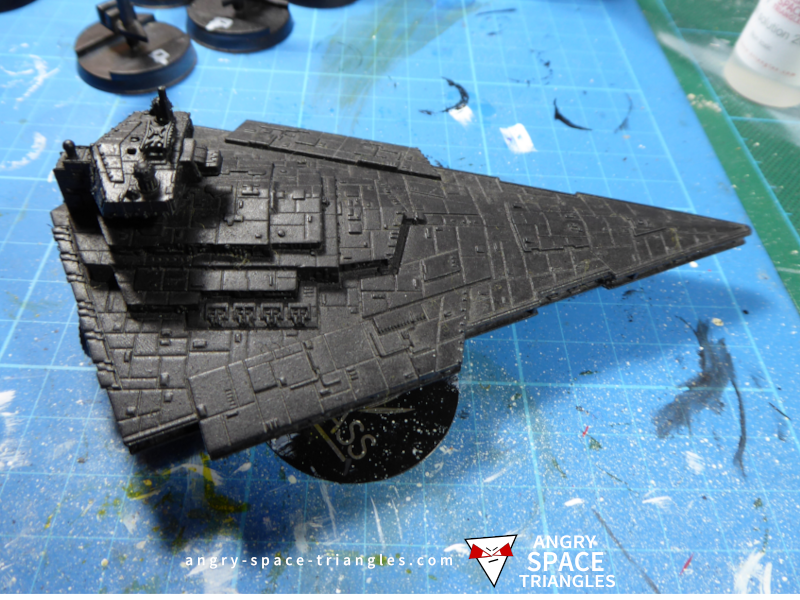
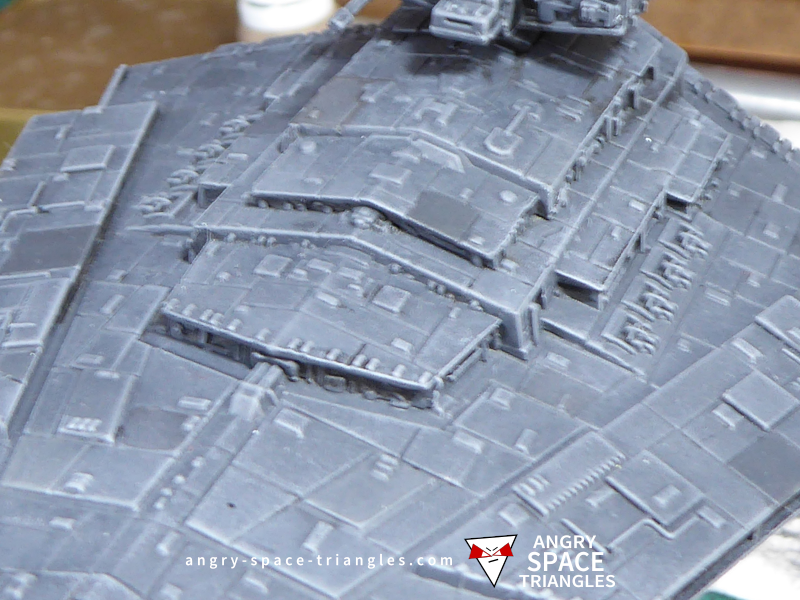
VSD undercoated in black
Undercoat in black
I currently use a back spray primer that’s cheap – it’s Plastikote spray black in Matt. I bought it for just less than £6 in feb 2020, now its over £10, 6 months later. It does the job.
Going forward, while its over over £10, I will buy the GW or Army painter spray primers instead as the price difference is so much less at the moment.
As you can see from the photo, the undercoat is a little patchy, but that didn’t matter at all when it came to applying the base coat – it went on fine.
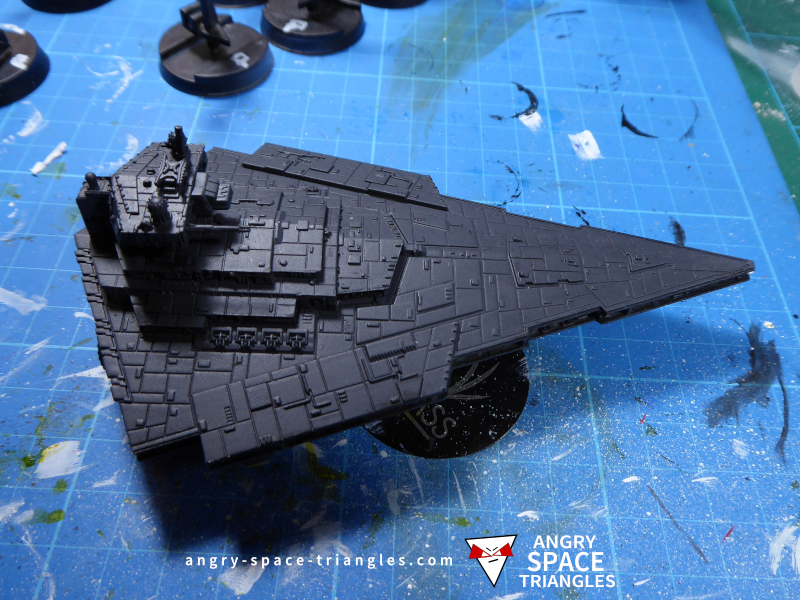
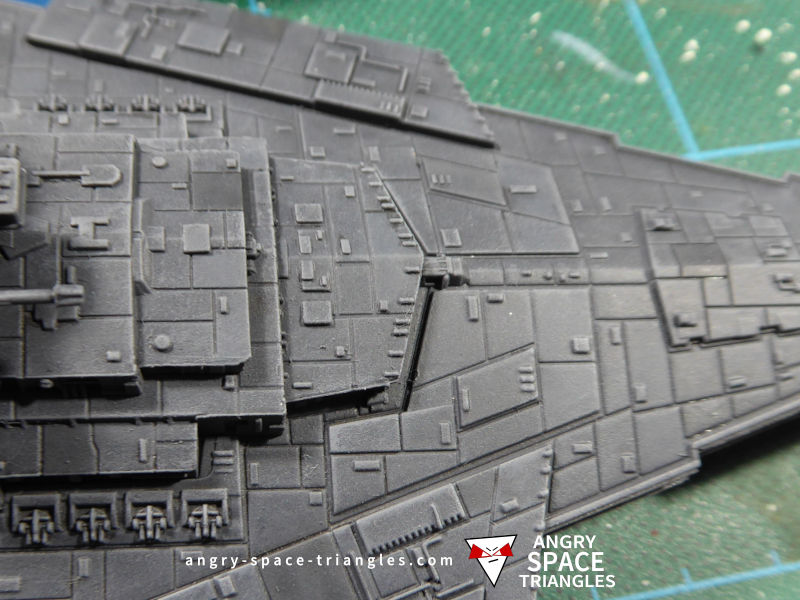
After a base coat of dark grey
Base coat in dark grey
I chose to use a simple dark grey here – just black with some white . For the second Victory Star Destroyer, I used Games Workshop’s “Skavenblight Dinge” as the base. You could just mix some red, green, blue or whatever colour you want into the black/grey to give a slight tint. Be careful you remember what you use a as the base coat because you are likely to need to make up several batches over the course of your painting (it will be used as the basis for making highlight tones later in the painting). The advantage of using a ready-made colour like Skavenblight Dinge is that it saves time and error in making up the base colour.
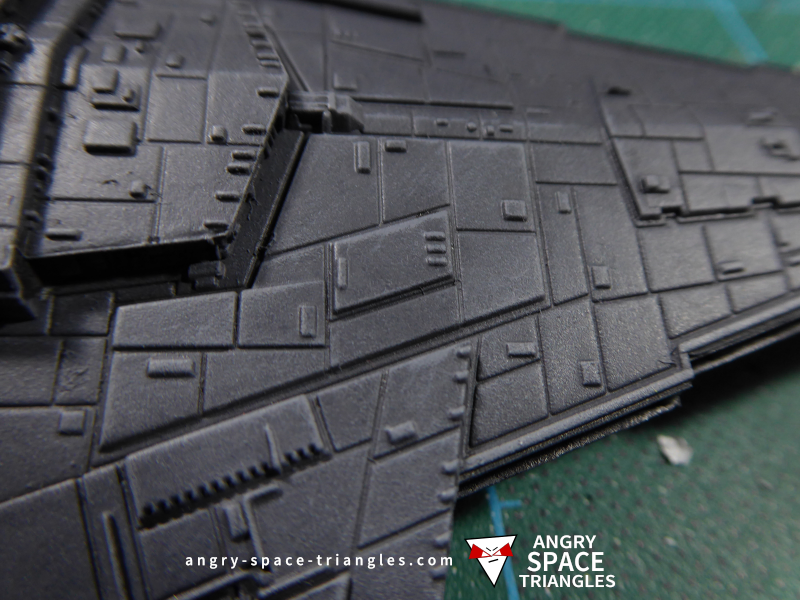
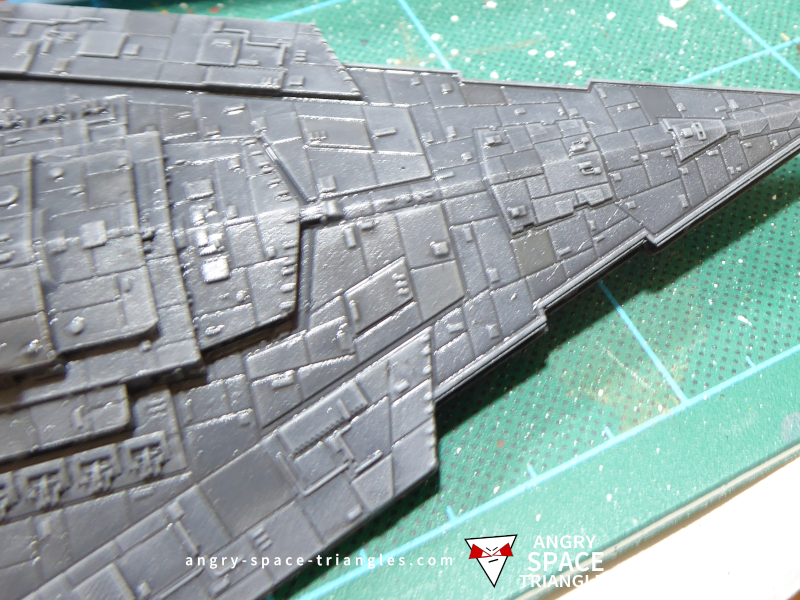
Beginning the dry-brushing in dark grey
Beginning the dry-brushing in dark grey
Beginning the dry-brushing in dark grey
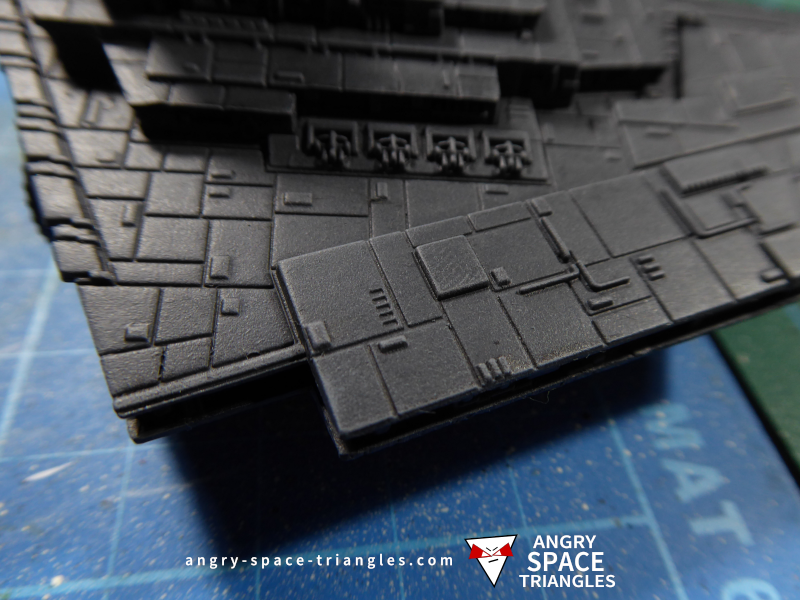
Building up the highlights in many coats

Compare the work-in-progress to another undercoated Victory Star Destroyer
Layers of Dry Brushing
Next, I began applying multiple layers of dry-brushing – starting with a very grey and adding in some white to lighten the tone with successive coats.
It’s worth being patient here – while the dry-brushing is pretty tedious, it’s also easy and doesn’t require much attention. Spend the time building up the layers, rather than giving into temptation and going too bright too quickly.
Tip: Dry brush sizes
During the month or two that these guys have been sitting on my painting desk I acquired a couple of “new” brushes. One of these was a big and soft Games large shade brush. It worked really well as a dry brush and speeded up this stage of the painting quite a bit. It’s worth noting though, that this brush is not subtle – paint would often be hiding away inside the brush and you could get left with big streaks across your model. This was OK in the end as they introduced a kind of natural chaos to the paintwork.
Using smaller brushes makes the whole exercise take much longer. I tended to start with a big brush and move onto a smaller brushes the brighter layers where you want smaller areas to be painted.
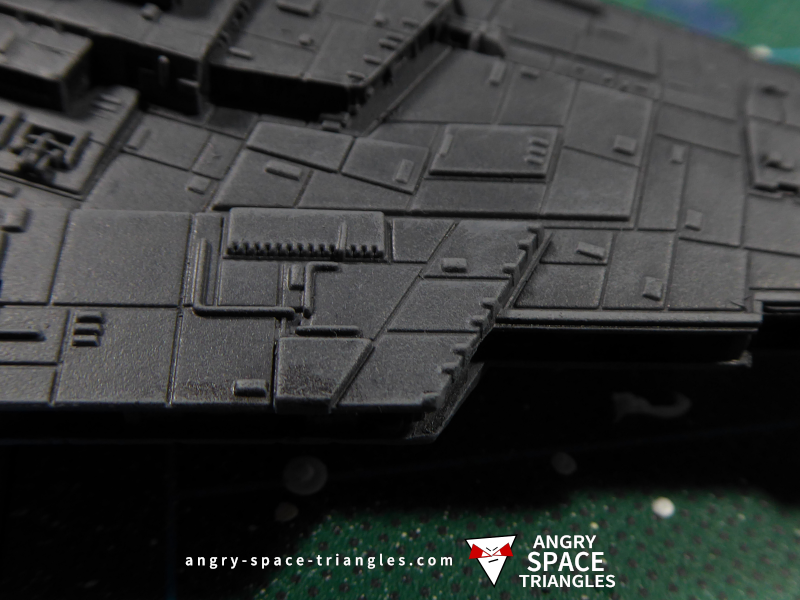
A few glazed panels
Different panels are visible from different angles
From another angle
Glazing some of the hull
The next thing I did was to experiment with the creation of some panels on the ship that had different colour tones. I used some darker shades of paint, diluted with a glazing medium (like Games Workshop’s Lahmian medium) and water. I applies numerous coats to slowly bring up the tone. You can see the darjer panels in the photos.
Nb – I sell my own glazing medium on eBay – it doesn’t contain drying retardant like GW’s; this help here as you can quickly apply many coats quickly.
Too early?
In hindsight, I now think I did this glazing too early; the tones were quite subtle already but became even more subtle after I applied a wash to the whole miniature!
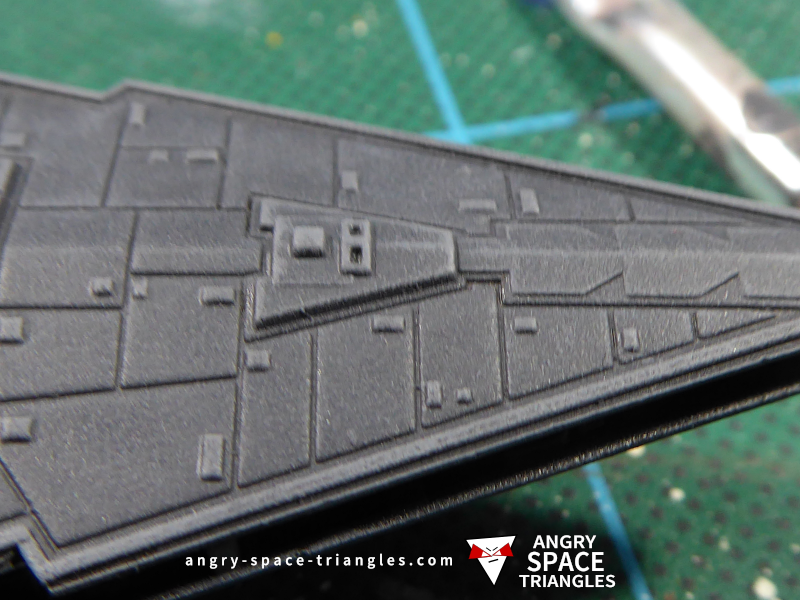
The Star Destroyer after a wash of Nuln Oil
Washing the whole VSD
At this point, I decided that the model looked way to bright, and that the glazed panels needed to be blended in with the base colours a bit. I applied a slightly thinned coat of Nuln Oil to the whole model.
This really helped add some depth to the shadows but also toned down the dry-brushing quite a bit. It did help blend in the colour transitions between the base coat and dry-brushing highlights.
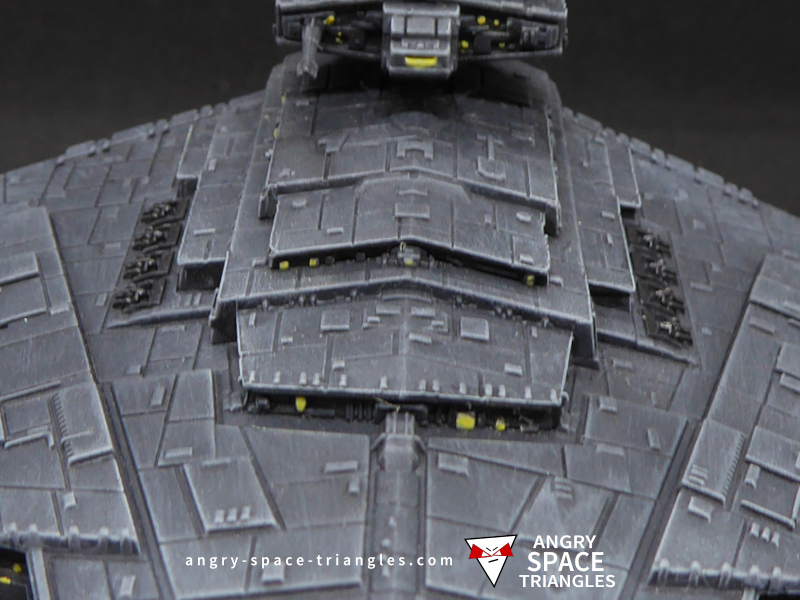
Painting some ship lights

Close up of the lights
Putting the lights on!
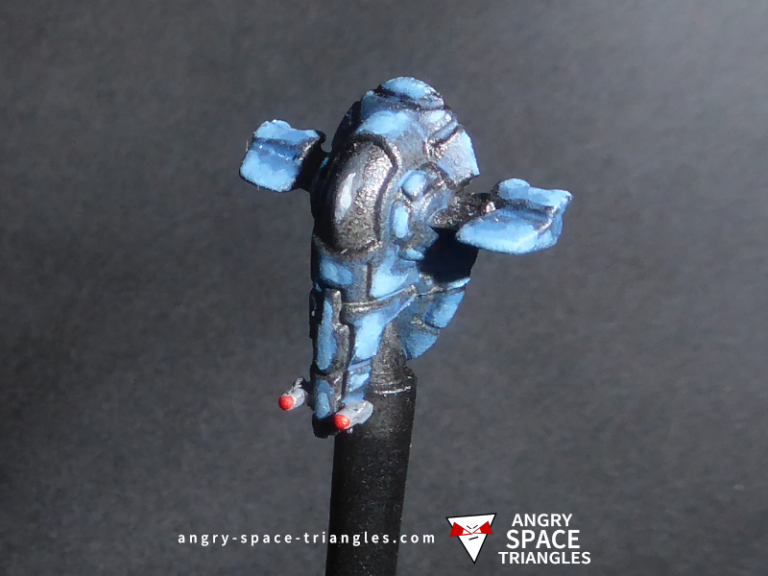
A simple way to add life to the star destroyers is to paint on some spots of bright colour to simulate lights coming out of windows. I used a mix of white and one of GW’s yellows. You want a very pastel colour. This can be done in two passes or just one; if you do two passes you can add two tones of lighting which adds some depth.
You can also drybrush on some of the pastel yellow colour around the lights – I attempted this but was afraid of screwing up the previously added grey dry-brushing, so didn’t do much and gave-up pretty quick.
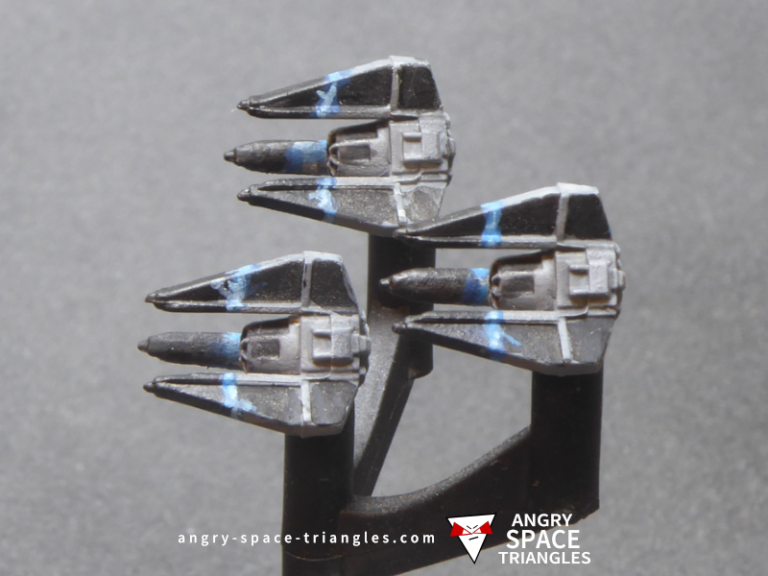
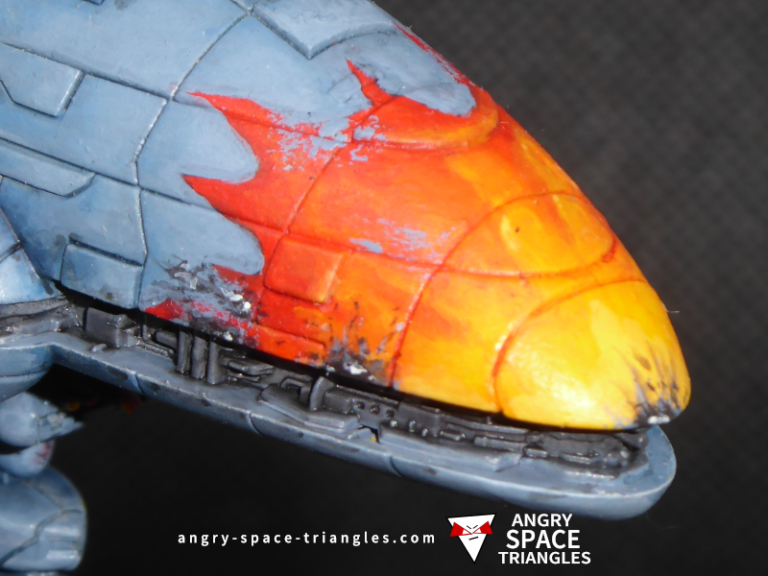
Painting the Engines
I didn’t take any good photos of the paining of the engines. The default paintwork by FFG is rubbish and benefits from some attention.
While engines don’t sound interesting or important, they are an area that can really help make a model stand out – colour wise, they are hight contrast compared to the grey hull.
Go through the usual steps – base coat in light blue, wash, and then highlight. It can really help to be patient and build up highlight tones. I often use glaze medium in areas like this.
In the end, I wasn’t overly pleased with the results, but I didn’t want to spend ages on them.
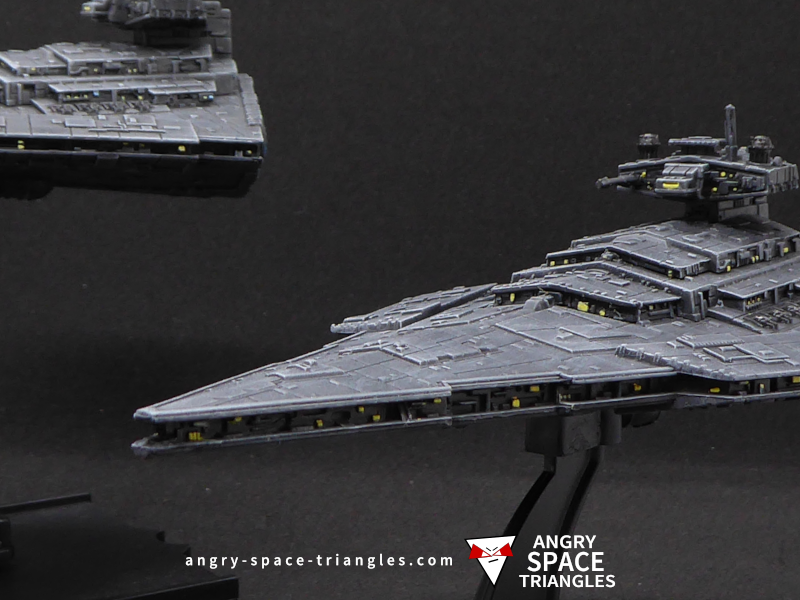
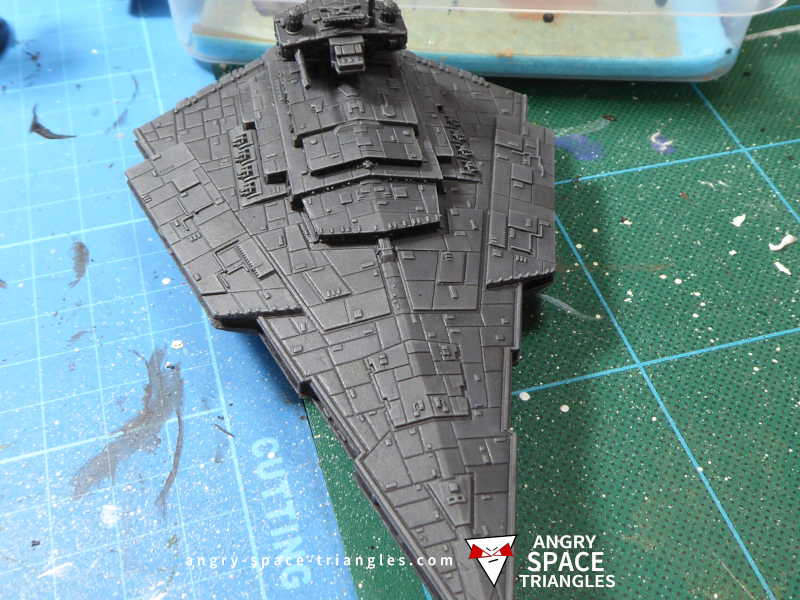
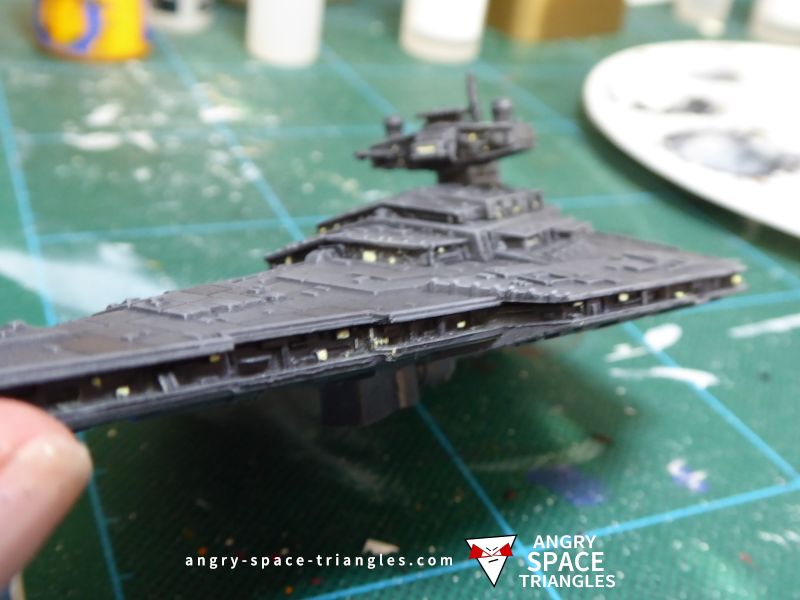
Close up of the finished Star Destroyer
More dry-brushing and final touches
I left the model for a few weeks, considering it don and got on with other things, including the second Victory Star Destroyer. As I neared the completion of this second VSD, I realised my first victory looked a bit too under stated (as is my style). I did two things.
1. I applied a few more coats of dry brushing in grey. To speed tings things, I used a much bigger brush than before.
2. I painted the turbo lasers; first in black, and then highlighted using a mix of black and a metallic silver (bolt-gun metal, I think)
The photo on the right shows the final results.
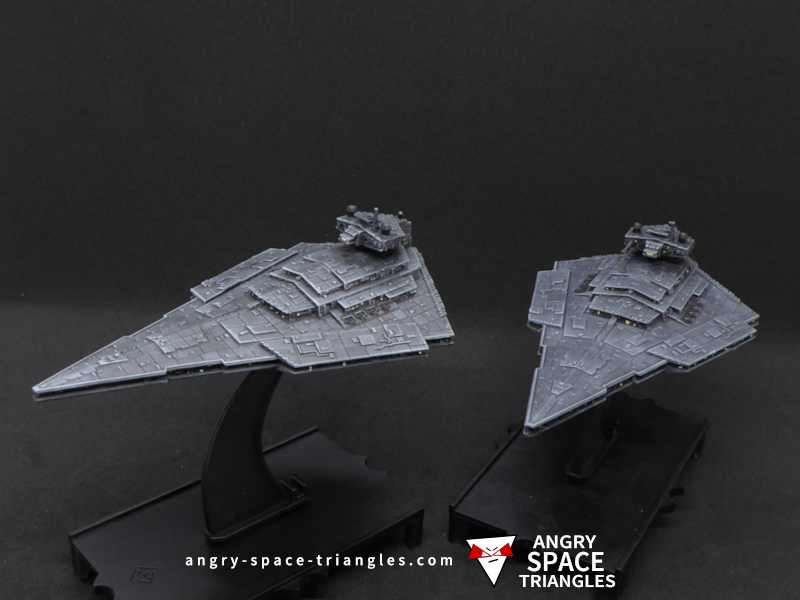
Two finished Victory Star Destroyers painted using this method. The second model was based in Games Workshop’s “Skavenblight Dinge” mixed with some grey.