How to Quickly Paint Rebel Fighters for Star Wars Armada
This post is a tutorial guide for a method for quickly painting Rebel Fighters that I developed this year during some down-time.
You can see the finished finished squadrons in another post.
A finished X-Wing
Painting objectives
Speed
Sometimes, I need to paint up Star Wars Armada squadrons that I’ve bought in collection on ebay where the exiting paint work isn’t good enough for me to sell them on. If i’m to paint them up myself, then it must be done quickly otherwise it’s not worth my while.
In this painting method, I aimed to re-use as many colours as possible, for example, a black wash is used for different purposes on the B-Wings, Y-Wings and X-Wings.
For reference, it took approximately 3 hours to paint 2 A-Wings, 2 Y-Wings, 2 B-Wings and 4 X-Wings.
A good standard
Models must be painted to a reasonable standard for a couple of reasons. Firstly, if anyone is going to buy them and pay more on top of what is already an expensive hobby, the models need to look good. That said, a balance must be struck between quality and speed: as spending a long time isn’t worth it as the market for expensive painted models is small to non-existent.
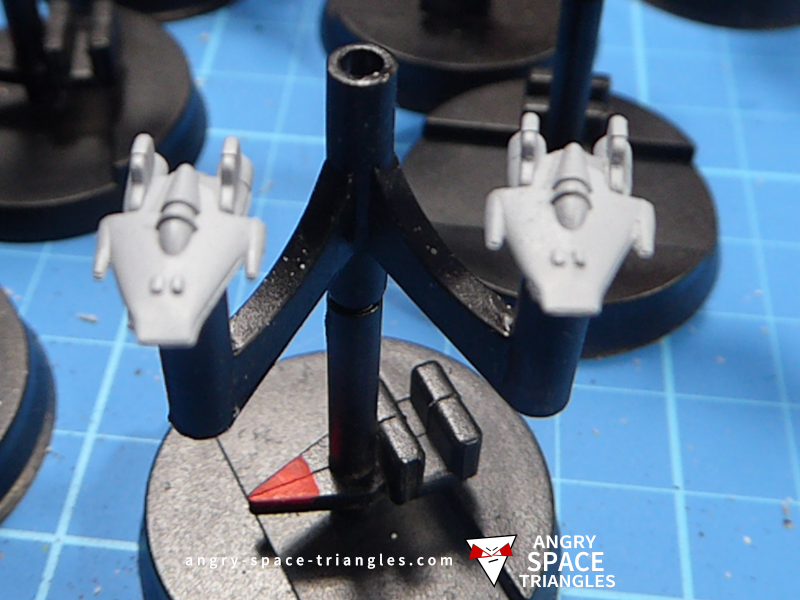
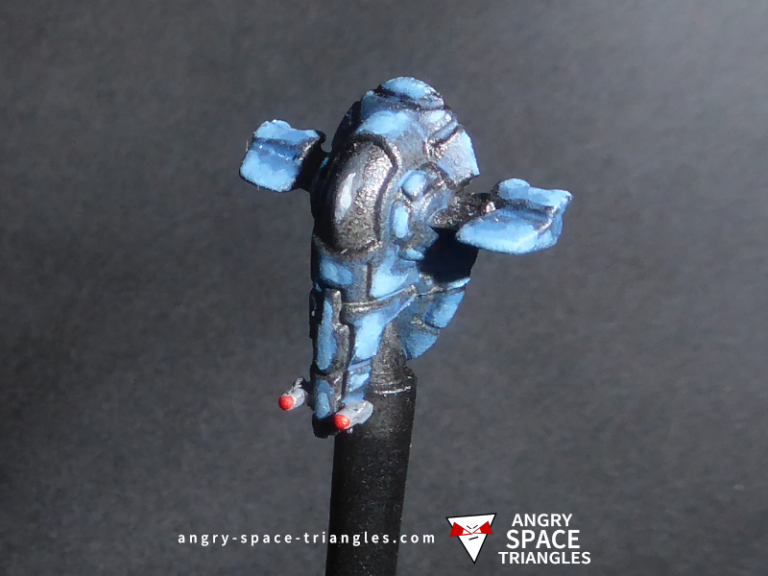
A stand of undercoated A-Wings
Prep & undercoating
When I took these photos, I didn’t bother to clean up the models since it takes time that I was not willing to spend. However, for your own collections, I recommend removing an excess plastic, on the X-Wings especially.
I used a Wilko’s grey spray primer to undercoat a whole load of Rebel fighters in one session; this included – fighters from expansion 1 and 2, and some X-Wings from the core set.
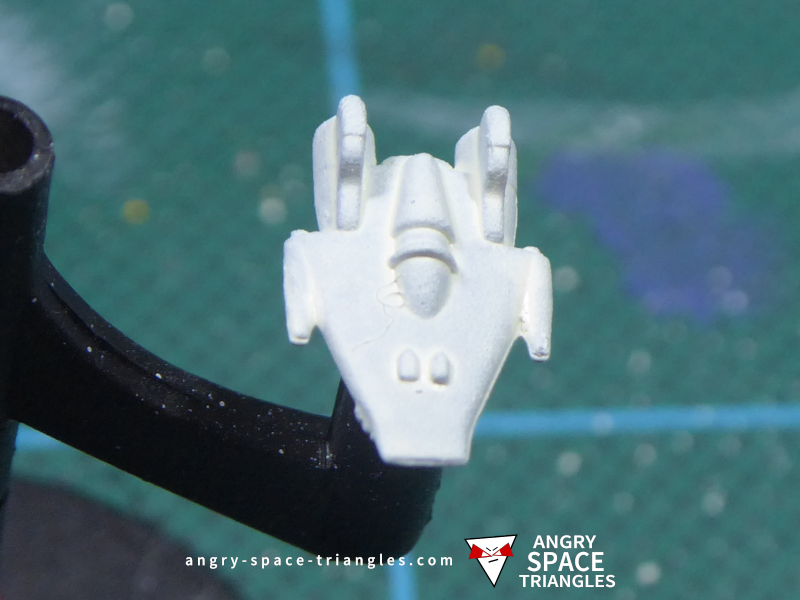
After a base coat of ivory and white
Apply a base coat
After the undercoat, the next step of is to quickly apply a base coat to all the models. This can all be done using I single colour – I used Vallejo’s Ivory mixed with a little white, and a little water. You might need to do two coats, so be aware of what order you do your models in so you can return to the first ones to do a second coat, as they’ll be dry first. You can work quickly doing this; use a reasonably big brush to help got it as fast a possible.
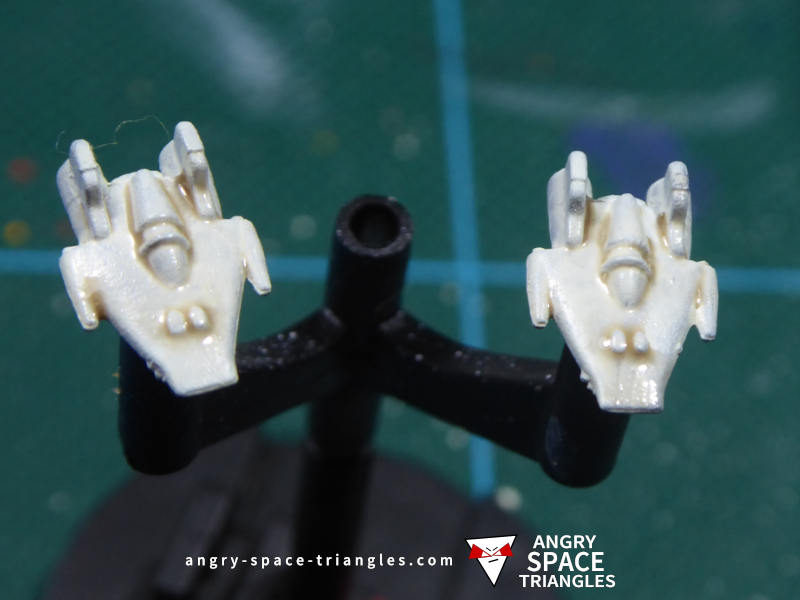
After an initial wash
Apply a shade or two
Once the base coat is dry, the next step is to apply a shade (a.k.a. wash) of a brown colour. I used Games Workshop’s Agraz Earthshade for this, diluted 50/50 with a flow aid (I sell this on eBay).
Flow aid
The flow aid is important as it ensures that the wash flows into the corners and as little as possible remains on the main surfaces. This helps stop leaving odd ring-like patterns on the surfaces, making the model look ‘dirty’.
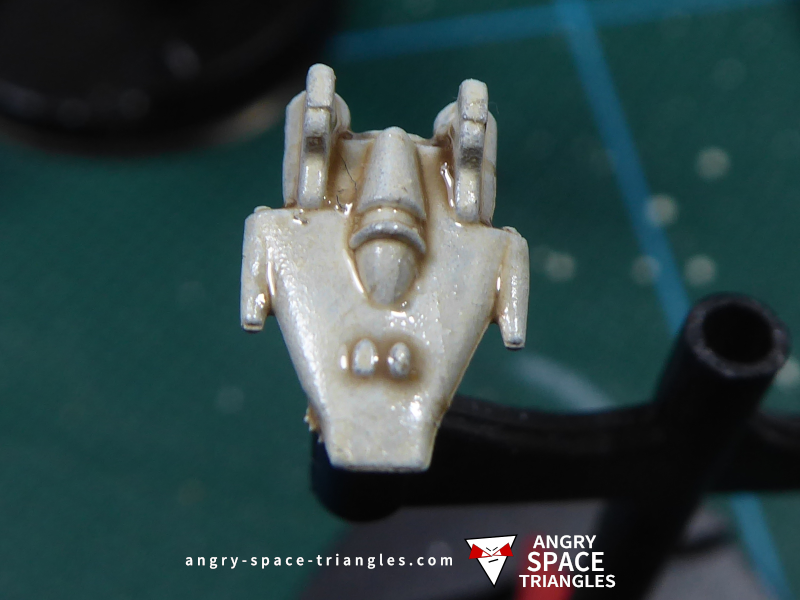
After a second wash
Washing tips
You can work quickly and cover a whole set of 8 stands in 5 to 8 minutes. You don’t want to leave loads of wash on the model, so pull the wash into the corners and draw it back up into the brush if you put too much on. That said, if you dont apply enough you might not have a dark enough shade to add effective depth to the paint work.
Note, that if you do more than one coat you can use different colours for subsequent coats. Start with a lighter colour and move to a darker one for the second wash; usually i make the second coat thinner, too.
Consider the drying time. It can take up to 30 mins (say) for washes to dry before you can get on with the next task, so have other models handy to paint in the downtime.
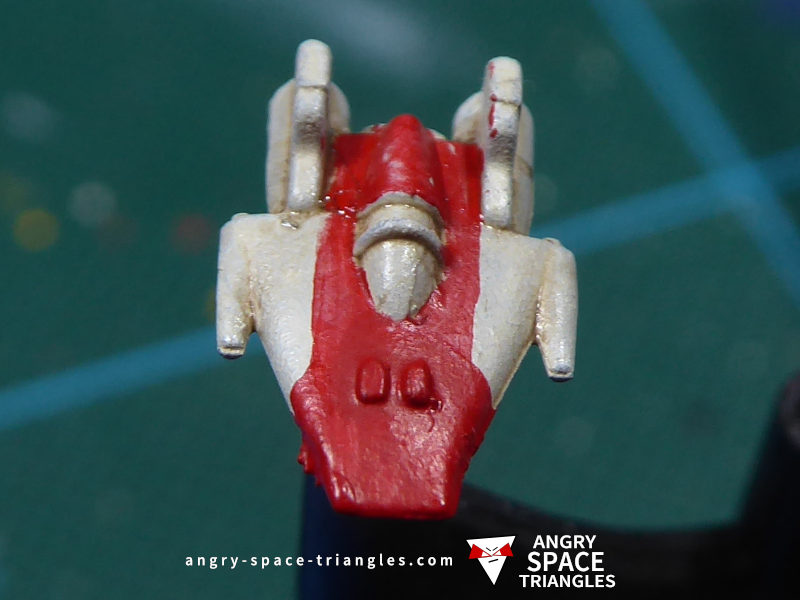
A-Wing with squadron colours
Apply squiadron colours to the A-Wings
The A-Wings a slightly different to the rest of the squadrons in that they have larger patches of squadron colours added to them. This needs to be done as I consider it a base colour, rather than at the end like Y-Wings, X-Wings and B-Wings where the squadron colours are more like fine details.
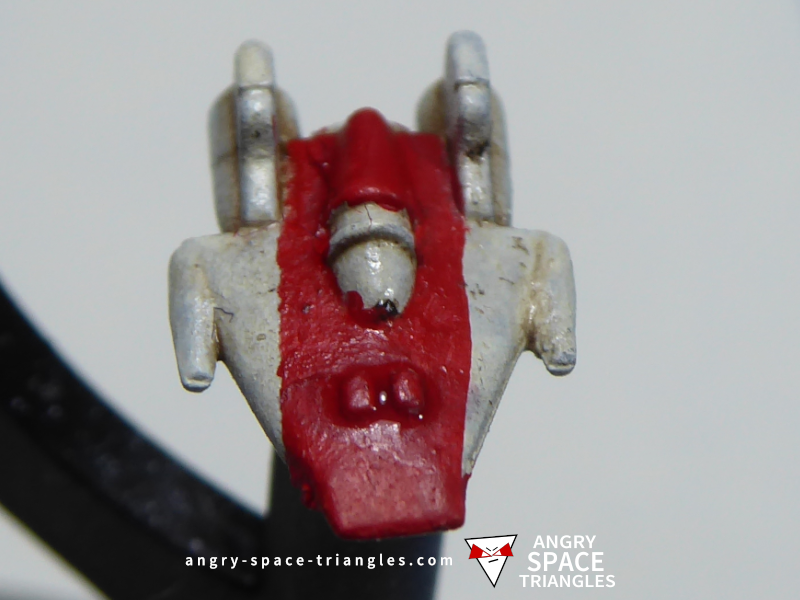
Wash applied to the red base
Washing the red on the A-Wing
Since the red squadron colour is a large area, you’ll need give it a wash to add some depth. I used The Army Painter’s Red Tone for this.

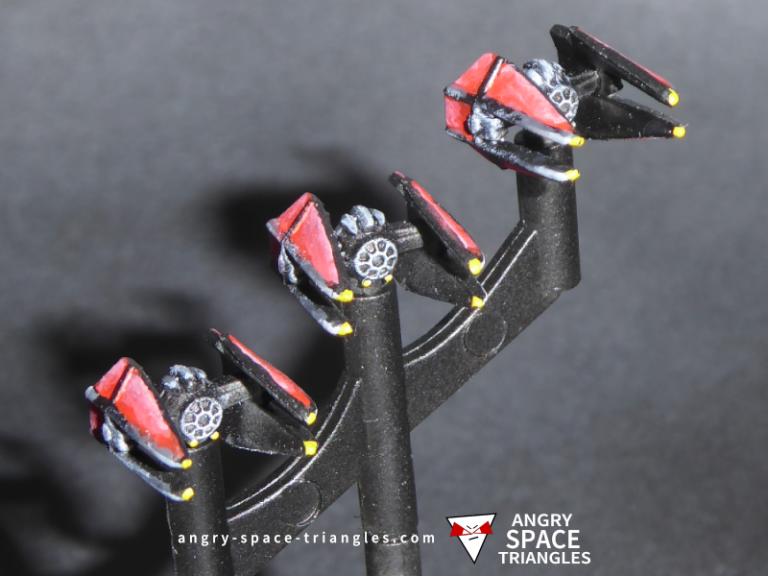
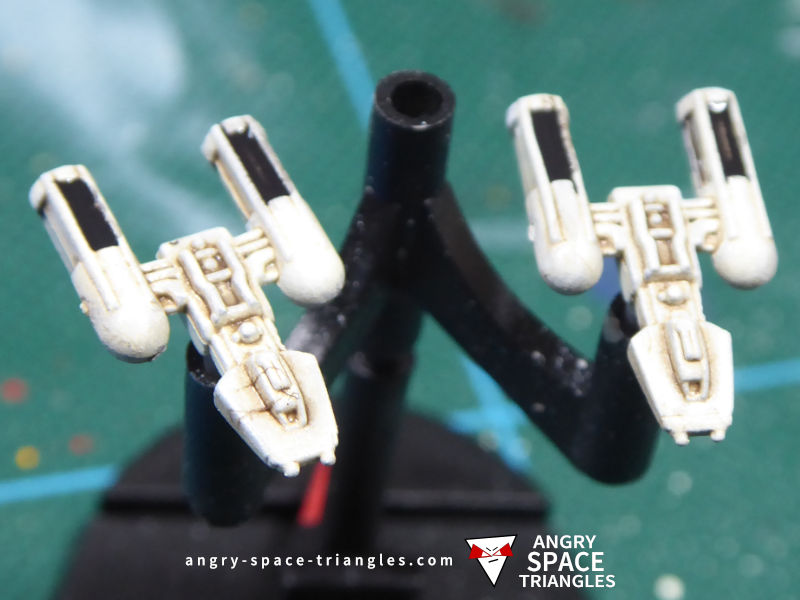
Y-Wings with black wash
Add black detail
While the wash on the A-Wings is drying, you can use a black wash to some areas on the Y-Wing and B-Wings. Use a plain black paint like GW Abandon Black, thinned down with some water so the paint is mobile, but not too much so that it is thin and watery.
The Y-Wings
The idea is to fill in the “engine zones” with black – they probably need two coats for this.
B-Wings with black wash
The B-Wings and X-Wings
On the B-Wings, the cockpits can be shaded with this black wash too,
The Ivory colour, cleaned up with a the base coat and glaze medium mix.
Fix-up any errors and dirty panels
Dirty panels
A side effect from the washing done to the whole model might be that some of the larger areas of Ivory look “dirty”.
To address this, I re-applied the base coat to some small areas (like the X-Wing guns), but having diluted it with a glaze solution (GW call this Lahmian Medium). I sell a glaze aid.
You want to draw the paint along the panels with your drush and control where the majority of the pigment rests. The glaze aid will help the pigment dry in a semi transparent way, and give transition of colour towards where you pull the pigment to.
You are aiming for two things:
- Cover up some of the darker shading that’s been left on the panels
- Obfuscate the fact that you’ve done this by not having an obvious patch of base colour
If you don’t use a glaze aid and dilute with water, it’s much harder (or impossible) to get a gradual shift in colour; if you were to not dilute the paint, it would be very obvious where you’ve re-applied the base coat.
The brighter patches on the Y-Wings shown on the right have been “fixed” with this technique.
Other fixes
You might need to fix mistakes across your models – do this now before you add final details.
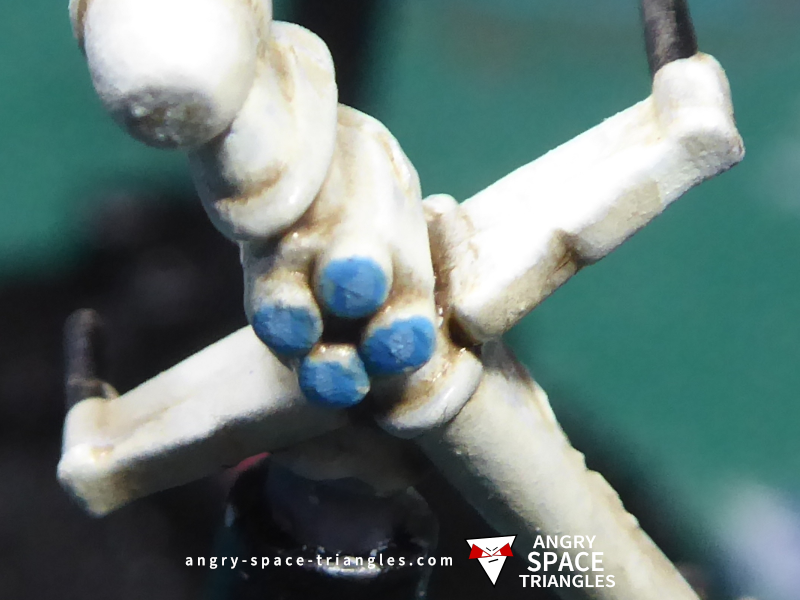
Engines on the B-Wings.
Final details
Engines
All the squadrons can have the enigines painted in the same way. I use a medium blue base coat, and then a few successively smaller spots of much lighter blue.
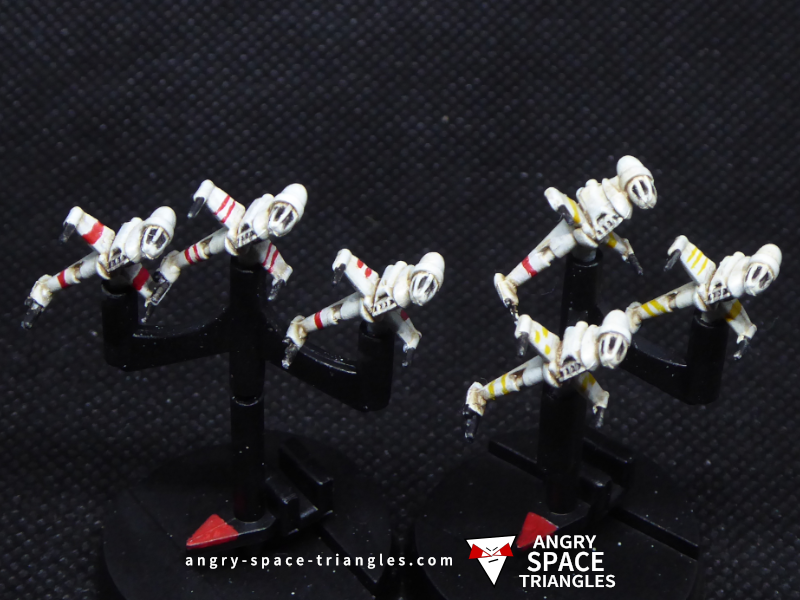
Squadron colours
Use a thin brush to add some simple details to the models (apart from the A-Wings). I used yellow and red here; if you I more models to do then i’d have used also used green and blue.
And they are done!
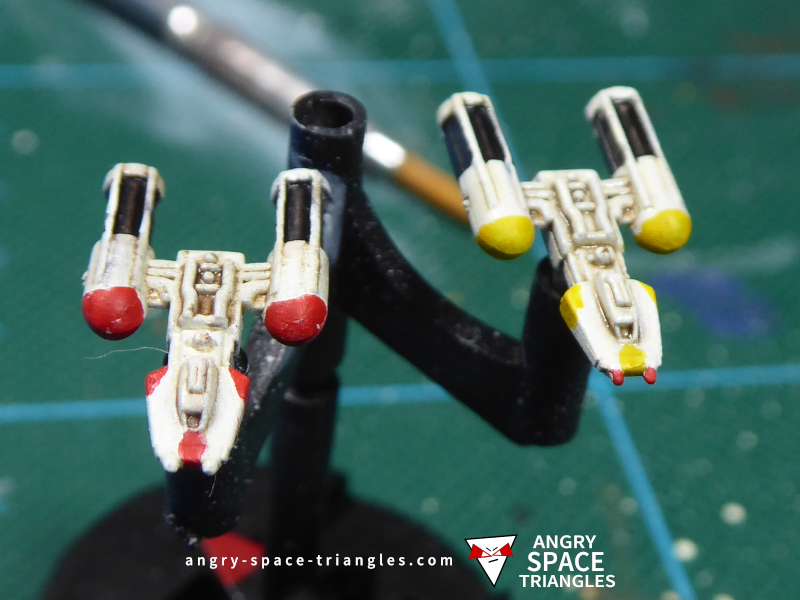
Final details on the Y-Wings
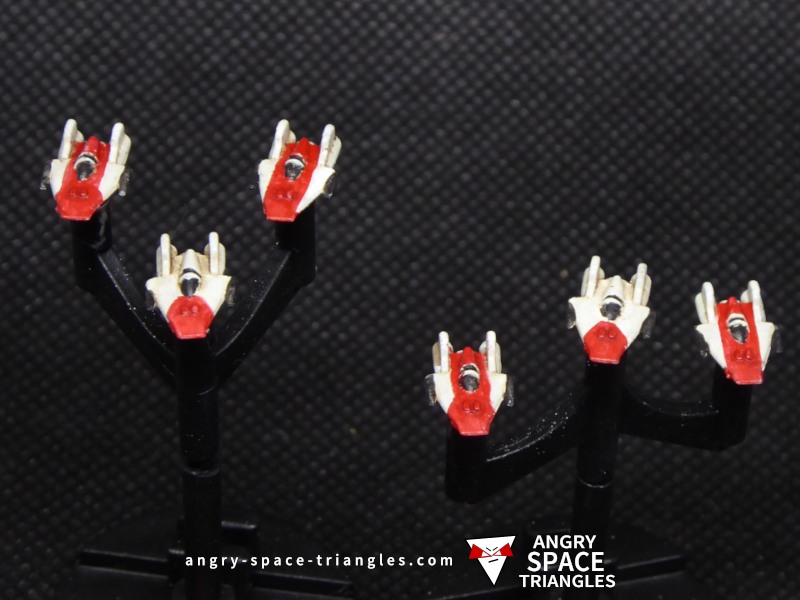
Finished A-Wings
Finished A-Wings
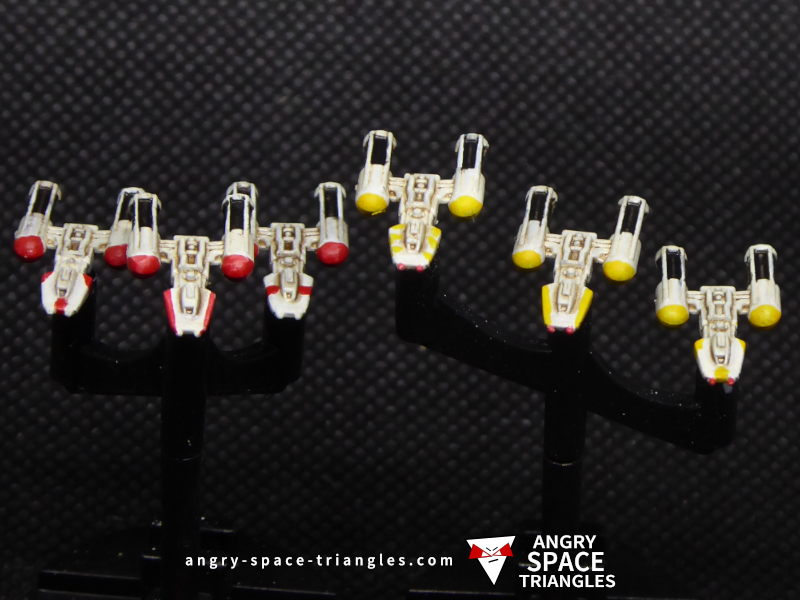
Finished B-Wings
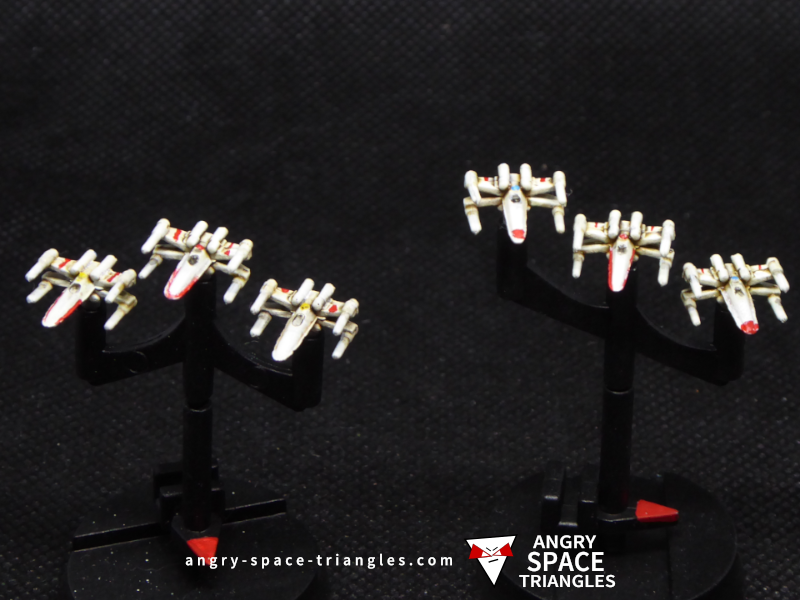
Finished X-Wings