Star Wars Armada
Painting the Ships in Blue and Grey
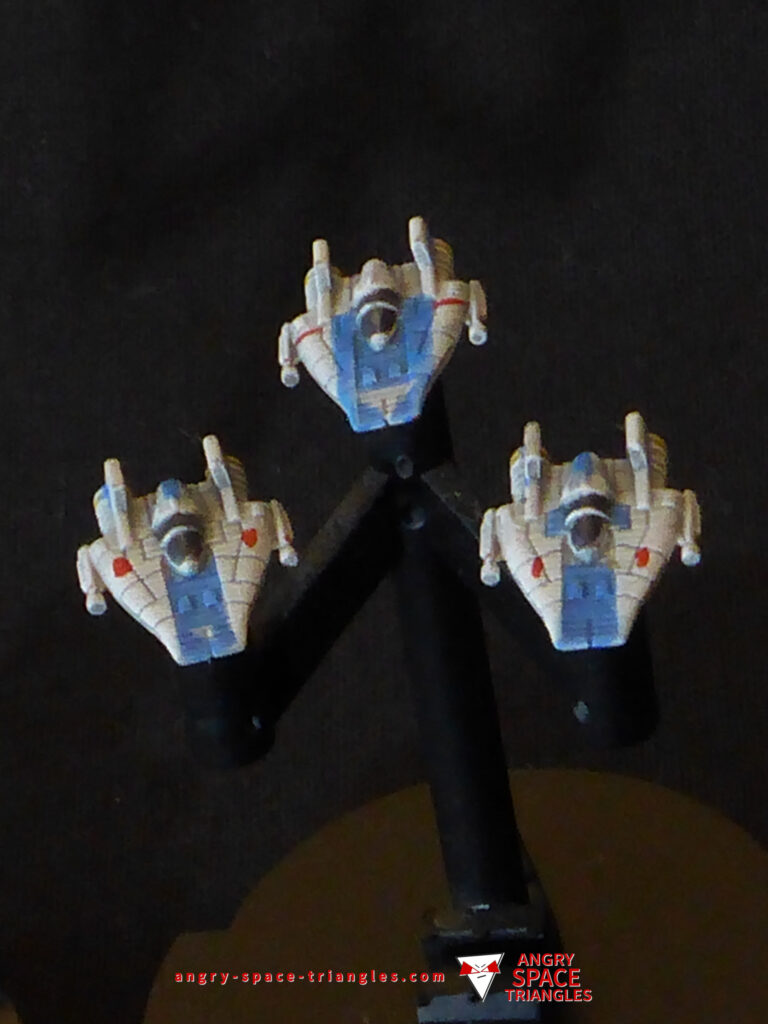
This post looks into how I painted a set of 3 Rebel ships in a blue and grey colour scheme, with flames on the front of the hull.
The Plan
Up until now, I’d only painted a small selection of Rebel ships with very simple colour schemes. I wanted to try something more adventurous, and come up with a colour scheme for a good number of Rebel ships in my Star Wars Armada fleet.
I figured I’d start with some GR75 Rebel Transports as they are small and could be used to test out my ideas before I moved onto bigger, riskier, ships.
Updated July 2020
I’ve finished the 3rd ship – the Rebel Assault Frigate MKII, and have added images and commentary accordingly.

Gr-75 Rebel Transports
Base Coat and Shading
Unfortunately, I don’t have many photos of the painting process for the transports as I only decided to take a photo diary as I came towards completing them.
I started the whole process off by base coating the ships in Games Workshop’s “Russ Grey”, and then gave them a wash in The Army Painter’s “Blue Tone”.
Various other areas of all the ships were base coated in various shades of grey.
I was pretty pleased with the was effect – it didn’t leave any pooling on the main surface of the hulls.
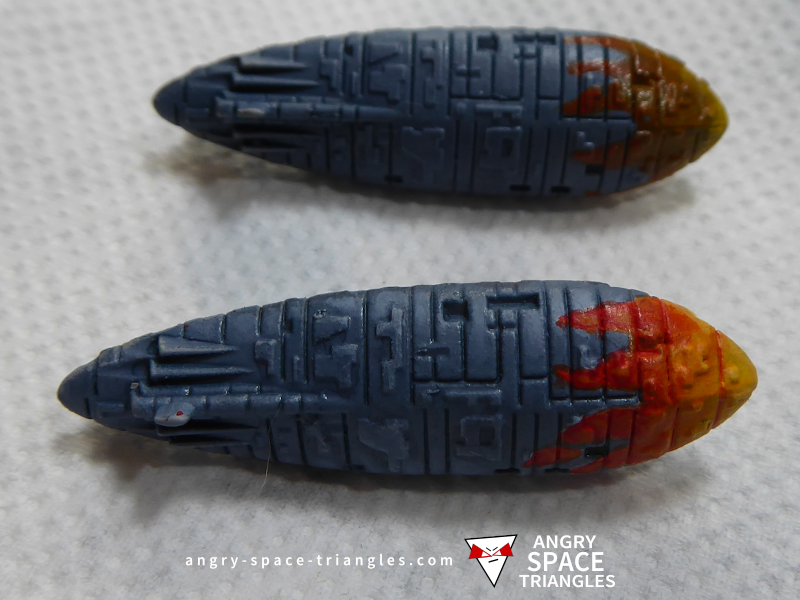
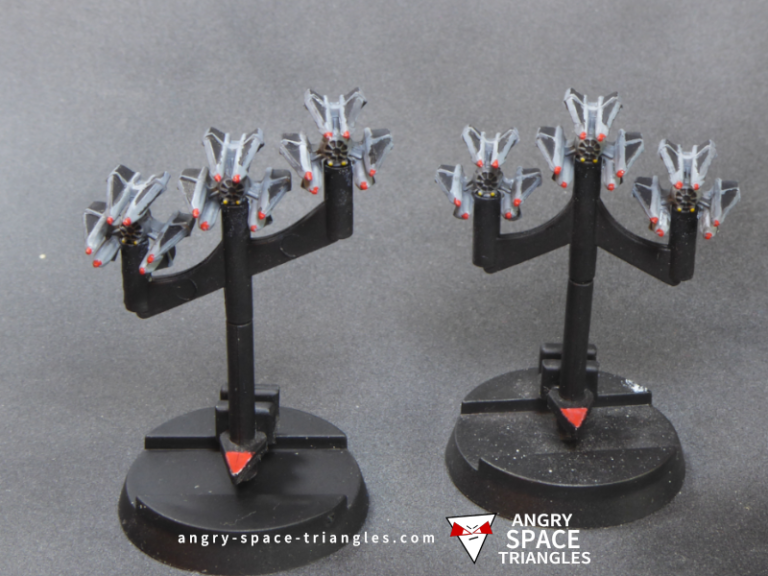
Different Methods
The image to the left shows the two transports with the flame effects. I experimented with two methods here.
Using White Undercoat for the Flames
If you compare the intensity of the flames across both ships, you’ll see that the flames on the near transport are much more vivid and intense. This is because I undercoated the flames using white before painting on the yellow, orange and red.
Since this was more effective, I re-painted the flames on the second transport to bring them up to the same standard.
Blending Higlights vs Drybriushing
Something that is harder to see is that I did just dry brushing to highlight one of the transports (the far one). On the other, I did a small amount of blending to highlight the hull. The results were subtle, but having added blending on the hull I thought the ship looked more ‘real’.
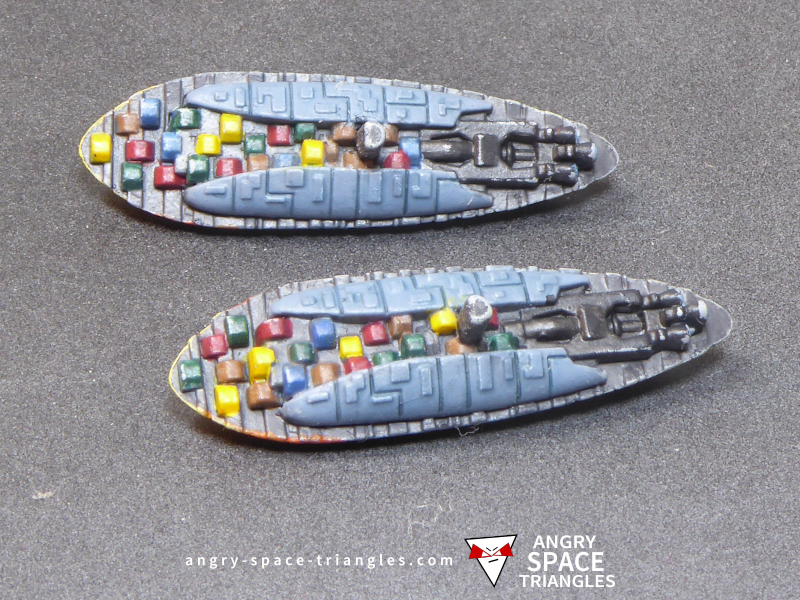
Coloured Containers
In my head, I pictured modern real-world cargo ships containing stacks of multi-coloured containers.
It was easy to base paint these on the Rebel Transports, but as they appeared on the underside of the ship i decided it was not worth the time to shade and highlight them all.
Happy Accidents
As it turned out, some of the paint rubbed off on the corner of the containers as they lay on the paper towel. I decided that this accidental detailing made them more realistic looking!
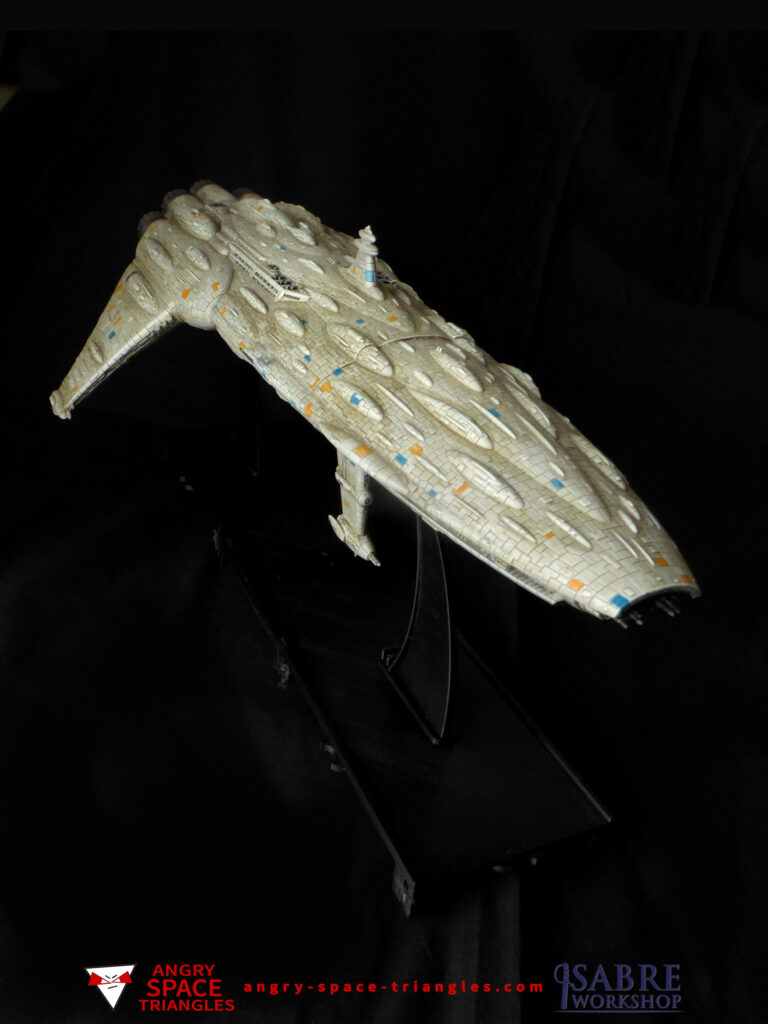
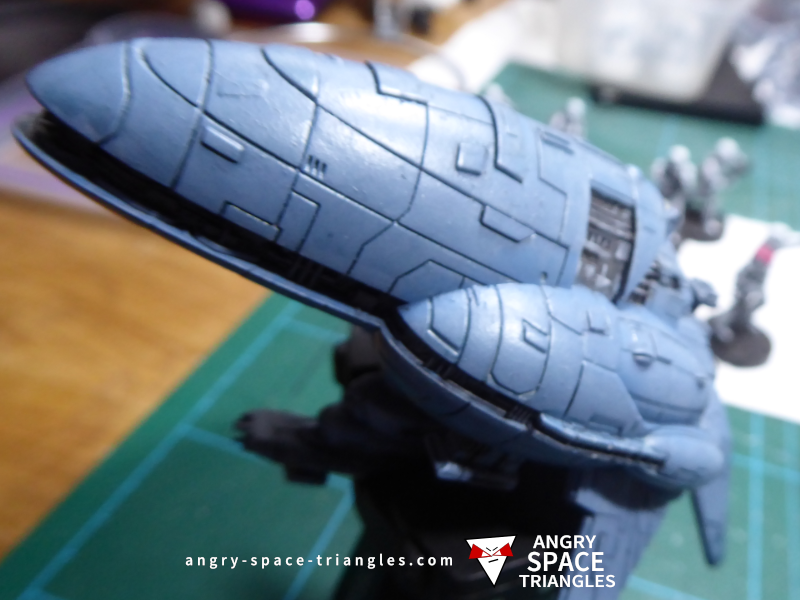
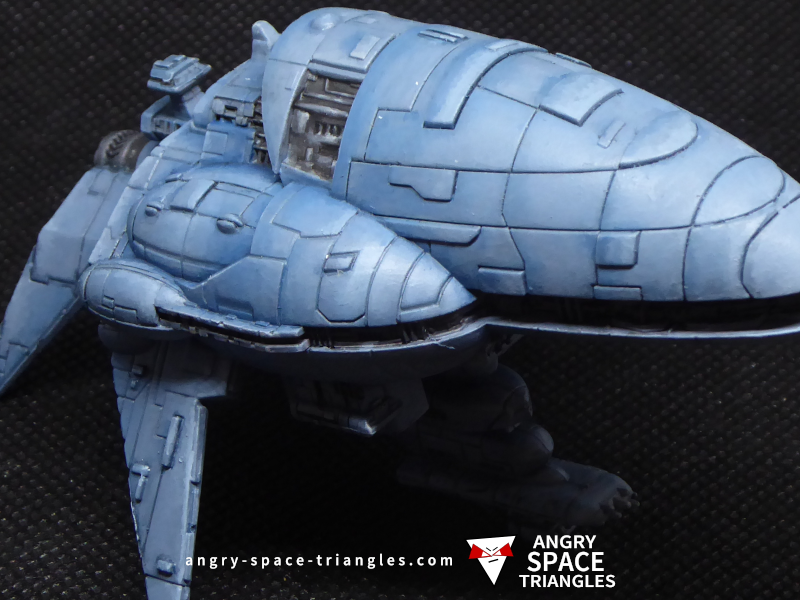
Rebel MC30
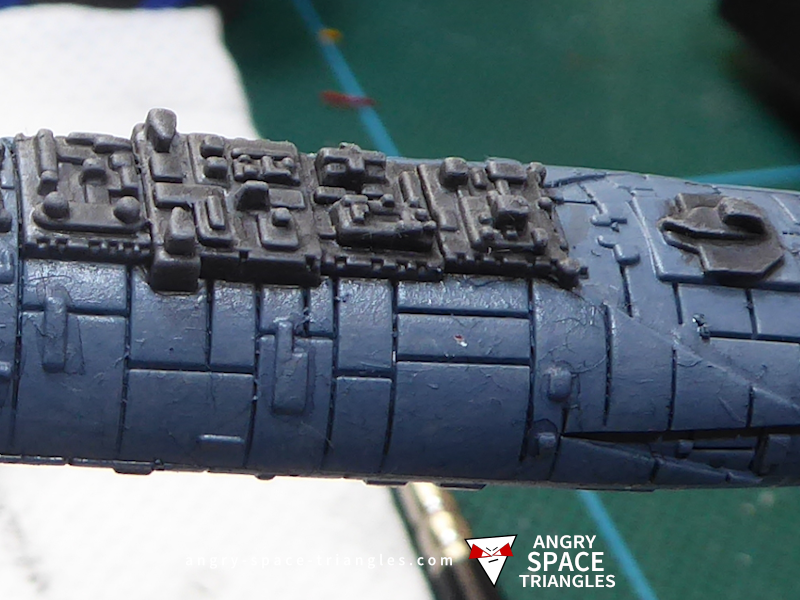
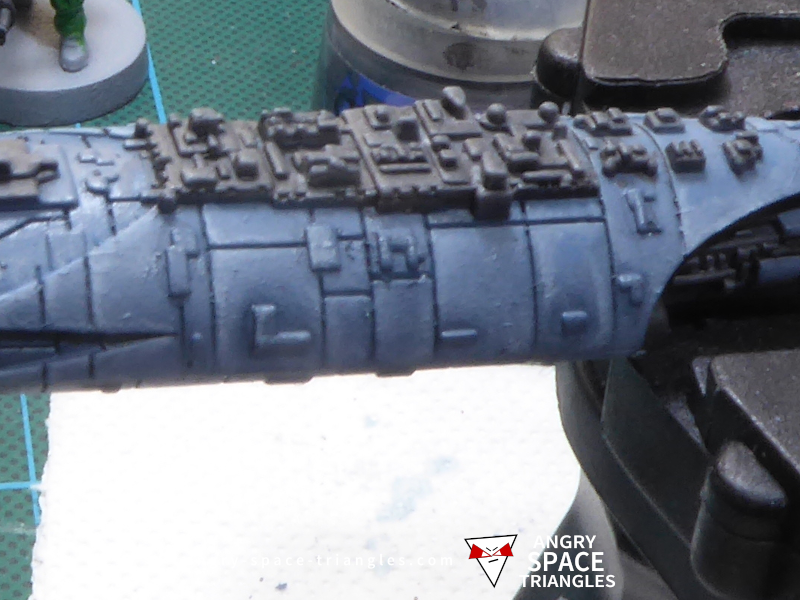
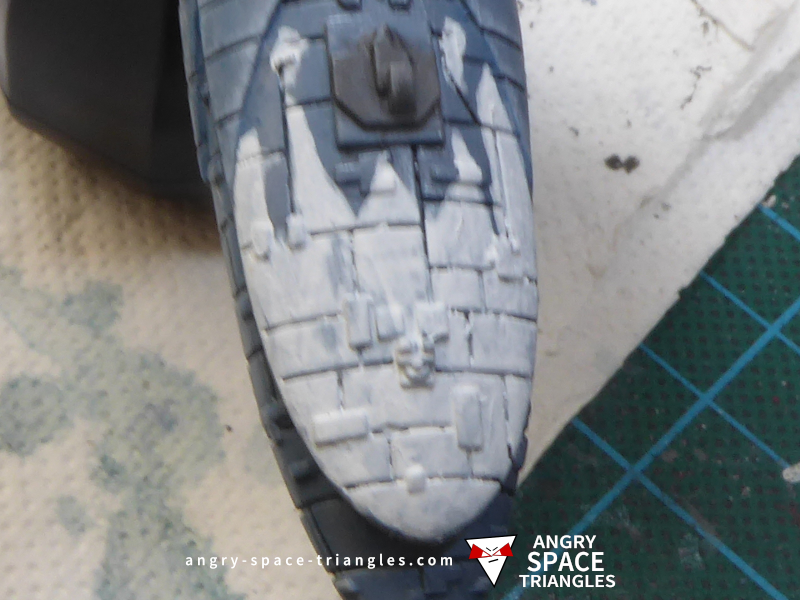
The Towers
I don’t know how to refer to this part of the ship, so I’m calling them “the towers”. I’m talking about the city-like structures on the top of the hull.
I painted these in grey, washed them in varying shade of grey and then dry-brushed them in lighter shades of grey.
I had some fixing to do to remove the blue paint which had made its way along the bottom edge of the tower areas.
(Note, that I applied the same colours to the other grey areas of the ship.)
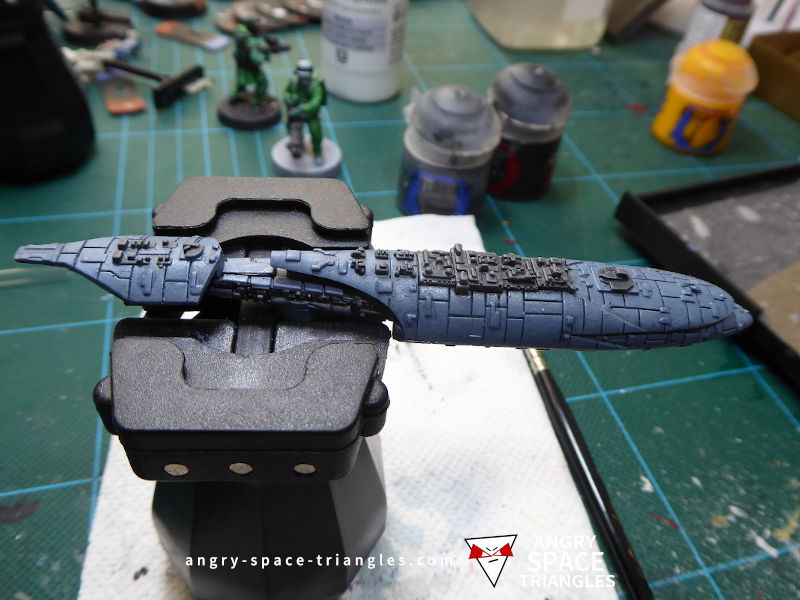
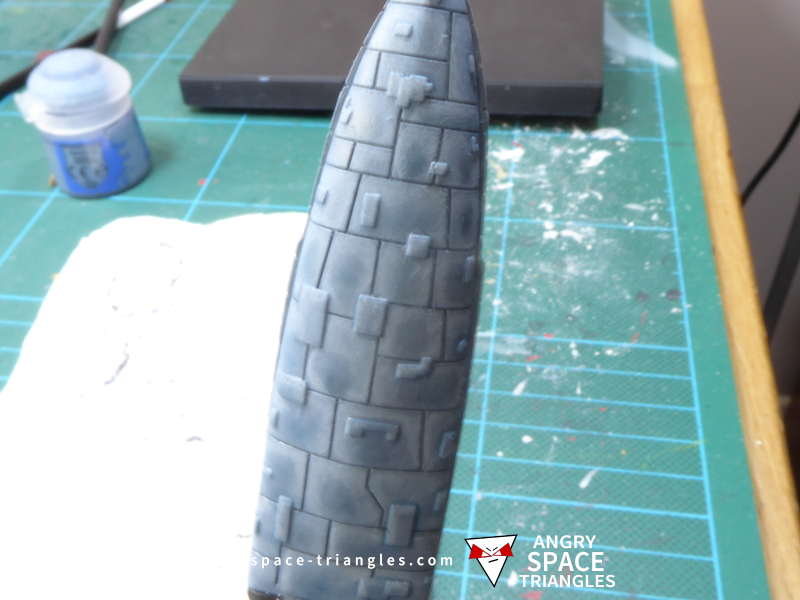
Ready for Hull Highlights
My focus of this part of the post is how I highlighted the Hull. The bit of painting i look forward to the most is the blending of colours. The hull of the MC30 was going to give me lots of opportunity to do this!
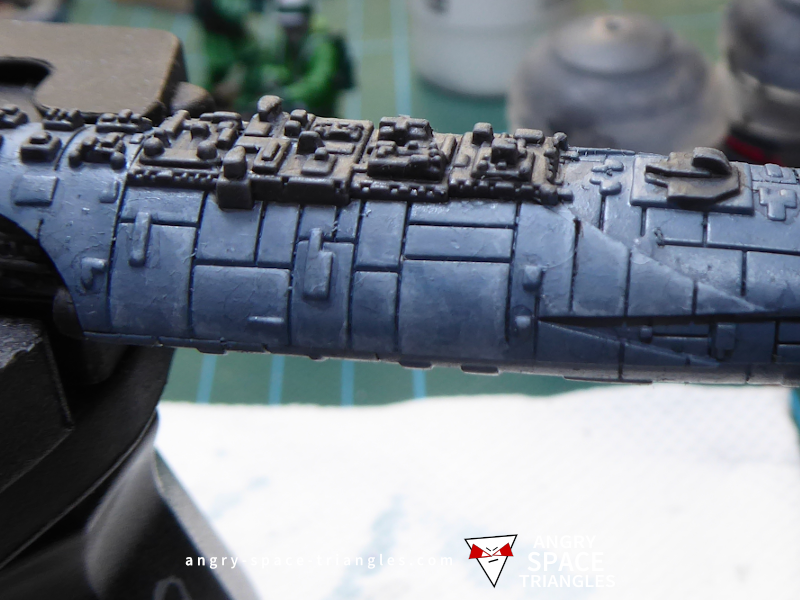
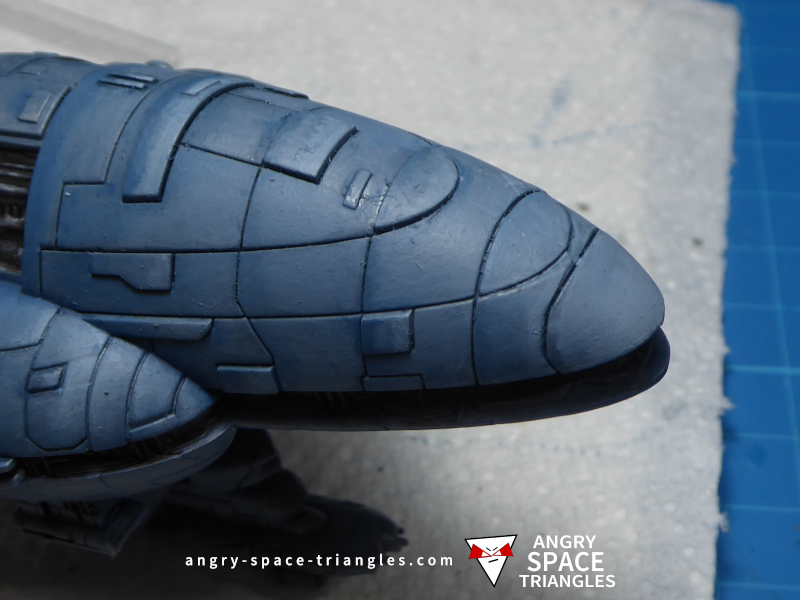
Starting the Hull Highlights
I began on the right side of the ship. Initially, progress was very slow. I was trying out using some ‘Retarder Medium’ to slow down the drying of the paint. I was not happy with the results – moving around the paint on the model created horrible water marks as just after i’d put down some paint. I’d then have to spend ages fixing up the partiuclar panel I was working on.
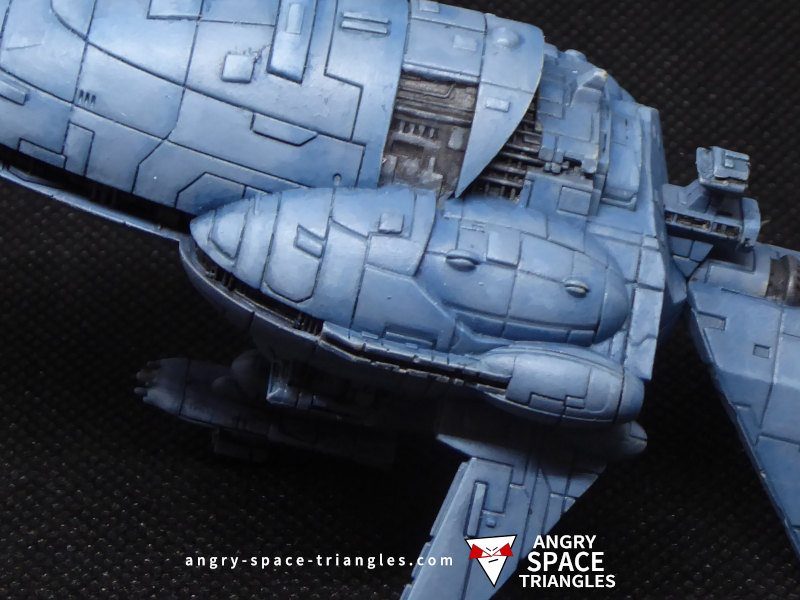
Switching Sides
I moved over to the left side of the hull once the majority of the right side was done. During this painting session I stopped using the drying retarder – each of the panels was just too small to require wet blending. I went back to the simpler method of layering lighter sand lighter shades of wet paint (much more diluted paint). This sped things up somewhat.
I’ll try out using the drying retarder on a much more suitable miniature in the future. It’s possible that I’ll never be a fan of wet blending and so never need it.
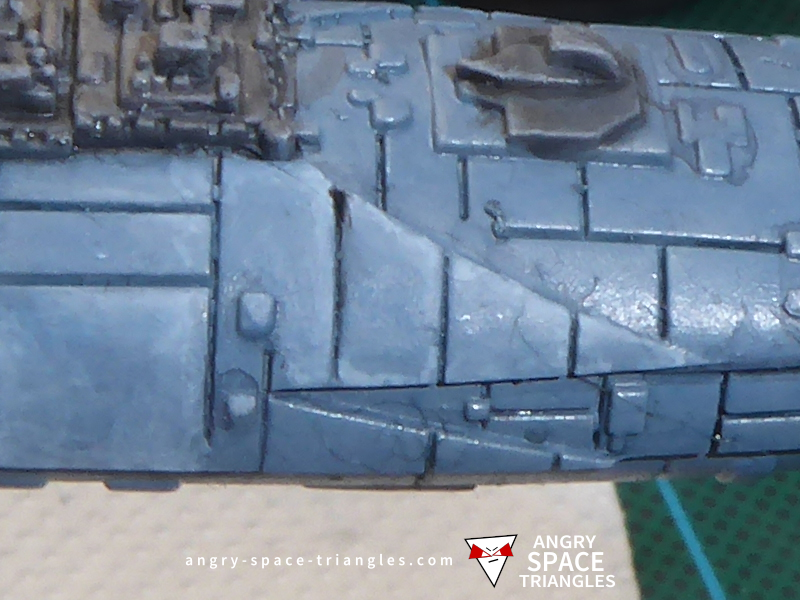
Fixing Previous Shading
I think the image on the left shows how the darker paint around the edges of some of the raised areas. I’d previously shaded around these in Blue Tone which had left the usual water marks where after the paint had dried. The highlighting of the panels gave me the opportunity to fix these areas and fix or obfuscate the water marks.
Rest of the Ship
I applied the same approach to the rest of the ship. Unfortunatley, I didn’t take any photos of the front of the ship before I stared to work on the flames.
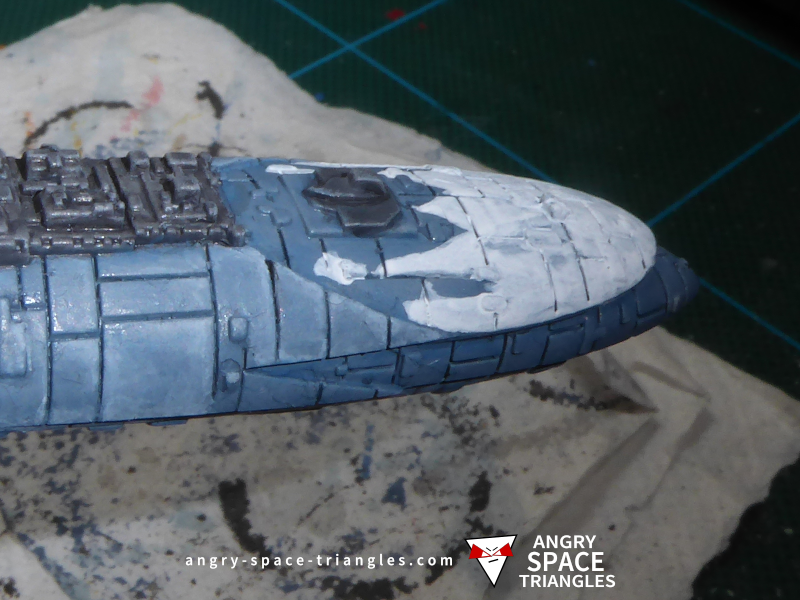
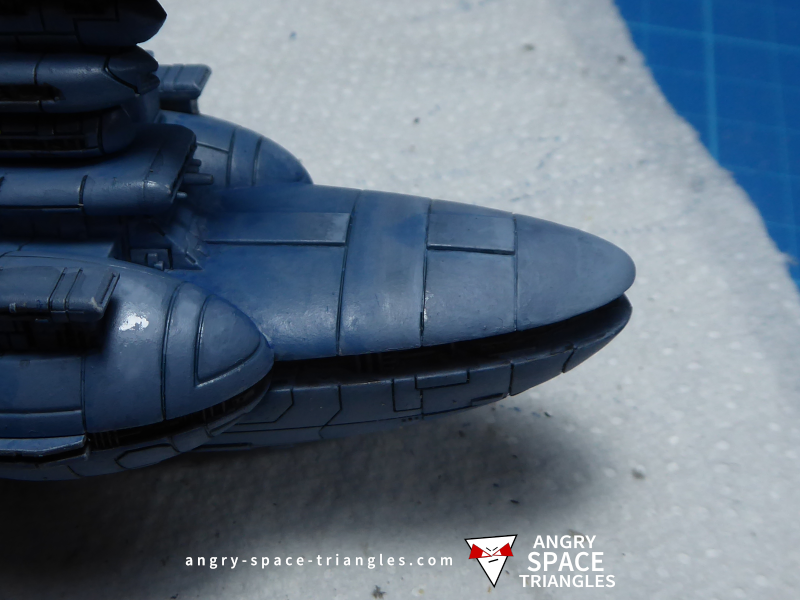
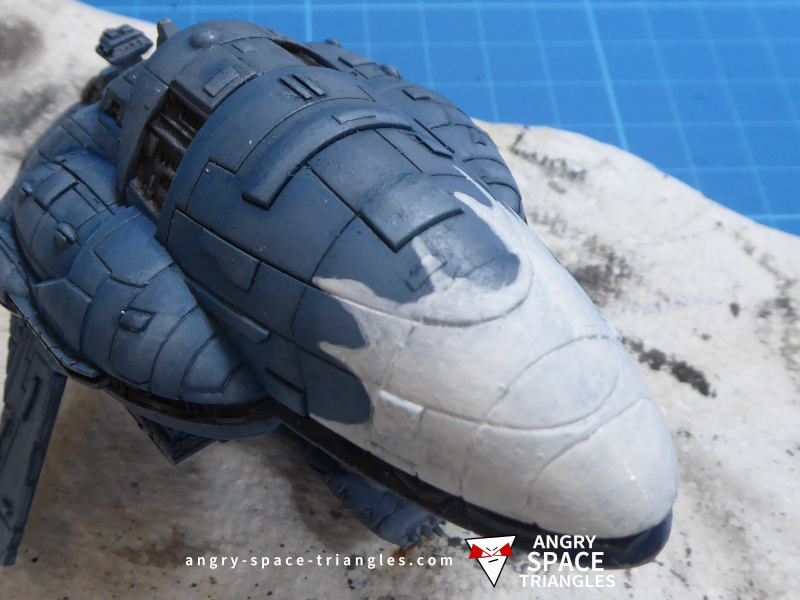
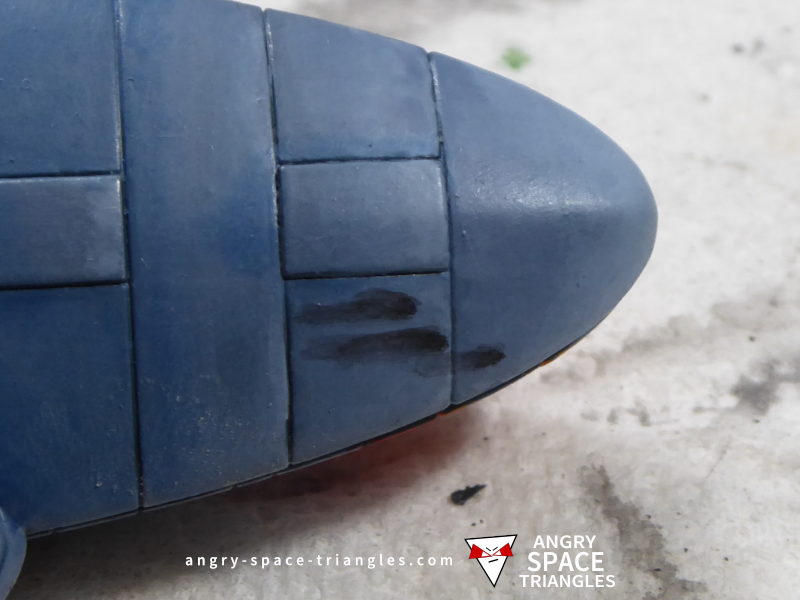
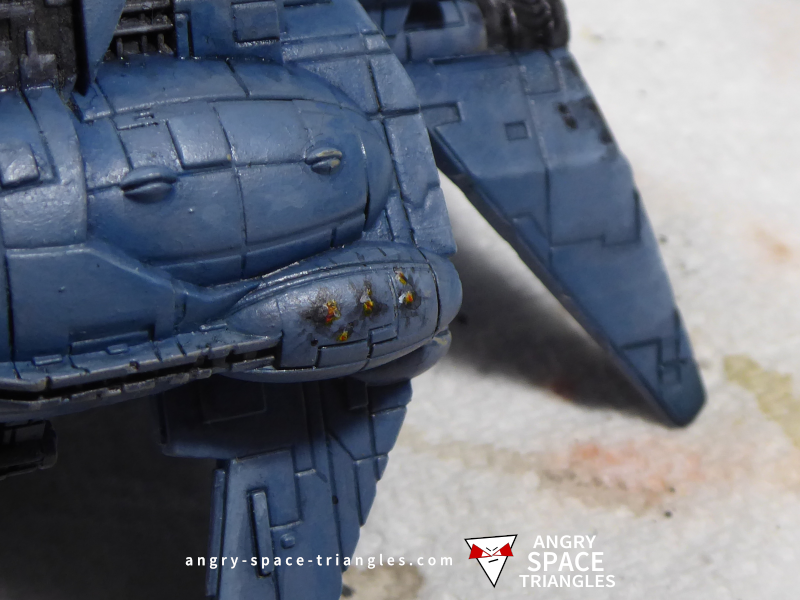
Flames Undercoating
Having experimented on the Rebel Transports beforehand, I knew that I wanted to apply an undercoat of white before I painted the flames.
Interestingly, as I write this, I noticed that I’ve probably forgotten to go back and complete the highlights on this part of the hull after having completed the flames. I excluded this area of the hull from the highlighting because I’d just end up painting over them.
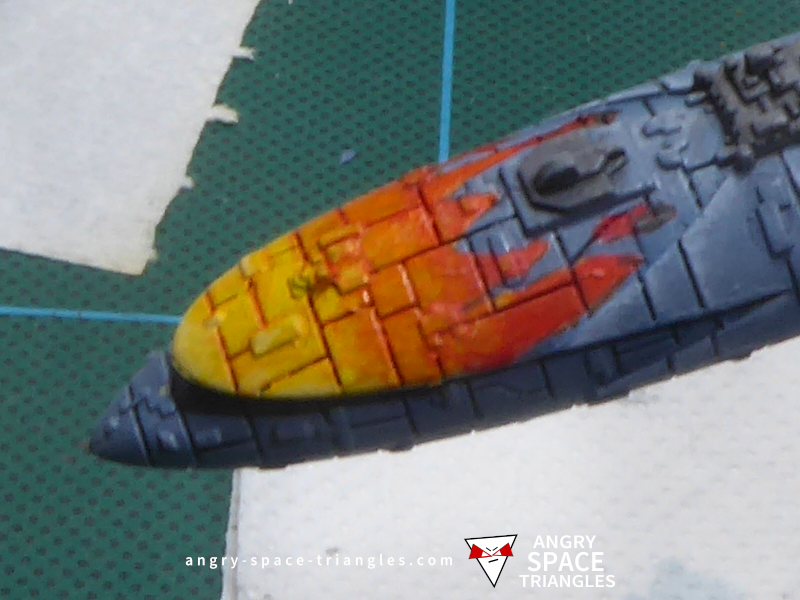
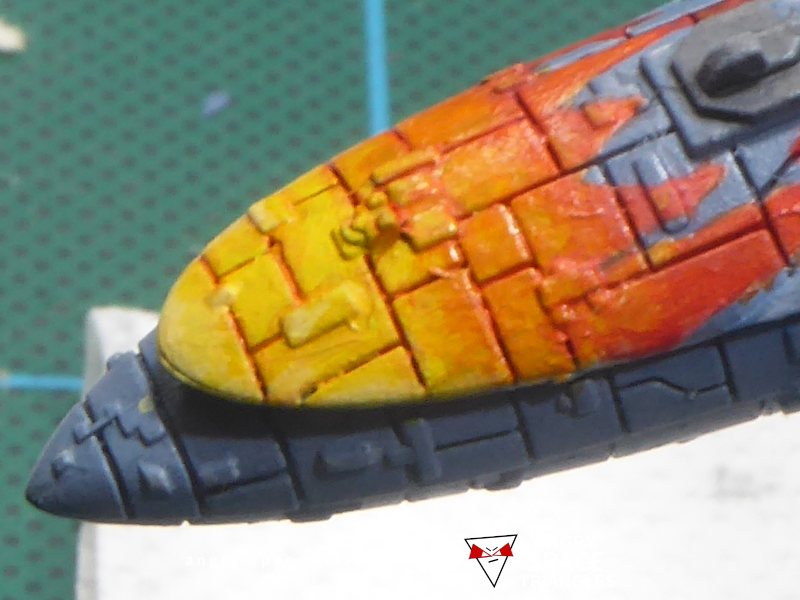
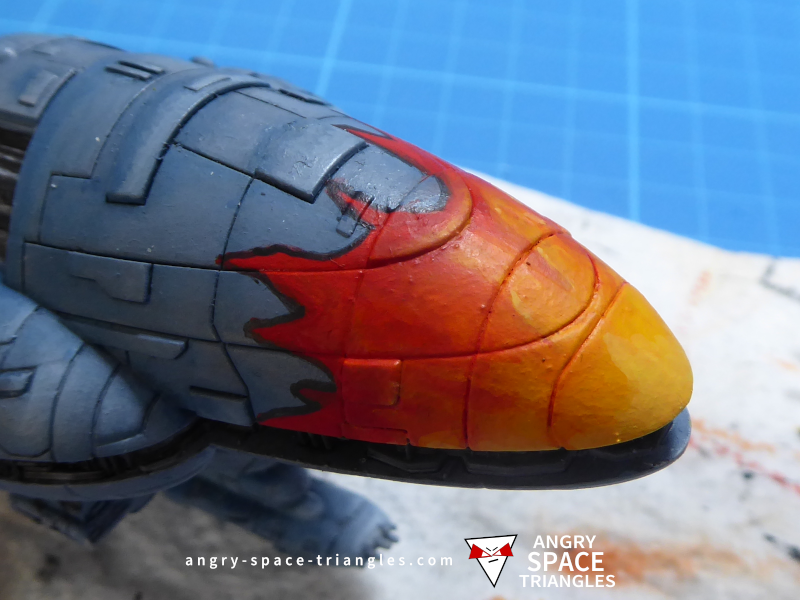
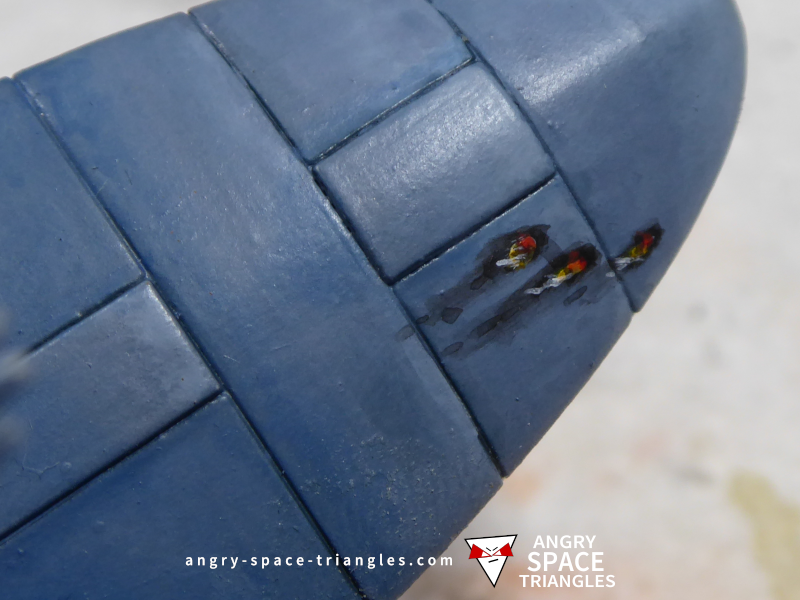
Painting the Flames
I started off painting with yellow, moved onto orange and finally the red as I progressed up the hull. Initially I wasn’t bothered about blending the colours as I went – I just wanted to get down a base coat that I could work from.
The next step was to use more wet paint to work one colour into the others. This is actually quite easy and didn’t require the base coats to be wet still.
I applied some shading to the areas – I wasn’t to fussed about matching the colour transitions to accurately – it was important to just get some depth.
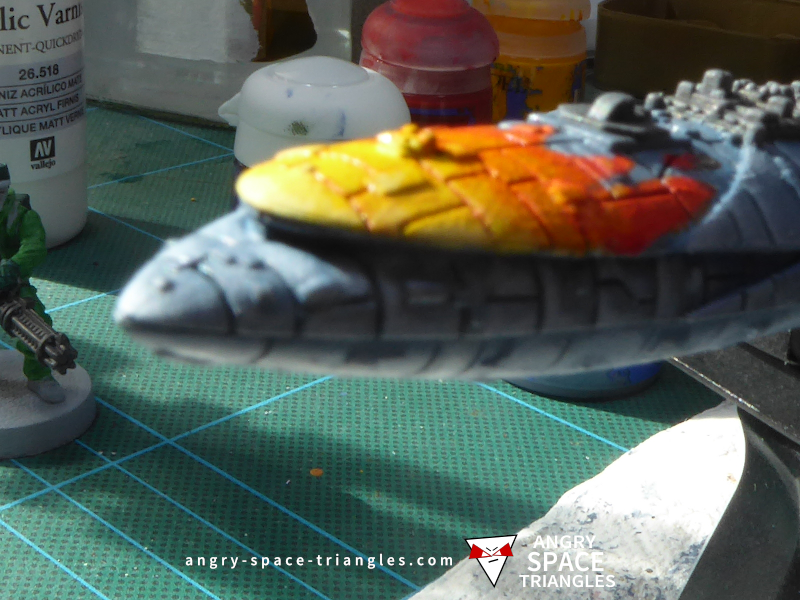
Lastly, I used wet paint again to apply some highlights. I paid particular attention to the front of the hull that was yellow – I wanted this to really ‘glow’.
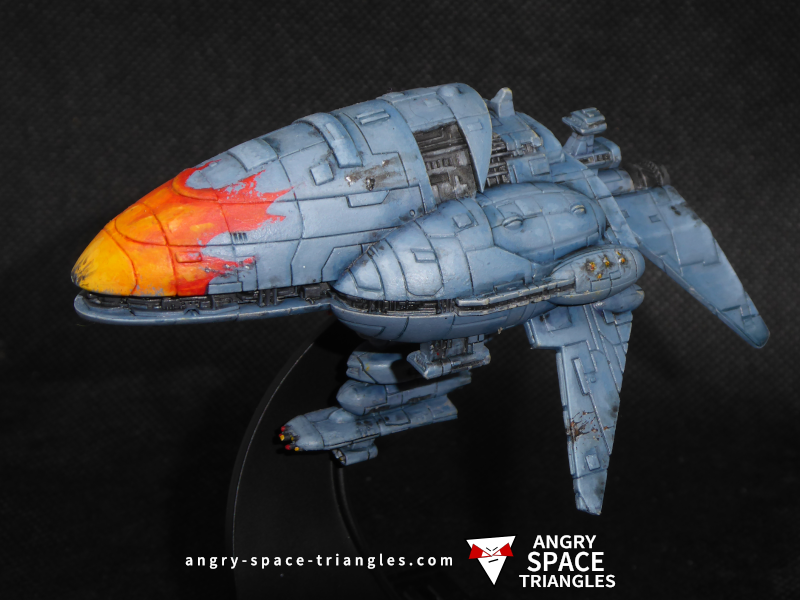
Rebel Assault Frigate
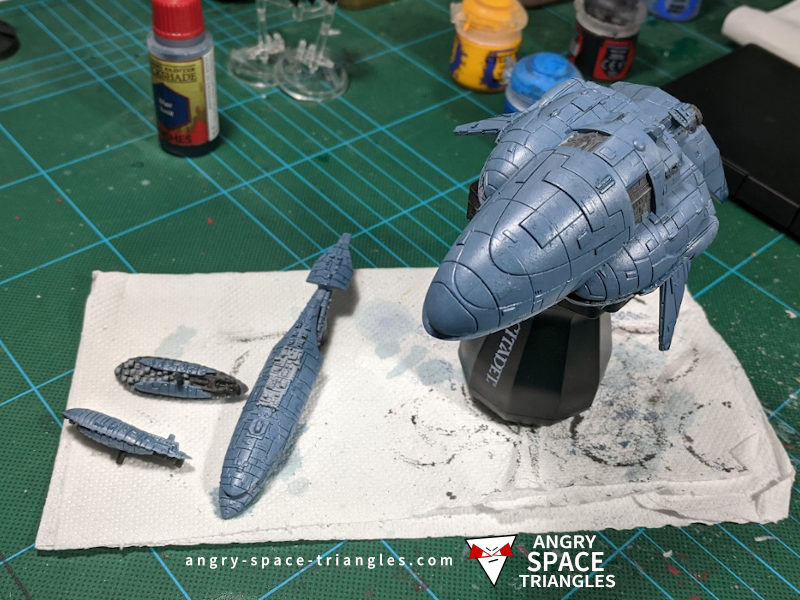
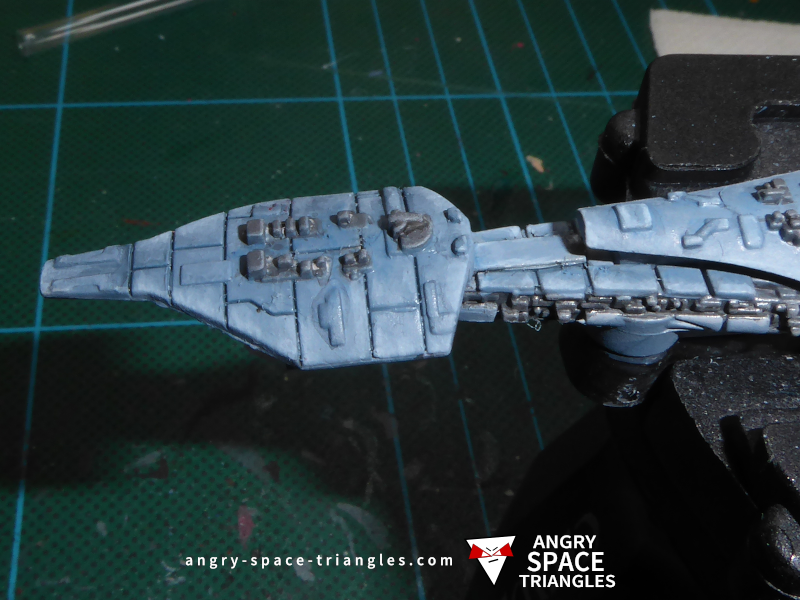
Based Coated and Ready
As with the previuous ships, I based coated them in Russ Grey and washed them with a darker blue shade. I think i added some Glaze Medium to the wash which gave the whole hull a darker tone.

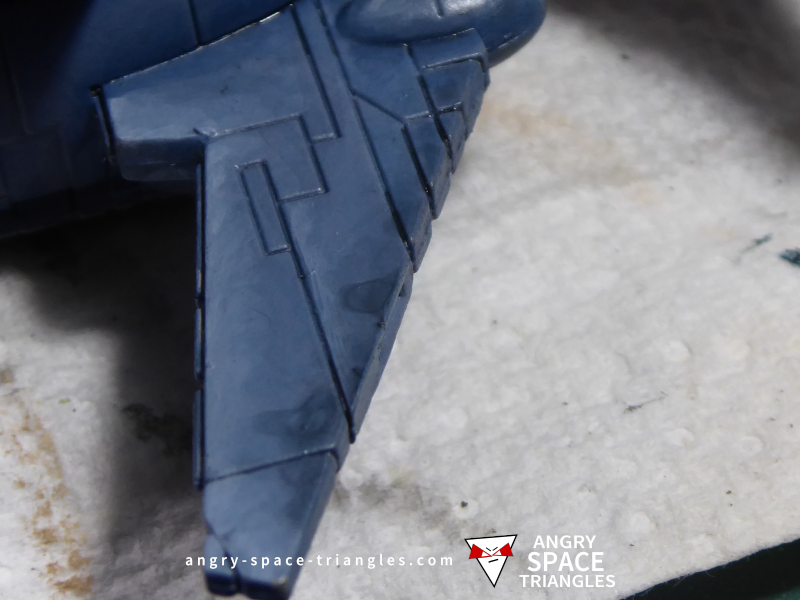
Highlighting the Hull
It took me a number of sessions to go over the entire hull and highlight it. I found it quite tedious. I do enjoy blending colours, but repeating with the same colour over a number of days was pretty tedious, especially as you have to mix up paints of the same colour each time.
I used some Glaze Medium with the paint which helped the colour transitions.
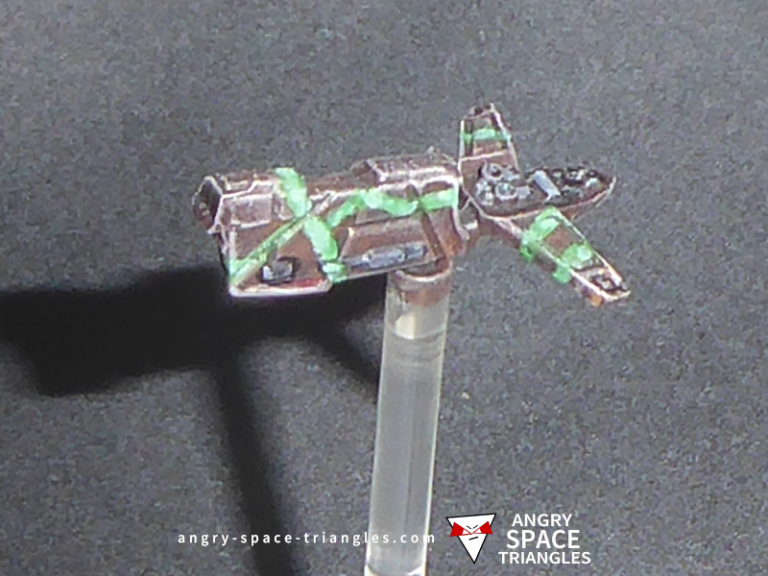
Painting the Flame
I used the same technique for painting the flame on the front of the hull as I have described above.
Black outline?
One difference here is that I tried adding a black outline around the flames.
Or no black outline?
I decided I didn’t like the black outline, and so removed it. This turned out to be much easier that I thought, even tho the background hull had been highlighted, fixing this didn’t make too much of a mess.
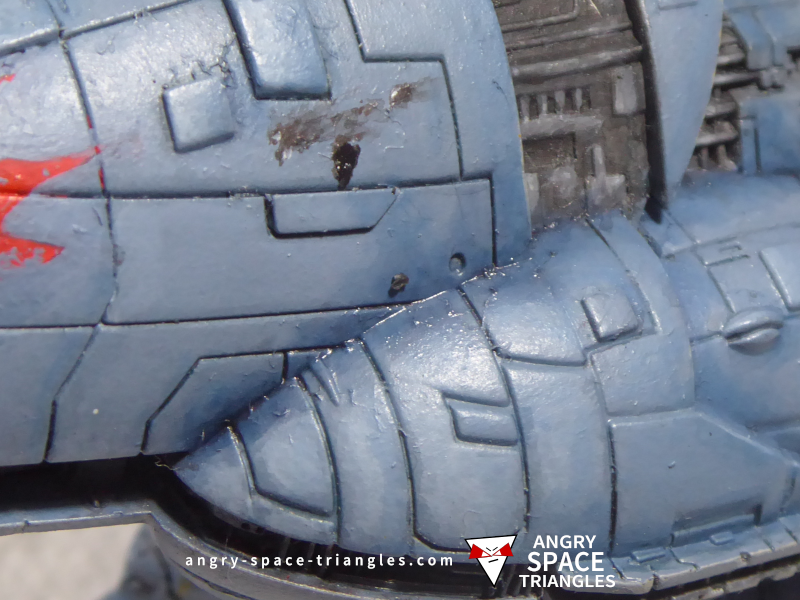
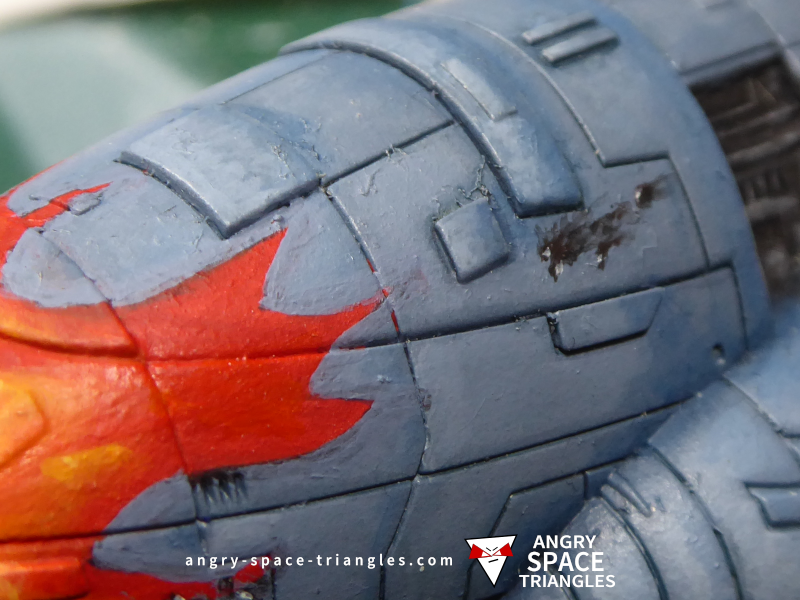
Distress and damage
Sadly I didn’t take as many photos of this part of the painting as I would have liked. I think it demosntrates that I was so much in the zone and really enjoyed adding damage and distress to the ship.
Fear of ruining everyting!
I was quite worried about making a mess of all the work I’d done previously with the highlighting, but, I knew I couldn’t leave the ship looking as “clean” as it was – it looked pretty fake.
Glaze Medium
All of the damage effects were based on techniques that I picked up from watching Sorastro’s videos on painting the Star Wars Legion T47 Airspeeder. There was copious use of Glaze Medium to add damage, soot and general dirtying of the paint job, including further shading of some of the nooks and crannies.
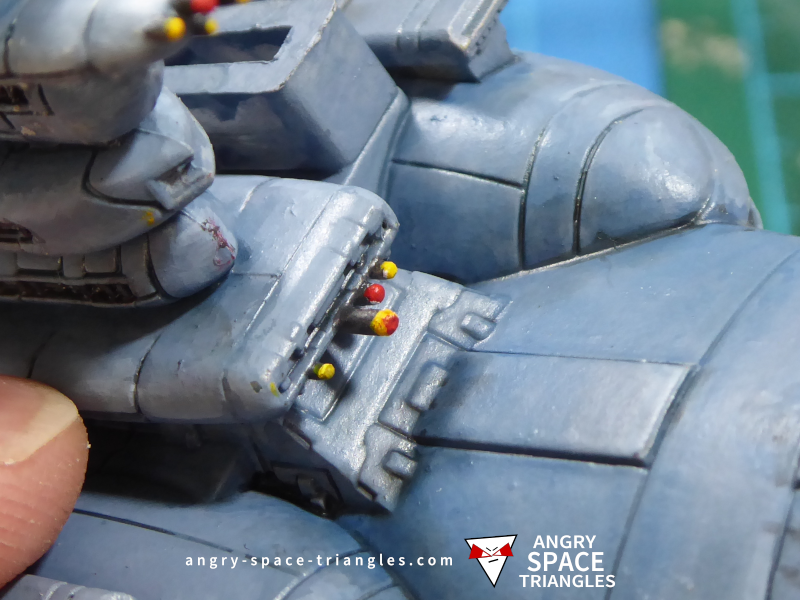
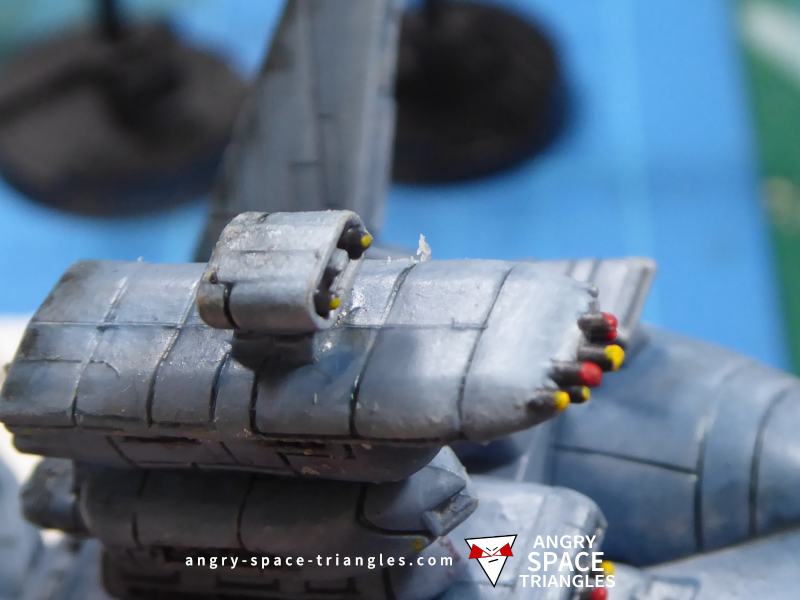
Final details and engines
The last job was to add some dark grey, red and yellow to to the ordance poking out of the hull, and to paint the engine flamses.
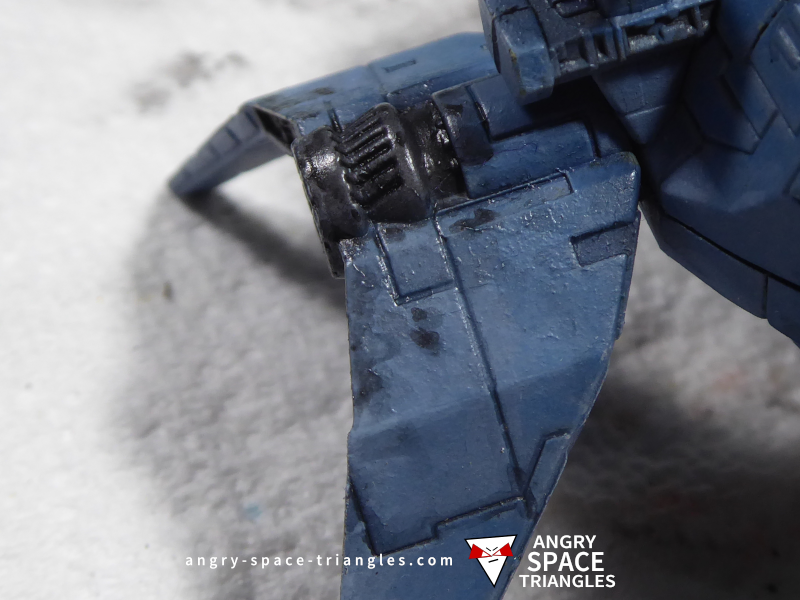
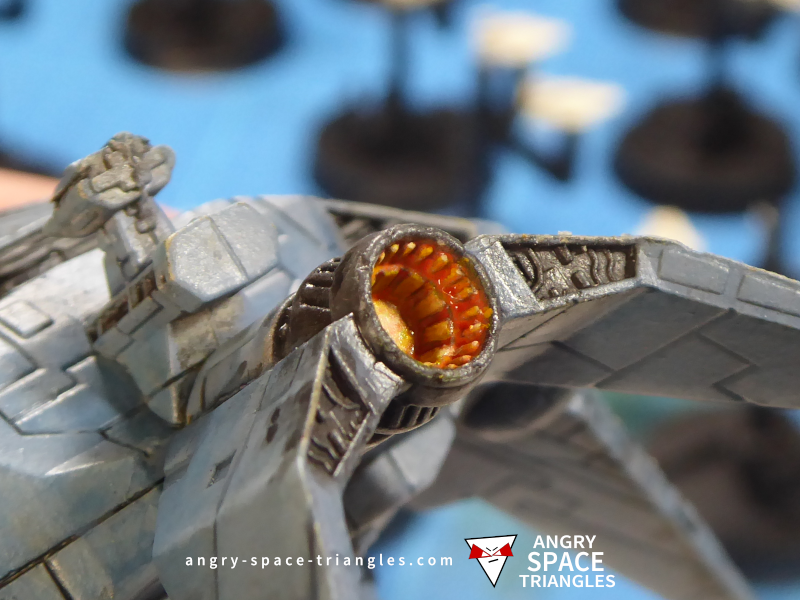
Engine
I was super pleased with how this panned out. I actually forgot to paint this and had to go back and do it later!
The bright inner “flames” were acieved again with use of Glaze Medium – the yellow paint was thinned and then dragged towards the engine nozzel, leaving most of the bright colour on the outer parts of the engine.