Tutorial – How to quickly paint Imperial TIE Fighters
Since I started painting again in 2018 I’ve had a number of attempts at painting Imperial TIE Fighters for Star Wars Armada.
I’ve finally come up with a reliably reporducable method for quickly painting them.
I wanted to avoid having to paint each and every panel on the wings as far as possible; this is espeically tiresome on TIE Defenders!
TIE Fighter painting objectives
As per usual, my main goal was to come up with quick and easy way to paint.
Personally, I often need to paint these guys to sell, say, if I end up with some eBay rescues that need totally painting or are bought with just an undercoat. Few people want to spend lots of money on TIE Fighters, so I need to paint them quickly and efficiently, but to an acceptable tabletop standard.
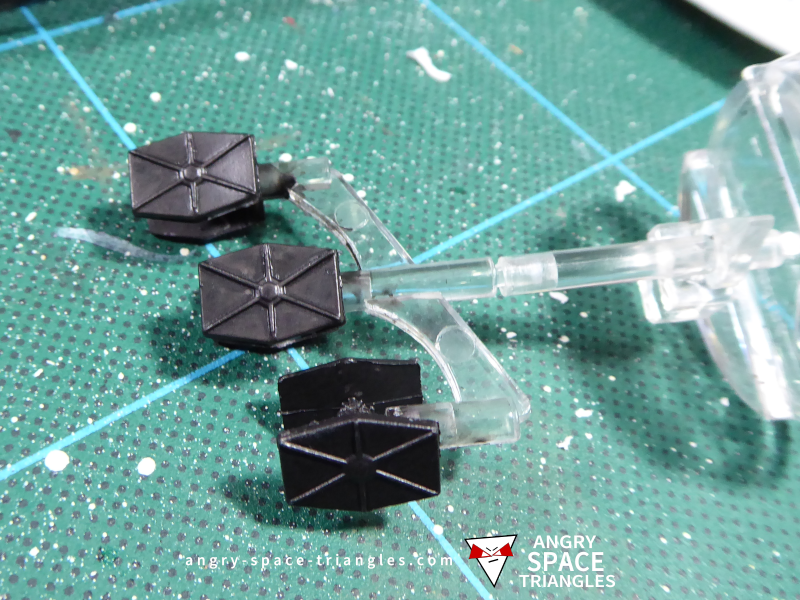
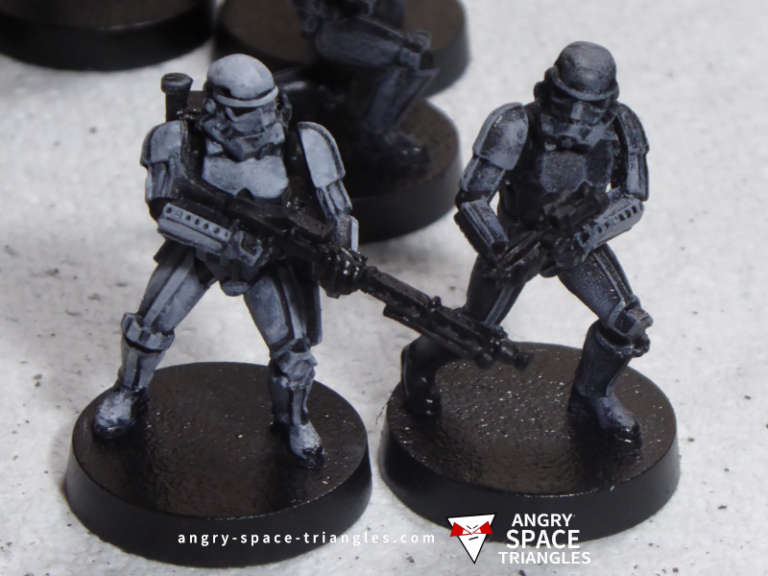
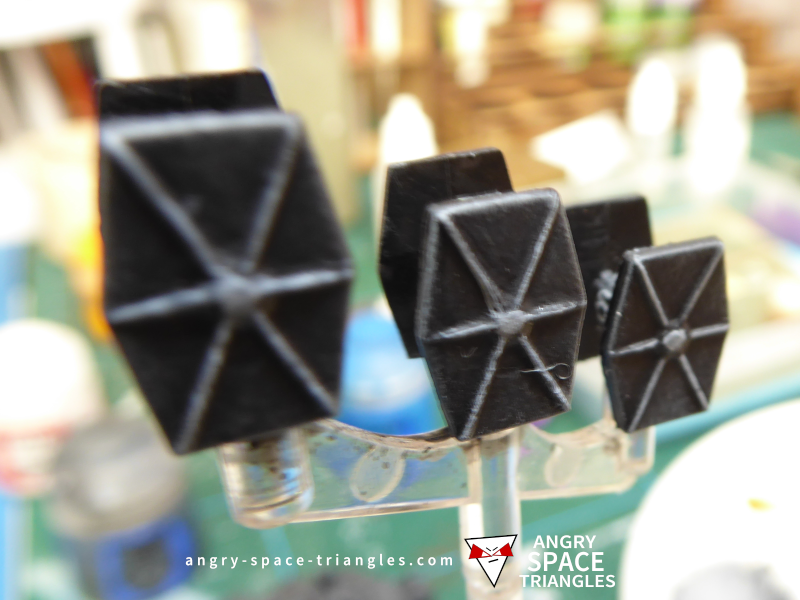
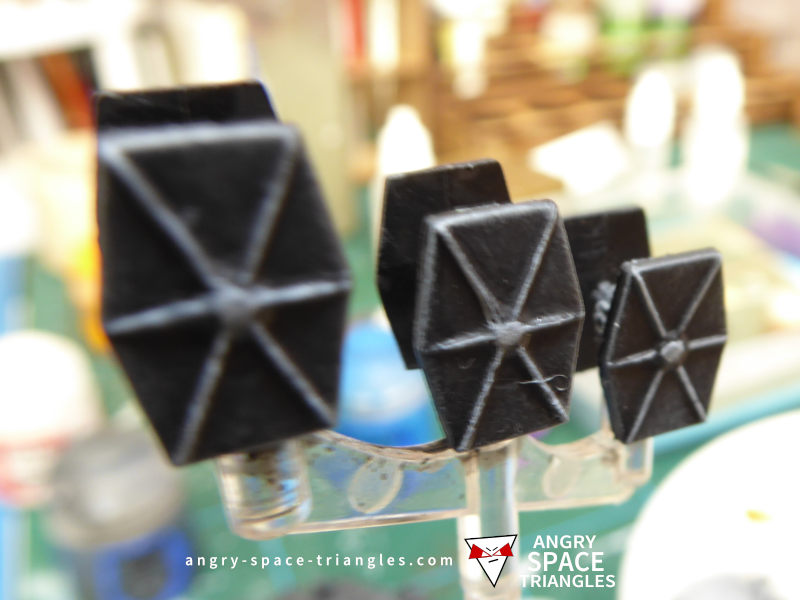
Undercoated in black
Undercoat in black
Be careful when undercoating these guys as they have some fine detail that is easily obscured by a thick undercoat.
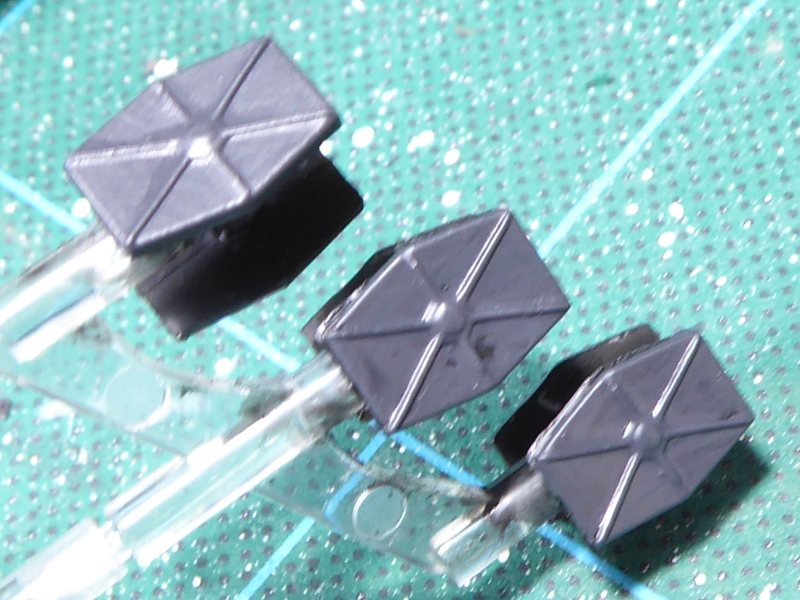
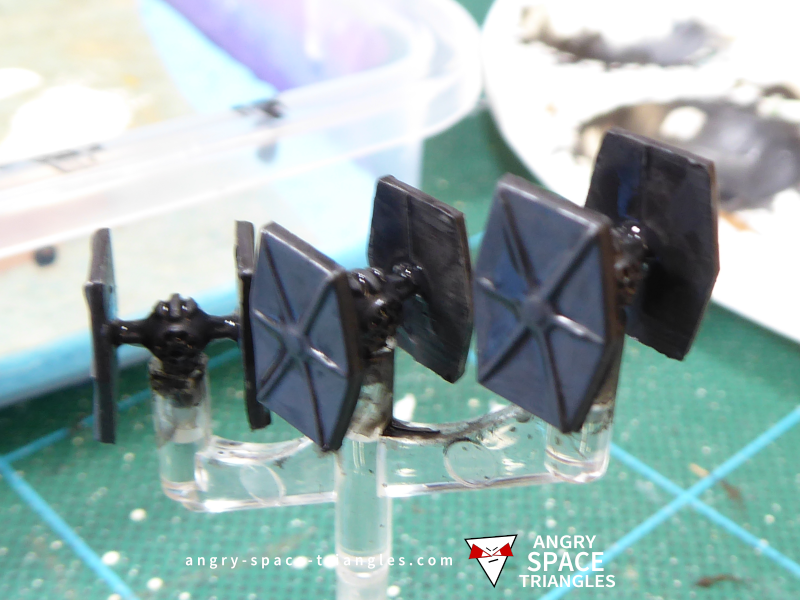
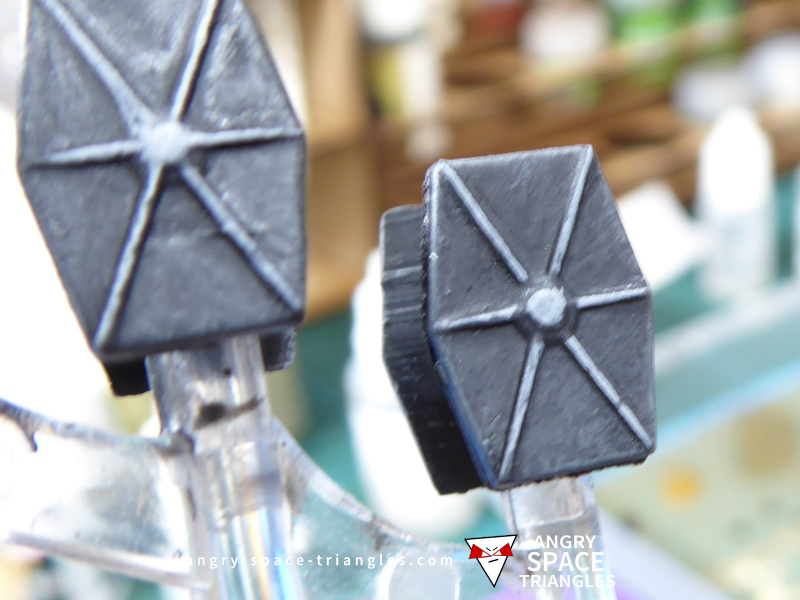
After a base coat of dark grey
Base coat in grey
After an undercoat, give them all a decent base coat in medium-dark grey. They need to be able to carry off both light grey highlights and a Nuln oil wash.
Washed with Nuln Oil
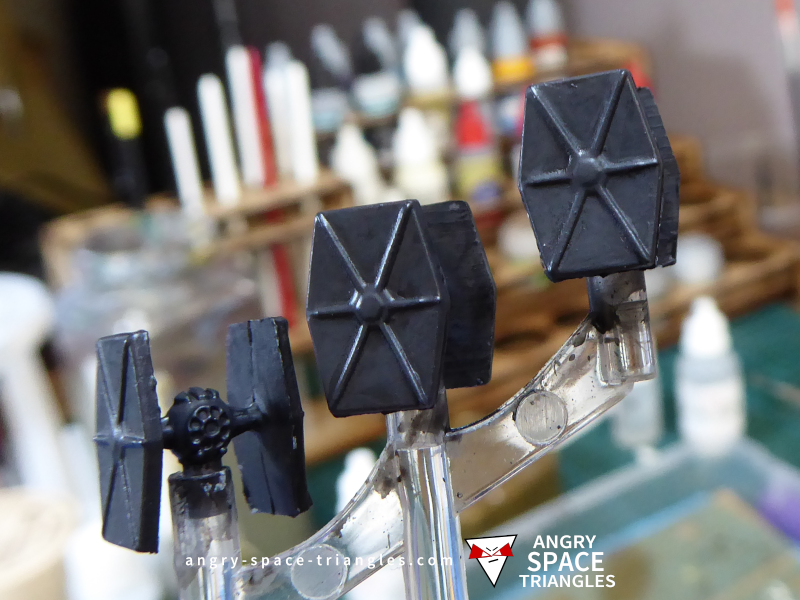
Washed with Nuln Oil
Wash with Nuln Oil
This step will darken the whole model. Initially tried just washing around the wing spokes and the inside of the hull but it took too long and was a bit erratic in terms of end results. I decided to just wash the whole thing; the wash collects around the spokes anyway.
(You can use a flow improver to break the wash surface tension if you want to reduce the darkening across the whole model.)

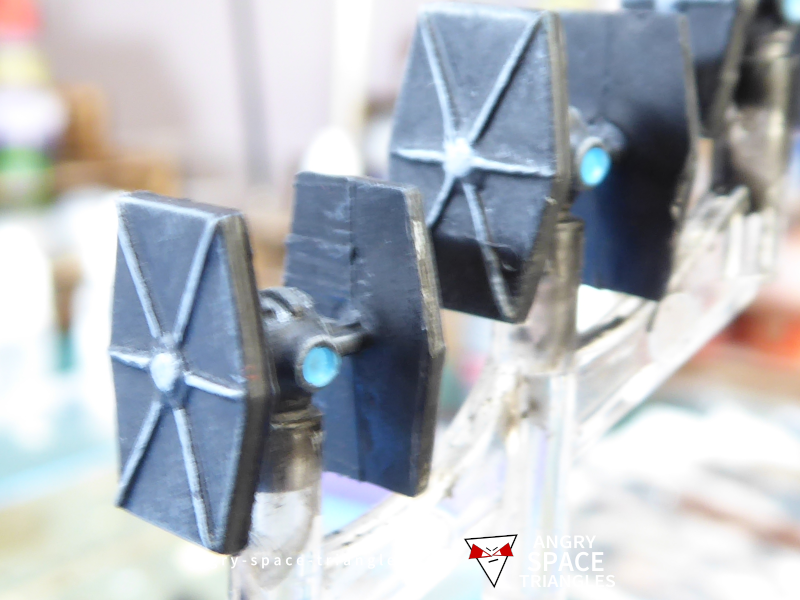
Dry brushing of the TIE Fighter wings
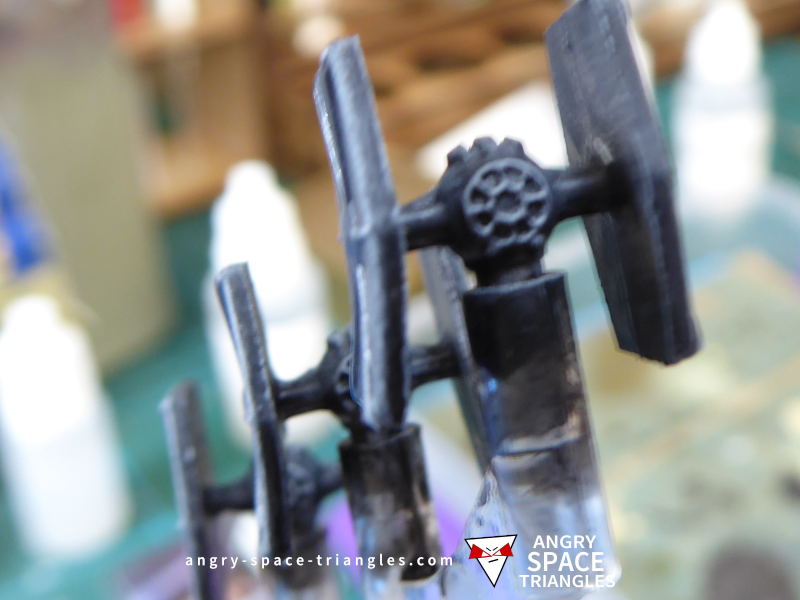
The cockpits
Another shot of the TIE Fighters after dry-brushing
Dry-brushing
Starting with a darker tone, and then increasing the tone brightness, I applied 3 rounds of dry-brushing to introduce highlights.
I focused on the cockpit and around the wing edges, with some attempt to get the spokes without colouring the wings too much. Given I later applied highlighting paint directly to the spokes, I’d not bother trying to get them with dry-brushing when I do this again.
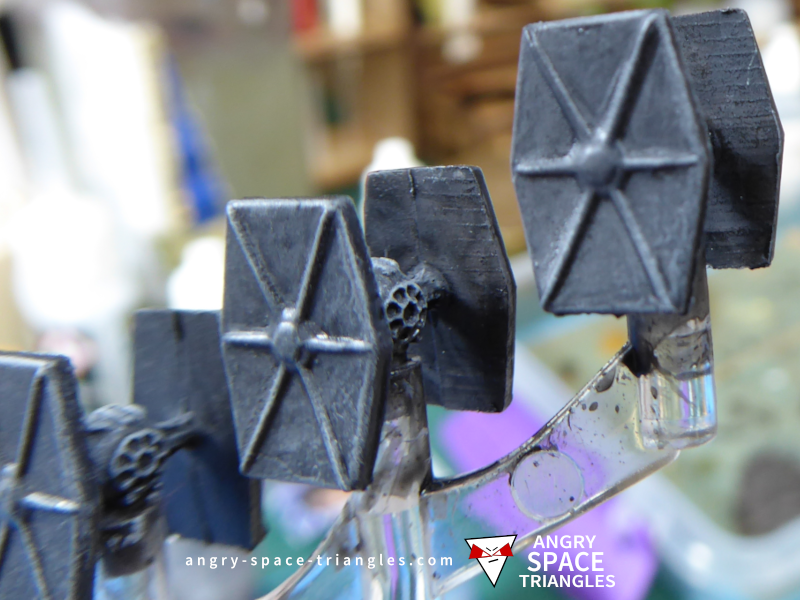
Highlighting the spokes with the brush edge
Highlighting the spokes
Highlight the spokes with the brush edge
The next step is to use the brightest of the tones that you used for dry-brushing, and using the edge of the brush, lightly stroke some colour on to the spokes.
Make sure your paint is wet enough to do this – it dries quickly when using a small brush, so you have to work quickly
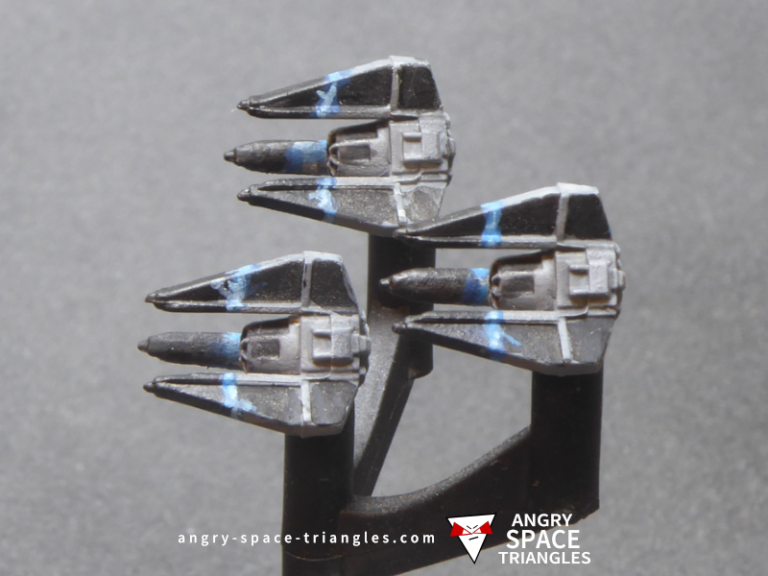
Blue engines.
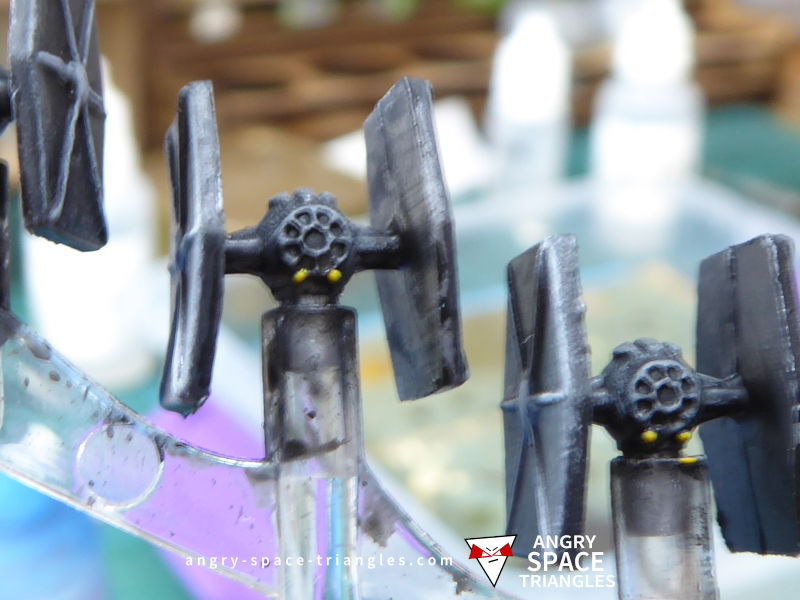
Yellow gun stubs
Final Steps
To bring life to the little fighters there are a few extra details steps you can do.
Blue engines
I did this in two stages – firstly with a medium-light blue, followed by a spot of very light blue. If the paint is still wet on the model you can get the layers to blend by adding the second spot with a more dilute paint. Just go small to start with and add more if you need.
Yellow Guns
Simply add a tiny spot of bright and bold yellow paint to the tiny guns on the front, just below the cockpit.
Extra Shadows into the cockpits
Since it can be done quickly, it is also worth shading the cockpits with a tiny drop of Nuln Oil. Just spot a wee bit in each of the gaps between the cockpit spokes.