Star Wars Armada
Battle Report 3 – Jerjerrod vs Rieekan
Battle Participants
A battle between Jerjerrod and Rieekan which will be our second to last battle before we move onto introducing wave 6 material.
Trying New Stuff
I was hoping to give Jamming Barriers and the TIE Phantoms another go. The plan was to protect the Phantoms from damage with the Jamming Field and then let them cloak away away and attack ships. As you can see from the Rebel fleet list below, with such a squadron heavy opposition, this plan was going to prove difficult. Fortunately, Phantoms are quite multi-role in nature, as are TIE Defenders, which makes having to do anti-fighter duties less of a problem.
Thoughts and observations on what I learned from the battle can be found in a separate post: Battle Report 3 – Learning on Jamming Field , TIE Phantoms and other observations
Rebel Fleet
Commander: General Rieekan
Assault Frigate Mk2 B (72)
Toryn Farr (7)
Flight Controllers (6)
Expanded Hangar Bay (5)
90 Points
MC80 Star Cruiser (96)
General Rieekan (30)
Support Officer (4)
Flight Controllers (6)
Fighter Coordination Team (3)
SW-7 Ion Batteries (5)
Liberty (3)
147 Points
GR-75 Combat Retrofits (24)
Comms Net (2)
Bright Hope (2)
28 Points
Squadrons
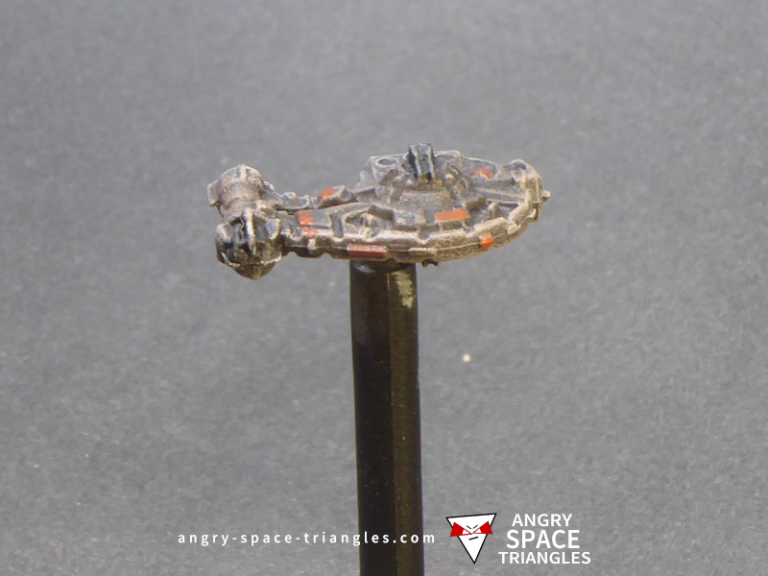
Jan Ors (19)
YT-1300 (13)
Gold Squadron (12)
Green Squadron (12)
Luke Skywalker (20)
Wedge Antilles (19)
2 x E-wing Squadron (30)
Z-95 Headhunter Squadron (7)
132 Points
Total Points: 397
Imperial List
Commander: Moff Jerjerrod
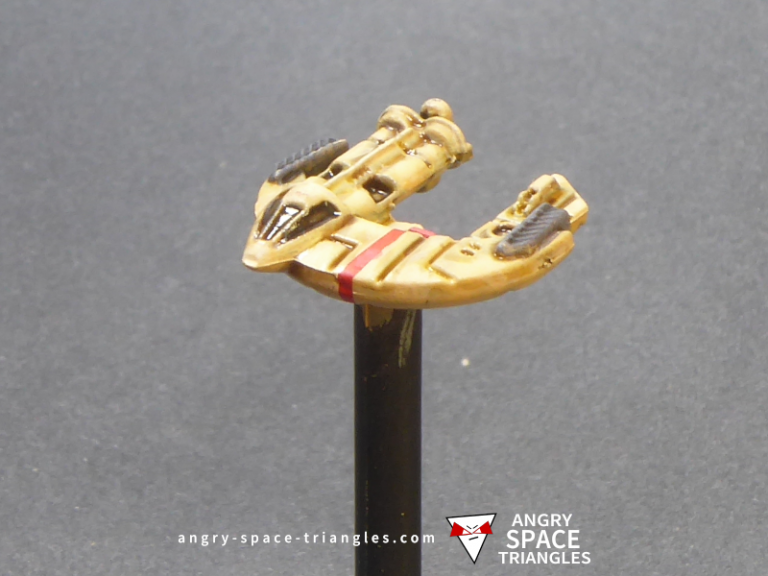
Gozanti Assault Carriers (28)
Minister Tua (2)
Jamming Field (2)
Suppressor (4)
Electronic Countermeasures (7)
43 Points
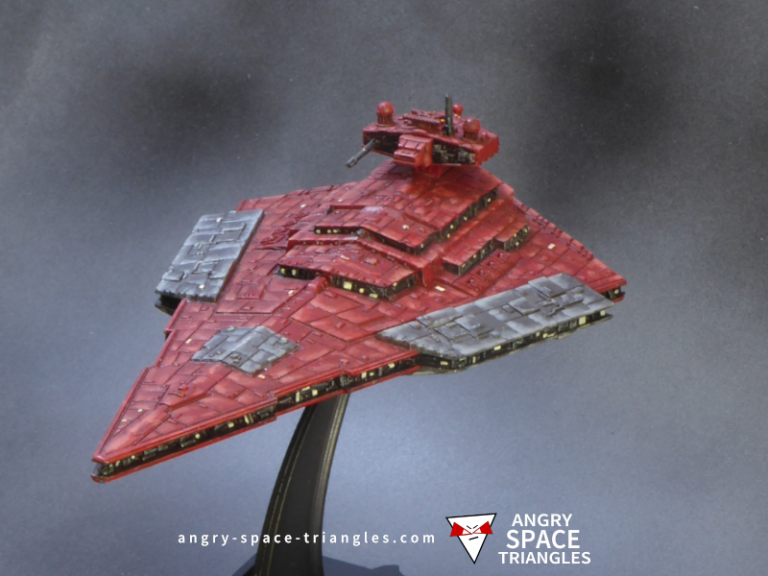
Victory I (73)
Moff Jerjerrod (23)
Skilled First Officer (1)
Flight Controllers (6)
Boosted Comms (4)
Dual Turbolaser Turrets (5)
112 Points
Victory I (73)
Skilled First Officer (1)
Boosted Comms (4)
Dual Turbolaser Turrets (5)
83 Points
Gozanti Assault Carriers (28)
Comms Net (2)
30 Points
Squadrons:
Whisper (20)
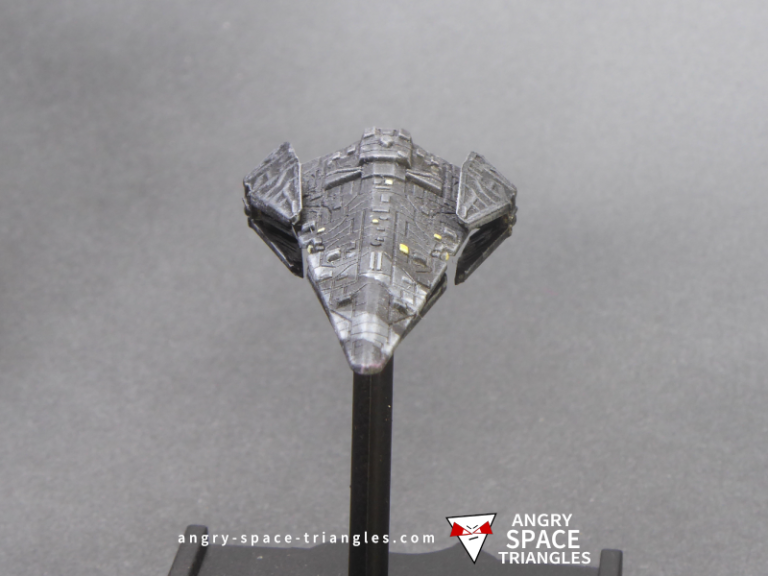
3 x TIE Phantom Squadron (42)
Maarek Stele (21)
3 x TIE Defender Squadron (48)
131 Points
Total Points: 399
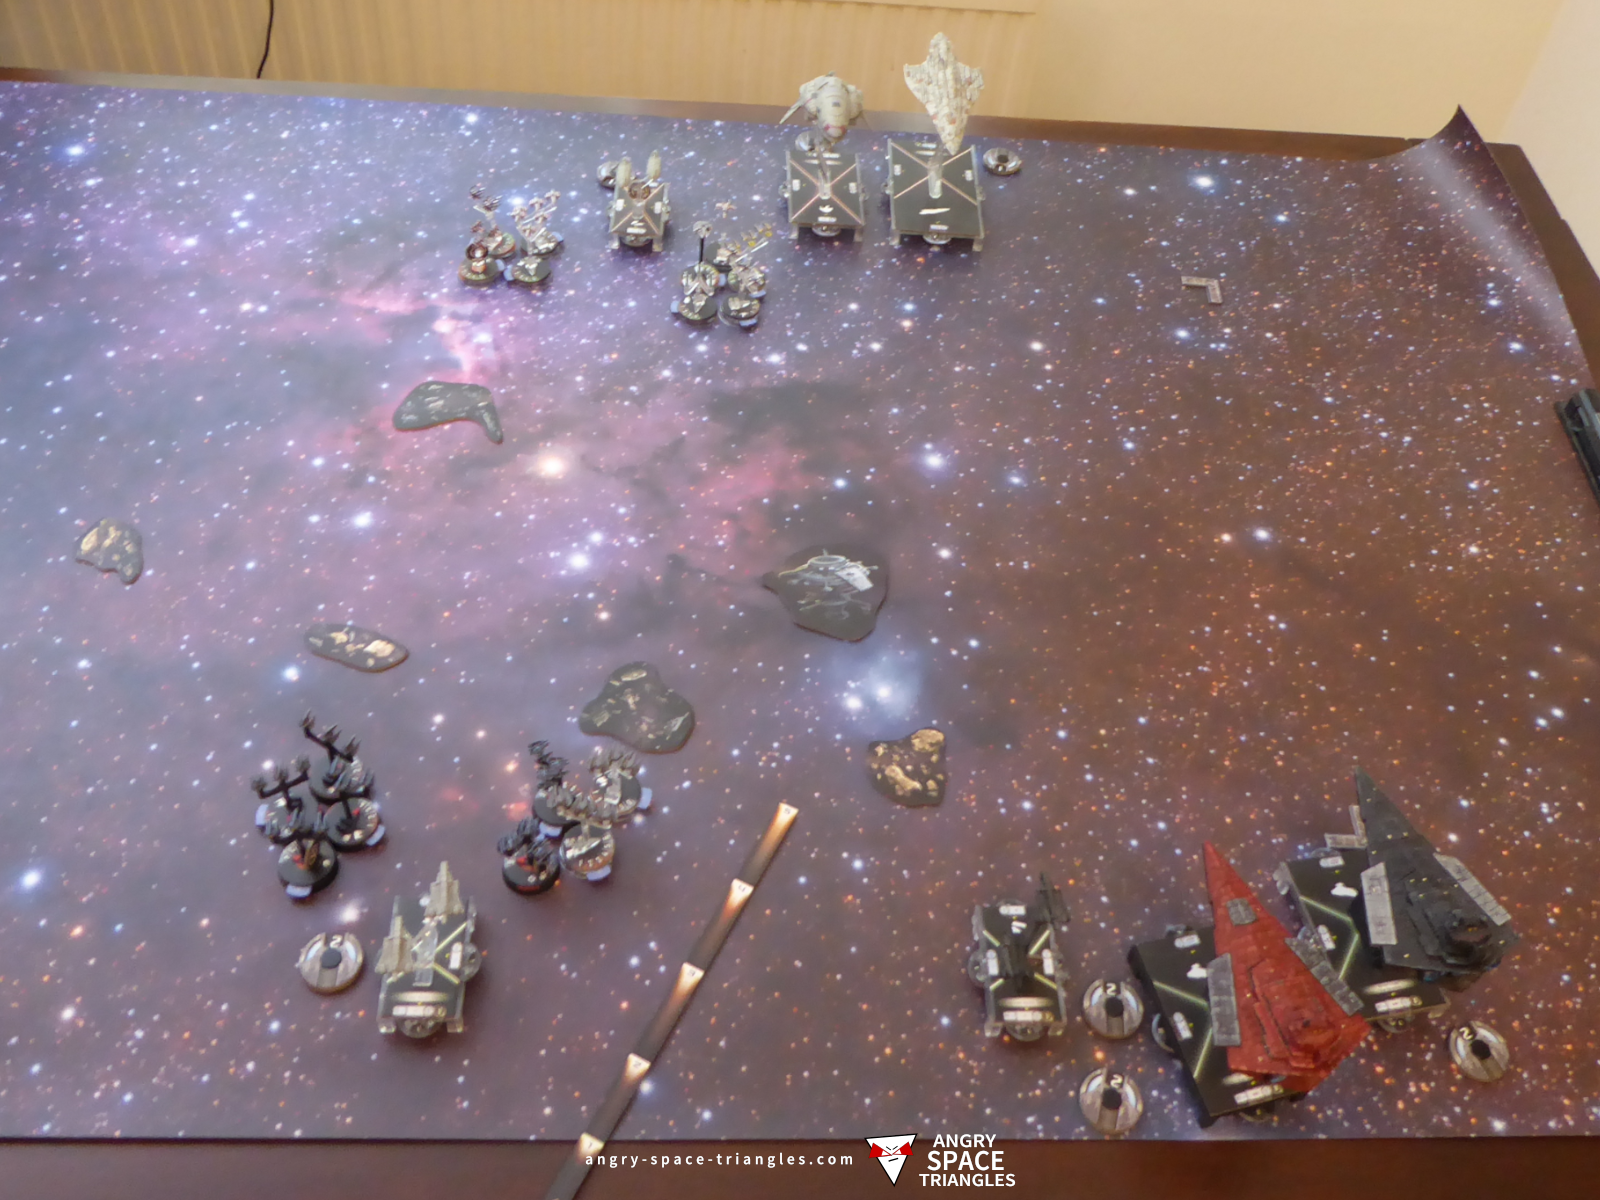
Objectives and Fleet Deployment
SpacePotato won the bid with 397 vs my 399. He picked precision strike. With both of us having good fighter representation, this didn’t give one side a big advantage.
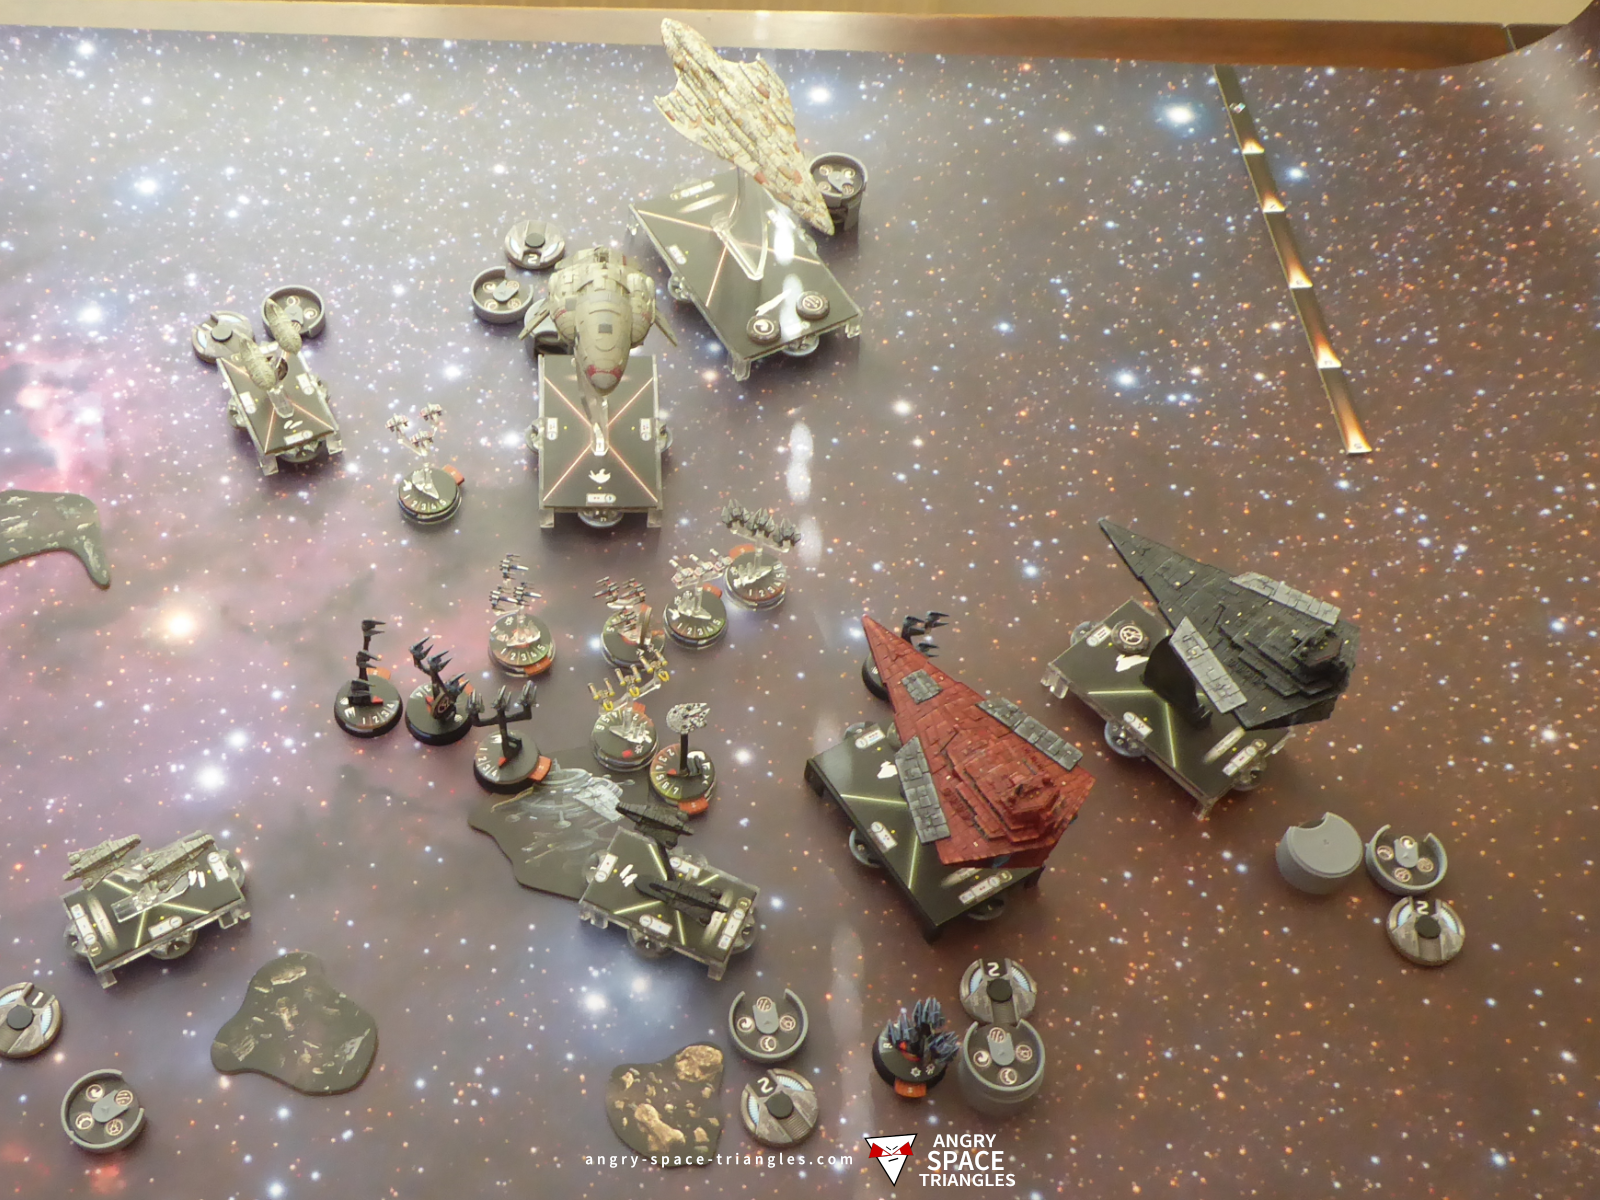
The asteroids and debris were concentrated in the centre of the map. Our fleets being Squadron-heavy meant that we both looked to take advantage of the obstacles to avoid engagement. The result was squadron balls in the centre, with the big ships facing each other on the right-hand side.
This immediately gave me some problems in that I had ships marked for certain duties. For example, I would want the Victory with flight controllers to activate squadrons that were chosen for anti-fighter duties, but they were out of range! Luckily the Imperial squadrons tend to be fast which makes it less of a problem when they are out of position.
Turn 1
The first turn was pretty uneventful, with both fleets moving forward and sending fighters towards the enemy. I wanted to get my Comms Net hosting Gozanti much nearer to the Victories so Comms Net could be used to pass them a token or two.
Asteroid and Bumping
I opted to move Suppressor onto an asteroid and take a critical hit, knowing it was heading for the station where it could get it fixed. Unfortunately, the critical effect was “Damaged Controls”, meaning it would take another damage when it overlapped the station! To make me feel a bit better, SpacePotato accidentally rammed his Assault Frigate and Liberty as they headed forwards. Oops.
End of Turn 1
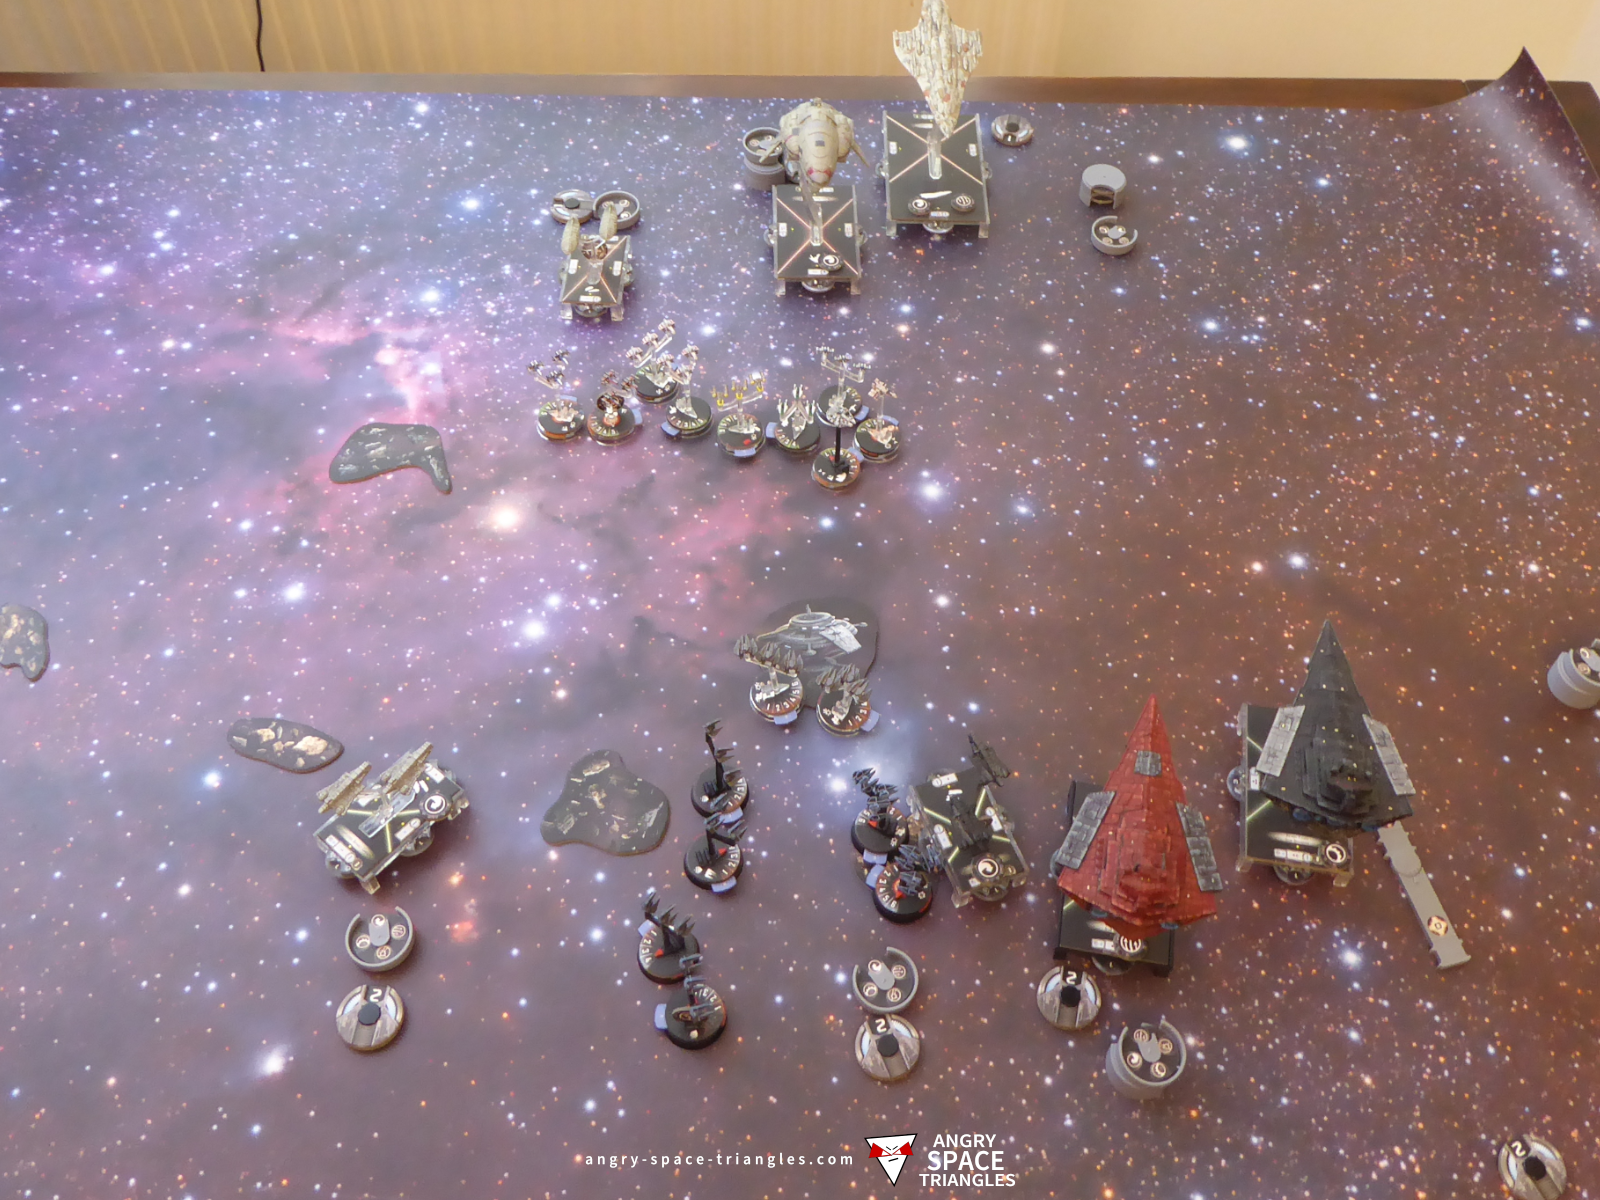
At the end of turn 1, my Imperial fighters had re-positioned somewhat, and the Victories were surging forwards to hopefully engage the Liberty at the same time. The Rebel fighter swarm was like a wall in front of their fleet. Jan Ors was in there somewhere, planning to be annoying as always, especially as she was coupled with an escorting YT-1300.
Turn 2
As first player, SpacePotato (my friend and opponent) activated his Space Potato (the Assault Frigate) and sent forward some of his fighters to engage and tie up my TIE Defenders, half destroying one of them. They were under the effect of the Jamming Field which reduced the incoming damage. Jan Ors was moved up to help protect them with her defense tokens and provide Intel support.
Squadron Action and an End to Ors
Two TIE defenders jumped forwards after being activated by the Red VSD and moved out of the Jamming Field to sort out Jan Ors. To avoid her benefiting the Rebels greatly, it’s essential she dies at the earliest opportunity. Some good rolling saw that this was done. A good start. A TIE Phantom and flak from the Red VSD also took out an A-Wing.
Wedge and Luke then joined the battle, destroying one of the TIE Defenders. A Z-95 was destroyed during Suppressor’s activation.
My other Gozanti activated 2 Phantoms and shuffled forwards towards the action. I was trying to avoid my usual mistake of setting them forward too fast, only to be unable to slow down when I needed them to. A forward shuffle was all that was required.
End of Turn 2
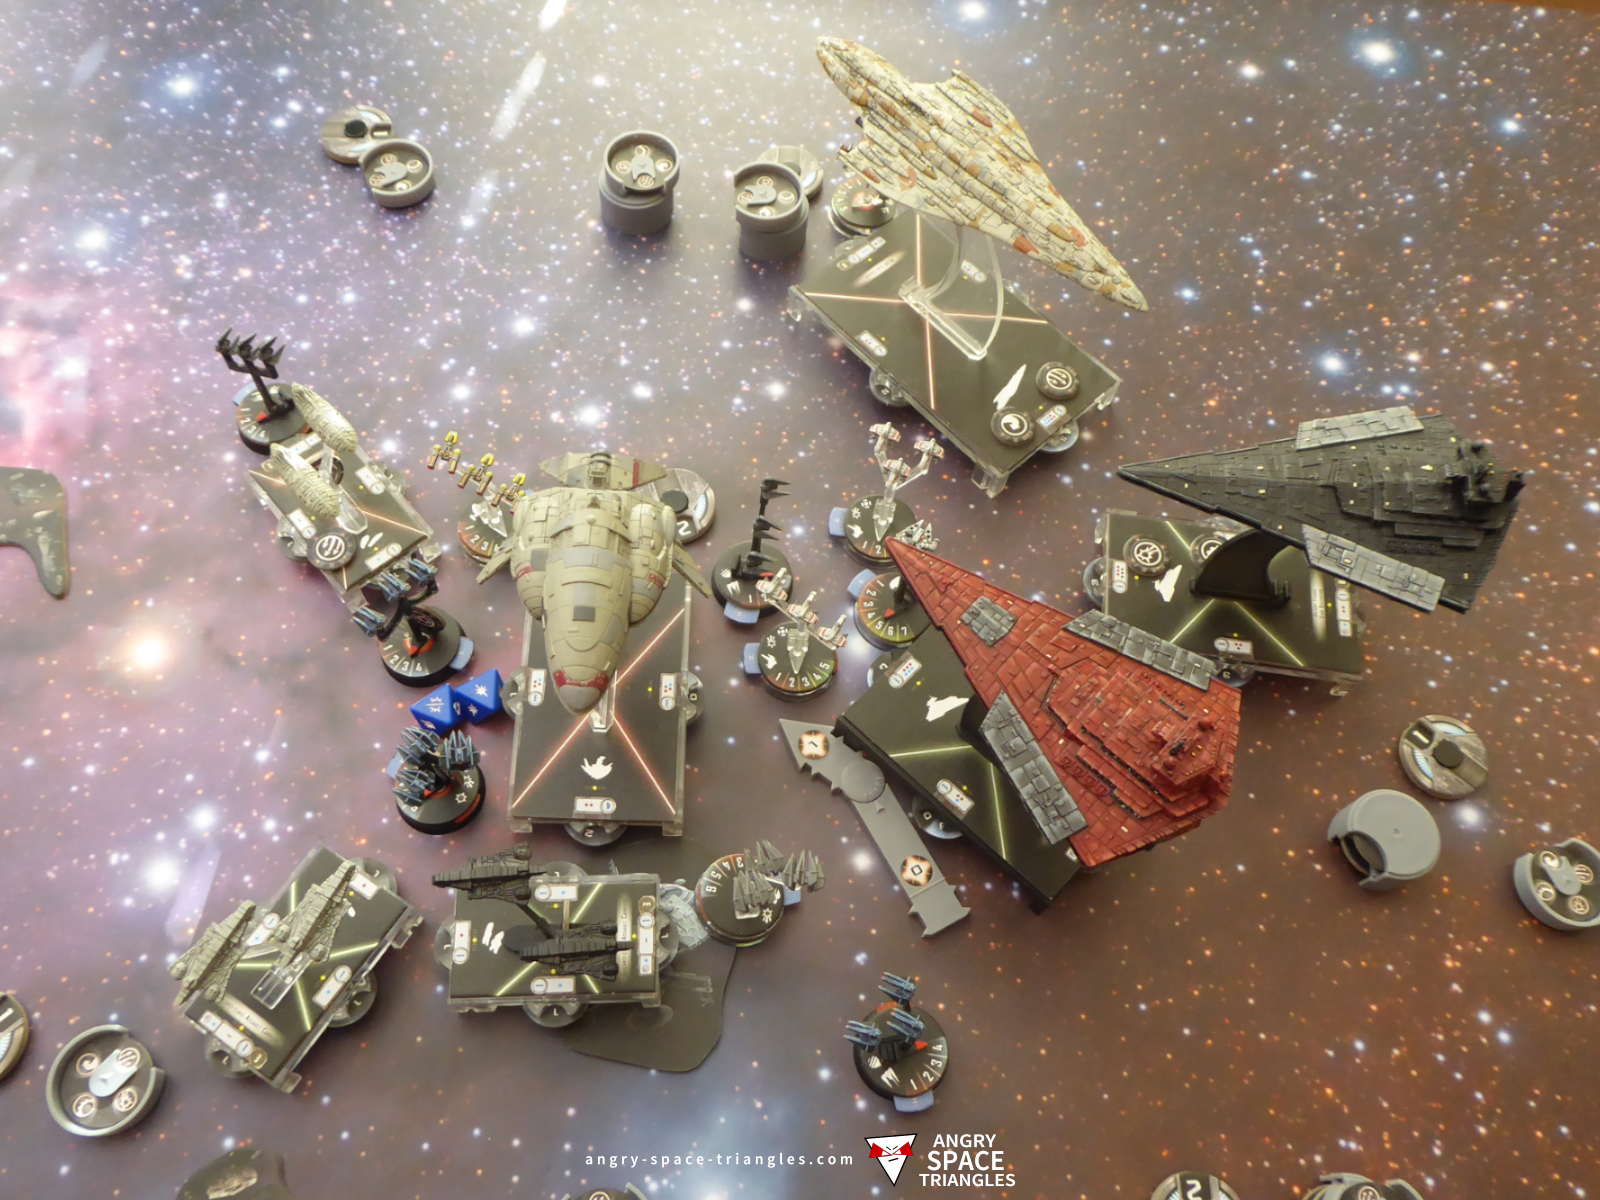
At the end of the turn, after Gold Squadron joined the action and some of the Phantoms had cloaked about a bit, the next turn was going to be messy. The VSDs, Assault Frigate and Liberty were all getting into weapons range, and the squadron melee was now in full swing. I was hoping that my activation advantage was going to pay off here: being second player and having more ships meant that SpacePotato was going to have to move forward into the fray and allow me to react.
Turn 3
First to go was the Assault Frigate with a squadron command. Activating Luke, Wedge and an E-Wing, they took out a TIE Defender and wounded Whisper. Whisper used his special ability to nip onto the station and heal the damage done. Handy. I was starting to like these TIE Phantoms. The Assault frigate had the red VSD double arced and did a total of 4 damage in its two shots. It advanced just in front of the station, landing next to Suppressor which caused its brace to be exhausted. I was starting to like Suppressor too!
Suppressor activated a couple of TIE Phantoms who started to wear down some Rebel Squadrons, and put out some flak, doing another damage to 3 more squadrons, including the final damage to Wedge. It repaired its hull damage on the station at the end of its move, where it now obstructed the Assault Frigate.
Good Dice
Whisper got more incoming fire from an E-Wing as part of the Liberty’s squadron command. The Liberty did a nice 4 damage from 3 red dice on the red VSD and then continued to shuffle forward. I was a bit concerned that the red VSD would be worn down too much to make much of a contribution before it was destroyed, especially as it was next to an Assault Frigate’s side and the Liberty’s front.
Bad Dice
In return for attacking my red VSD, the black VSD took a shot at the Liberty, rolling 3 blanks, and got another blank from the Dual Turbolaser Turrets roll. I was now even more worried about the oncoming Rebel cruiser. The VSD ended its move in a nice double arcing position right in front of the Liberty.
The squadron game continued, with Bright Hope activating Gold Squadron and with its flak had hurt Whisper and another Phantom. My basic Gozanti put out a long range shot against the Space Potato and moved up to create a bit of a Gozanti-barrier in front of the Assault Frigate.
The red VSD activated a couple of TIE Defenders who continued to engage the Rebels. It rolled 2 red accuracies and a total of 5 damage from a front salvo into the Assault Frigate, gaining an objective token for scoring a face-up damage, making the Assault Frigate hurt; it ended the turn on 5 damage including a Targeter Disruption critical. Its move left it at point blank range of the Assault Frigate, and right in front of the Liberty. I suspected that it wouldn’t last another whole turn.
Turn 4
In an attempt to get the Assault Frigate out of harm’s way, it activated and took a side shot at the VSD at close range, rolling an impressive and annoying 5 damage and 1 accuracy, including a crit – those pesky and unpredictable red dice! My red VSD now had Misaligned Thrusters from the crit and had its already rubbish maneuverability reduced. With some perfect flying, the Potato was outta there and flew past Suppressor, dodging an asteroid in the process. It still landed near enough to Suppressor to have to exhaust a defense token.
The now battered red Victory Star Destroyer used its much needed engineering command to fix up some shields and took a couple of shots at the Liberty, rolling a total of 6 damage in two attacks. The Liberty was down to two spent brace tokens and had a single hull damage.
Returning fire, the Liberty put a 7th damage on the red VSD from its side arc, and totally depleted the black Victory’s front shields. Using a handy navigate command, it flew past the Victory to land nicely in the side arc and out of the big front guns.
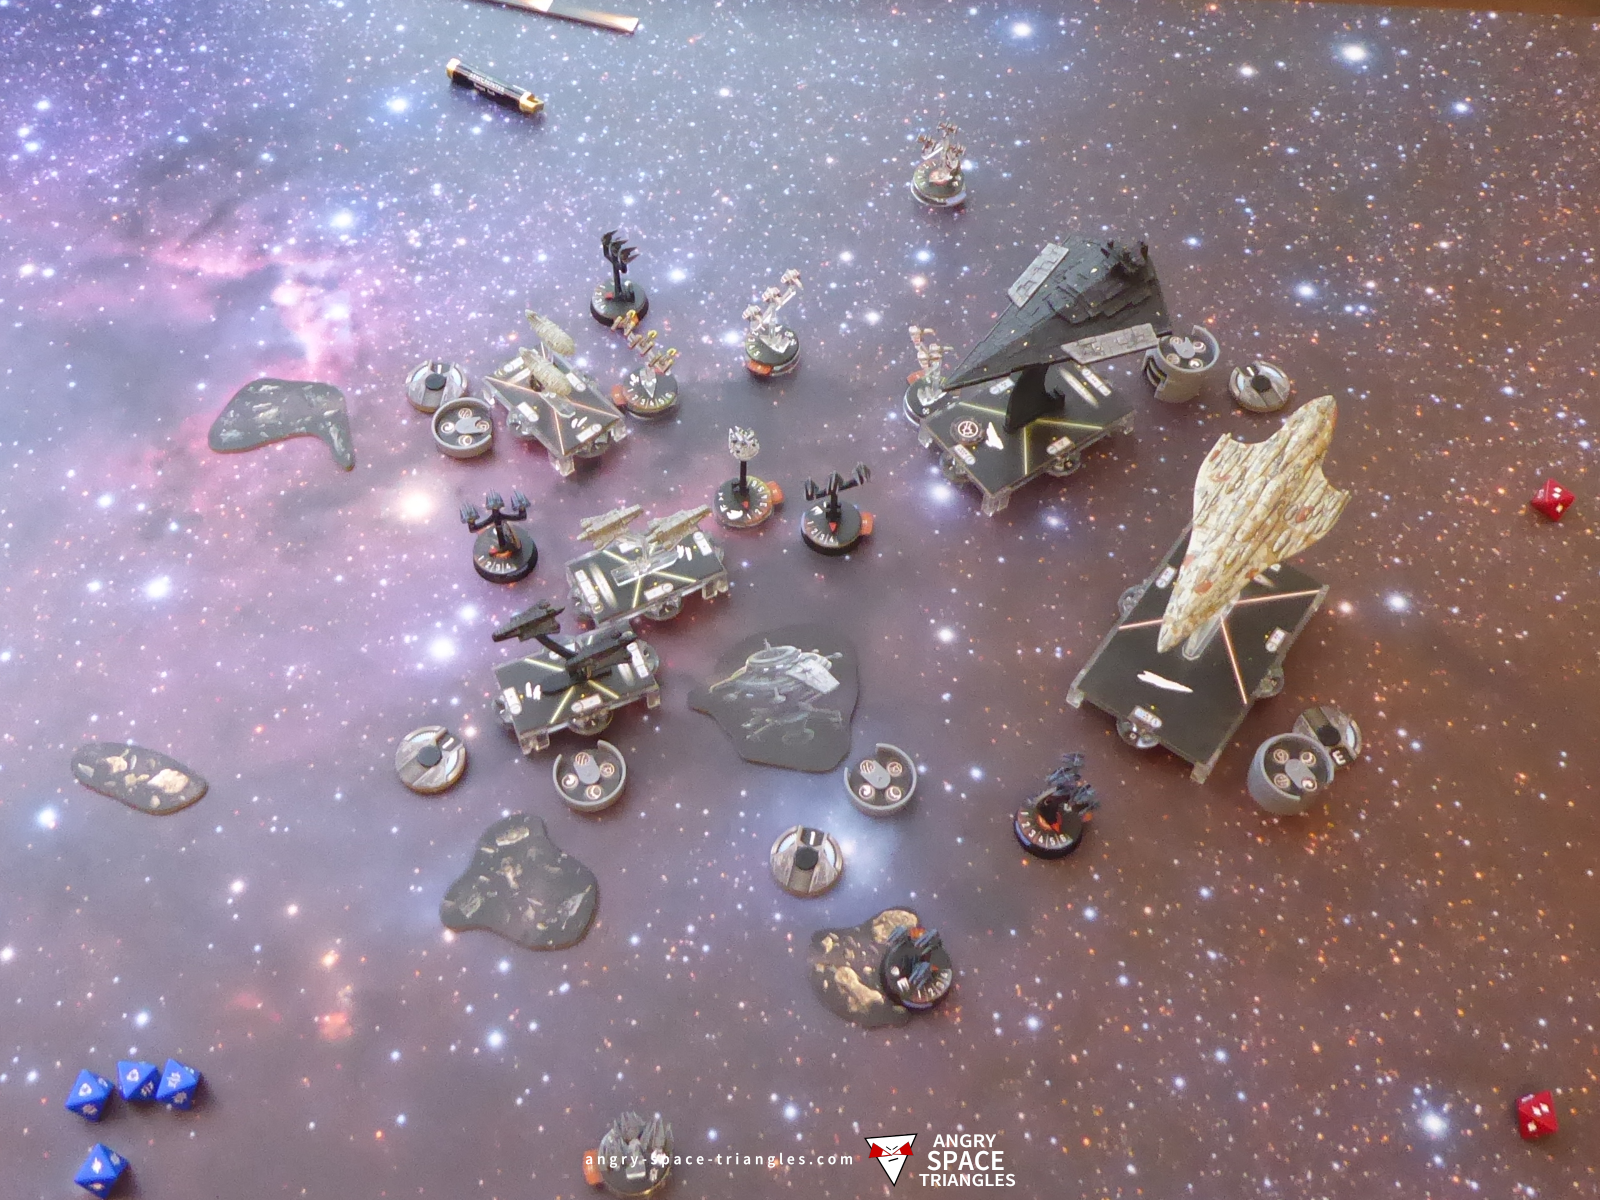
Stuff Explodes
The Assault Frigate was put out of its misery by a TIE Phanton that was activated by my Gozanti, and my red Victory was destroyed by the brave Rebel transport of all things, which made use of its concentrate fire command. The black VSD had a pop at the Liberty from its side and swung around to run almost parallel with the Liberty, which looked to be in its front arc. Suppressor activated a couple of squadrons which started to harass the Liberty, giving it an Injured Crew crit that removed one of the two braces. It was starting to look a bit vulnerable.
The squadron game continued as the Rebels and Imperials continued to wear each other down. The fighter battle was now much more dispersed and sporadic, with more movement required to keep engaged.
Turn 5
Bright Hope kicked off proceedings by activating the YT-1300 and an E-Wing which were used to put an end to a TIE Phantom. It bumped Suppressor, causing them both some collision damage, and had its scatter token exhausted from Suppressor’s special ability.
The regular Gozanti used its long range turbo lasers to attack Liberty, causing a Life Support Failure critical hit. Liberty returned fire from its side and took off a shield before moving away from the battle, but towards some nasty looking TIE Defenders. Activated by Suppressor, these defenders took the opportunity to put some fire into Liberty, scoring two bum-damage. It also destroyed the YT-1300 using its flak.
The game was finished when the black VSD took a long range side-shot into Liberty’s rear, scoring the 3 damage needed to put her down. With no capital ships left, the game was over with victory to the Imperials!