Star Wars Armada
Battle Report 4 – Observations and Learning
A commentary on my most recent Armada battle between Commander Sato and Admiral Jerjerrod
For the battle report, see : Battle Report 4 – Warlord, Biggs and Jonus
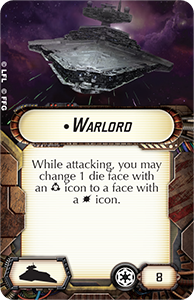
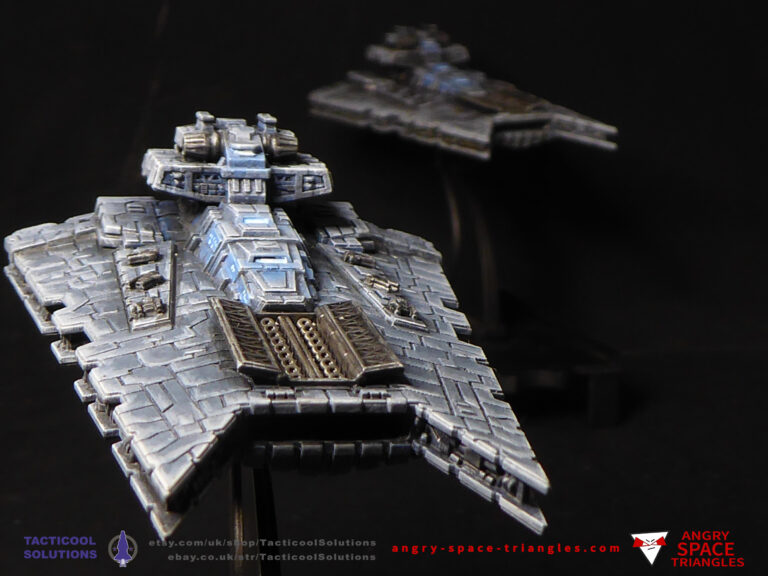
Warlord
Warlord is an expensive card, but it gives you an extra one or even two damage, at the expense of an accuracy. During play I noted a number of additional interesting uses. It’s very versatile.
- This card can be used when attacking squadrons to convert accuracy icons into damage.
- This card can be used on both your our attacks in an activation
- It works on both red and blue dice and red dice
During Battle 4 I was able to use Warlord to effect once, where I combo’d it with Quad Turbo Laser Cannons (QTC) and Captain Jonus. It’s hard to comment on the value-for-money aspect of the card after just one game, but I feel that with a Jerjerrod fleet then you’ve got a greater chance in general of getting your shots in, and hence it should come into play more often. Consider that Warlord and QTC cost 18 points though, that’s the same as a Firespray-31 which is much easier to put to good use.
There’s something satisfying about pulling off combos though, and Warlord feels good to use.
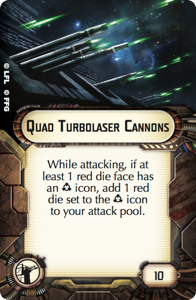
Quad Turbolaser Cannons
It was also my first run with Quad Turbolaser Cannons. I can’t see me running with them often since they are offensively expensive, and their effect relies on getting a red accuracy in a roll which is a one-in-eight chance per red dice. They obviously benefit from anything giving you re-rolls so you can fish for these accuracy results – Vadar, tokens or whatever.
Paring this card up up with Captain Jonus really helps mitigate the risk of not getting a red accuracy and I’d say is a must if you really want to get your points value from the card.
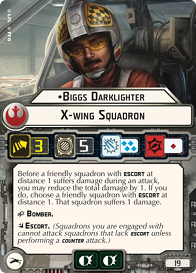
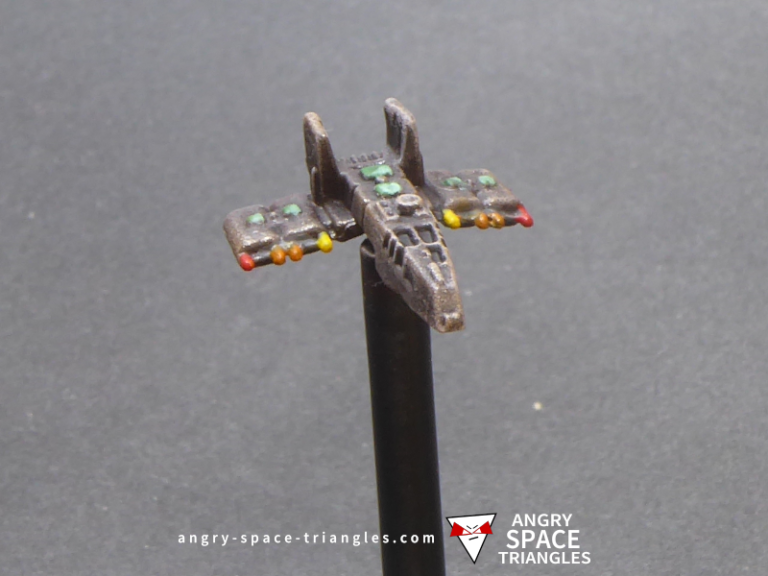
Biggs Darklighter
Ohhh Biggs. In Battle 4, Biggs Darklighter showed his worth. I got the jump on the Rebels and was pretty dominant in the squadron game, but Biggs was able to trickle feed any damage I did into a YT-1300 escort. This was somewhat frustrating and kept the useful squadrons alive so much longer.
I realise now that I should have attacked the YT-1300 directly since I’d have avoided the brace that Biggs was able to apply before passing over 1 damage to the escort.
He’s not cheap at 19 points but paired up with the right allies, he really extends the lifespan of your most valuable or vulnerable squadrons.
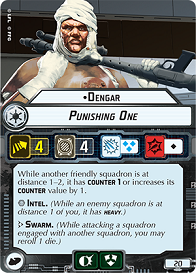
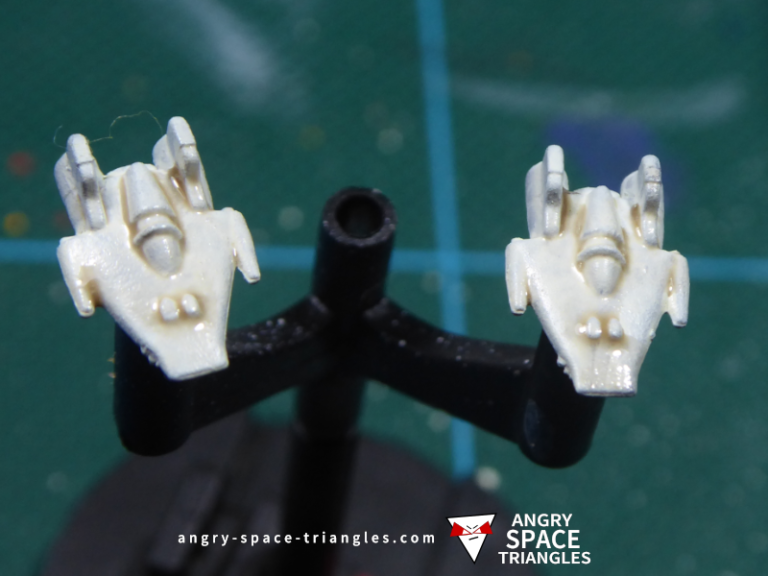
Dengar
In Battle 4 I learnt a lot about Dengar. His abilities seem obvious, but I found that during the game I was faced with using him for one purpose, or another, but not both at the same time!
- His ability to give counter 1 (or improve a existing counter by 1) is great at adding wear on enemy squadrons, especially unique squadrons with their braces and scatters. Since this ability has a range of 2it allows you to keep him safer from harm by hanging back a bit, but this stops you from benefiting from his Intel ability…
- His Intel ability is short ranged, so you have to fly Dengar into the combat to take advantage of it. I found myself nervous about this since he’s quite fragile. By hanging back, I was not going to be able to use Intel.
It’s important to know exactly why you’re bringing him along and how you intend to use him, otherwise there’s a big risk of him sitting on the sidelines doing nothing of real value. Going forward, I’ll use an escort of some sort.
Another thing to note is that being First Player makes it much easier to use Dengar as you can do last-in, first-out type attacks and be sure you’ll act first in the next activation. When he wants to fly out, all the enemy squadron he’s engaged with will be ‘heavy’, meaning he can flee without a problem.