Star Wars Armada
Battle Report 4 – Sato vs Jerjerrod
![]()
Battle Participants
Our last battle before we introduce wave 6 in to the mix. This was Sato vs Jerjerrod. I’ve been using Jerjerrod and Victory Star Destroyers for some time now, so I’m quite looking forward to exploring something different; but for now, one last blast with the super manoeuvrable VSDs.
Trying New Stuff
I wanted to try out the Warlord title for a Victory Star Destroyer, and so also included the expensive Quad Turbolaser Cannons (10 points) and Captain Jonus. All these cards synergise around red accuracy results: getting new “free” ones, making use of blank red dice, and converting accuracies into double hits.
In order for Jonus to be free to move around and assist Warlord, I needed a reasonable anti-fighter presence, and so I took another VSD with flight Controllers and boosted comms to act as a carrier and host my admiral. Squadron selection was based upon having a powerful alpha strike with Interceptors, Howlrunner and Flight Controllers, and a couple of multi-role rogues to give some flexibility and allow for a reduced carrier capacity.
SpacePotato and his Rebels were trying some new stuff too. To make use of Commander Sato, he was going to need a decent Squadron presence. Here, he had a core of brace-token-heavy Luke, Wedge, Jan Ors and Biggs Darklighter. Biggs and Jan were at the core of the design. With a vanilla YT-1300 transport, they’d be able to soak up lots of damage and keep Squadrons alive so that the fleet could benefit from Sato. A Bomber Command Centre on Bright Hope gave the squadrons some additional anti-ship weight, with Dagger Squadron and Green Squadron and a B-Wing squadron to make a total of 6 bombers. We’ve not played with Biggs before, so it was going to be interesting to see how he helped.
Fleet lists are below. Thoughts and observations on this battle can be found in a separate post: Observations and Learning
Rebel Fleet
Commander: Commander Sato
MC80 Command Cruiser (106)
Commander Sato (32)
Flight Commander (3)
Fighter Coordination Team (3)
Expanded Hangar Bay (5)
149 Points
CR90 Corvette A (44)
Intel Officer (7)
Turbolaser Reroute Circuits (7)
58 Points
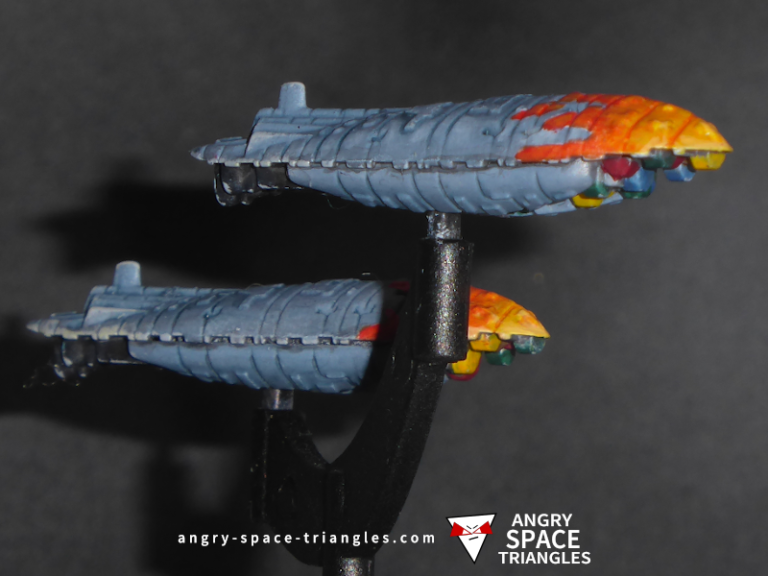
GR-75 Combat Retrofits (24)
Bomber Command Center (8)
Bright Hope (2)
34 Points
GR-75 Combat Retrofits (24)
24 Points
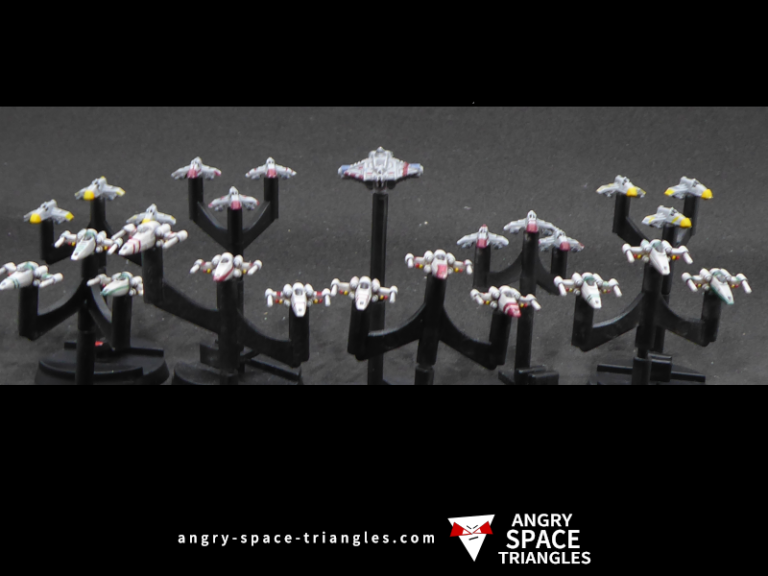
Squadrons
Biggs Darklighter (19)
YT-1300 (13)
Jan Ors (19)
Wedge Antilles (19)
Luke Skywalker (20)
Green Squadron (12)
Dagger Squadron (15)
B-wing Squadron (14)
131 Points
Total Points: 396
Imperial List
Commander: Moff Jerjerrod
Victory II (85)
Weapons Liaison (3)
Quad Turbolaser Cannons (10)
Warlord (8)
106 Points
Victory II (85)
Moff Jerjerrod (23)
Support Officer (4)
Flight Controllers (6)
Boosted Comms (4)
XI7 Turbolasers (6)
128 Points
Gozanti Assault Carriers (28)
Minister Tua (2)
Comms Net (2)
Suppressor (4)
Electronic Countermeasures (7)
43 Points
Squadrons:
Captain Jonus (16)
Howlrunner (16)
2 x TIE Interceptor Squadron (22)
Dengar (20)
IG-88 (21)
Bossk (23)
118 Points
Total Points: 395
Objectives and Fleet Deployment
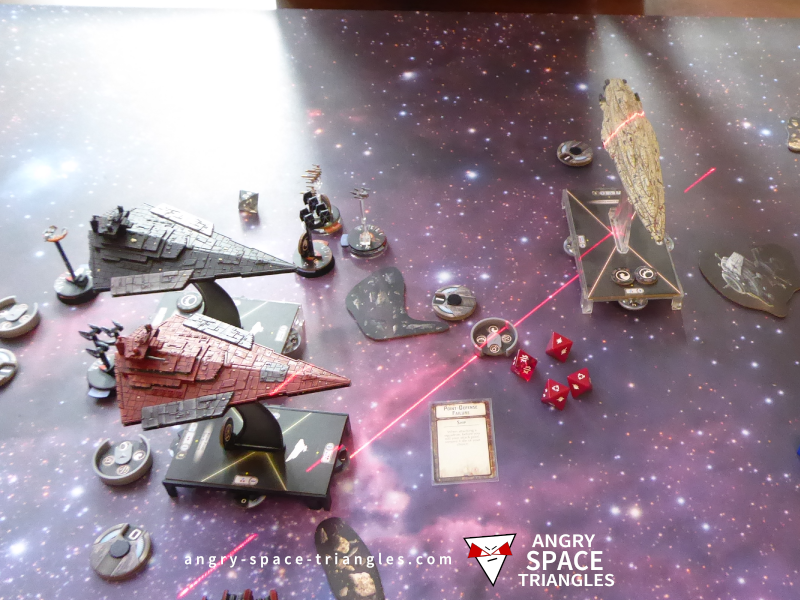
I won the bid by an optimum 1 point: 395 vs 396 . I elected to be First Player and chose Superior Positions as the game objective. I normally fear being out-deployed, but in this case with Victory Star Destroyers and lots of Squadrons, I was hoping that I could advance slowly from a corner and let the Squadrons duke it out ahead of the ships, and not worry about being out-manoeuvred.
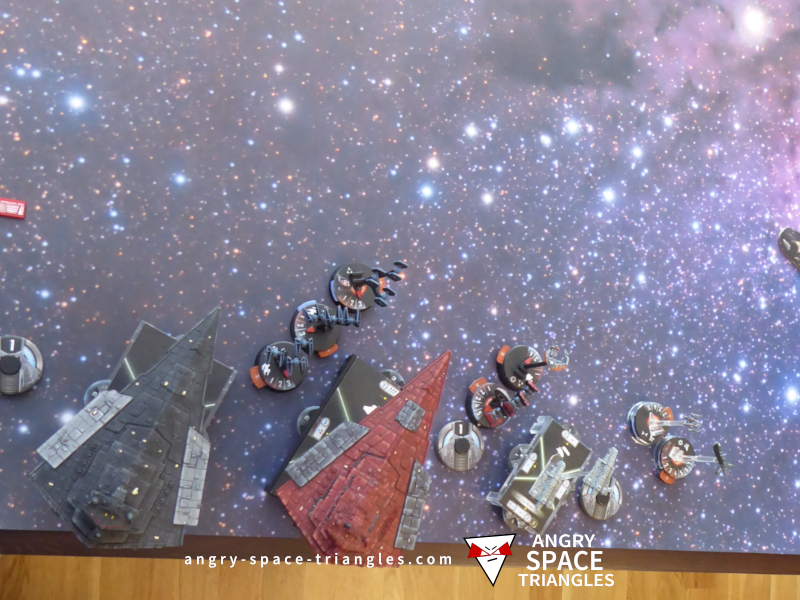
Imperial Deployment
With this in mind, I was happy for the obstacles to be placed on the one half of the map, with the other being clear as it allowed me to focus deployment without the added complexity of worrying about hitting obstacles.
Rebel Deployment
The Rebels deployed with their MC80 having a heading that was perpendicular to the Imperials, wanting to take advantage of its superior broadside, with the CR90 on the far side planning to come in at high speed on the flank.
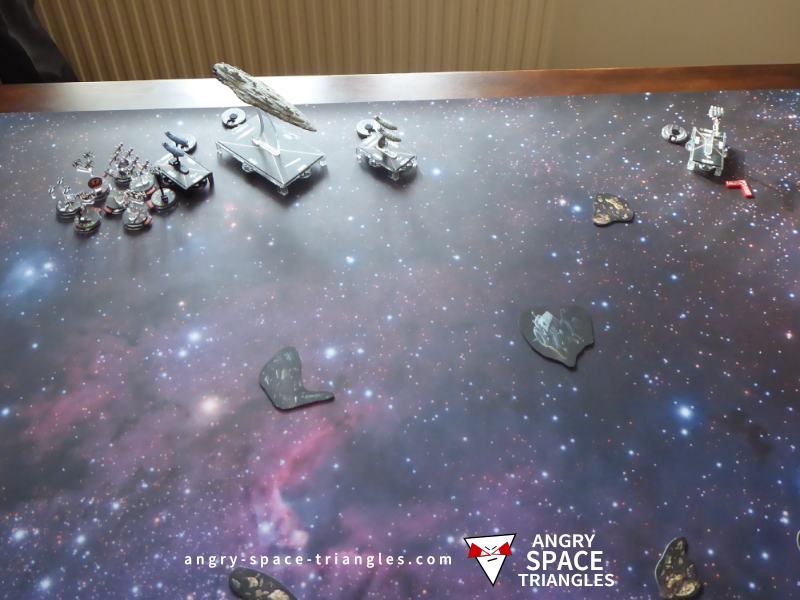
Turn 1
Both the Rebel and Imperial ships shuffled slowly forwards, with exception of the CR90 which had a lot of space to cover in its approach from the far side. Both sets of Squadrons begun to face off, with the Imperials being split up into 2 groups while the rebels had formed a loose fighter ball. The CM80 made use of its Fighter Coordination Team upgrade to help along the slow B-Wings.

Turn 2
It was looking like this game was going to heat up in the later turns since on turn 2 our ships were still a long way apart and moving quite slowly.
Both my Victory Star Destroyers turned in towards the centre of the map. I was a little bit apprehensive of them getting surrounded and nailed by Rebel bombers early-on, but equally they couldn’t hang back too far and risk being a total waste of points. I was hoping that I’d draw the Rebel fighters away from their command ships and be able to benefit from my own flak support.
Bossk and IG88 began the action by engaging the enemy Squadrons – their damage was braced and redirected by Biggs to the YT-1300, doing a total of 2 damage to it. It dawned on me that the Squadron battle might be tricky – Biggs and so many escorts might be able to withstand all my attacks and take out my Squadrons, leaving me vulnerable to the bombers. Eek.
At the end of the turn, SpacePotato moved Wedge and Green Squadron out of the Rebel fighter ball and towards my Interceptors. Soon after he wondered why he’d done this; while the move did lock down my fighters, it took the Rebels away from the protection of Jan and Biggs. With Flight Controllers and Howlrunner, hopefully I could make an impact here on my next turn as First Player.
Turn 3
Things began to hot-up in turn 3. The black VSD activated first, hoping to nail Wedge and friend. The Interceptors and Howlrunner did take out Green squadron, but only did 1 damage to Wedge due to some poor rolling.
Home 1 replied in kind by attacking Bossk, doing 3 damage with Luke and Dagger Squadron. Unfortunately I’d kept Dengar out of harm’s way which meant that he wasn’t close enough to give Bossk a counter-1. I regret this now – had the Rebels moved in to attack Dengar, it would likely have meant bringing them out of command range and into flak range of the Imperial ships.
Suppressor did a bit of flak damage to Luke and Biggs, and inched forward at speed 1. I was keen to not have Suppressor move into almost certain Squadron death early in the game.
Bossk took another couple of damage from Biggs and the YT-1300. Interestingly, both SpacePotato and I were rolling poorly – damage was mounting up on the Squadrons bit by bit. I was lucky that Bossk was still on the map.
Warlord sent flak at Wedge, and slowly moved forward. Bright Hope was going to be in range soon – heading towards two VSD front arcs. The other transport and CR90 were also coming up. Fortunately for the Imperials, the big and mean MC80 was still very much in the background doing carrier duties.
During the squadron phase, Wedge did 2 damage on Howlrunner, but was himself destroyed by the free counter 1 that Dengar provided to Howlrunner.
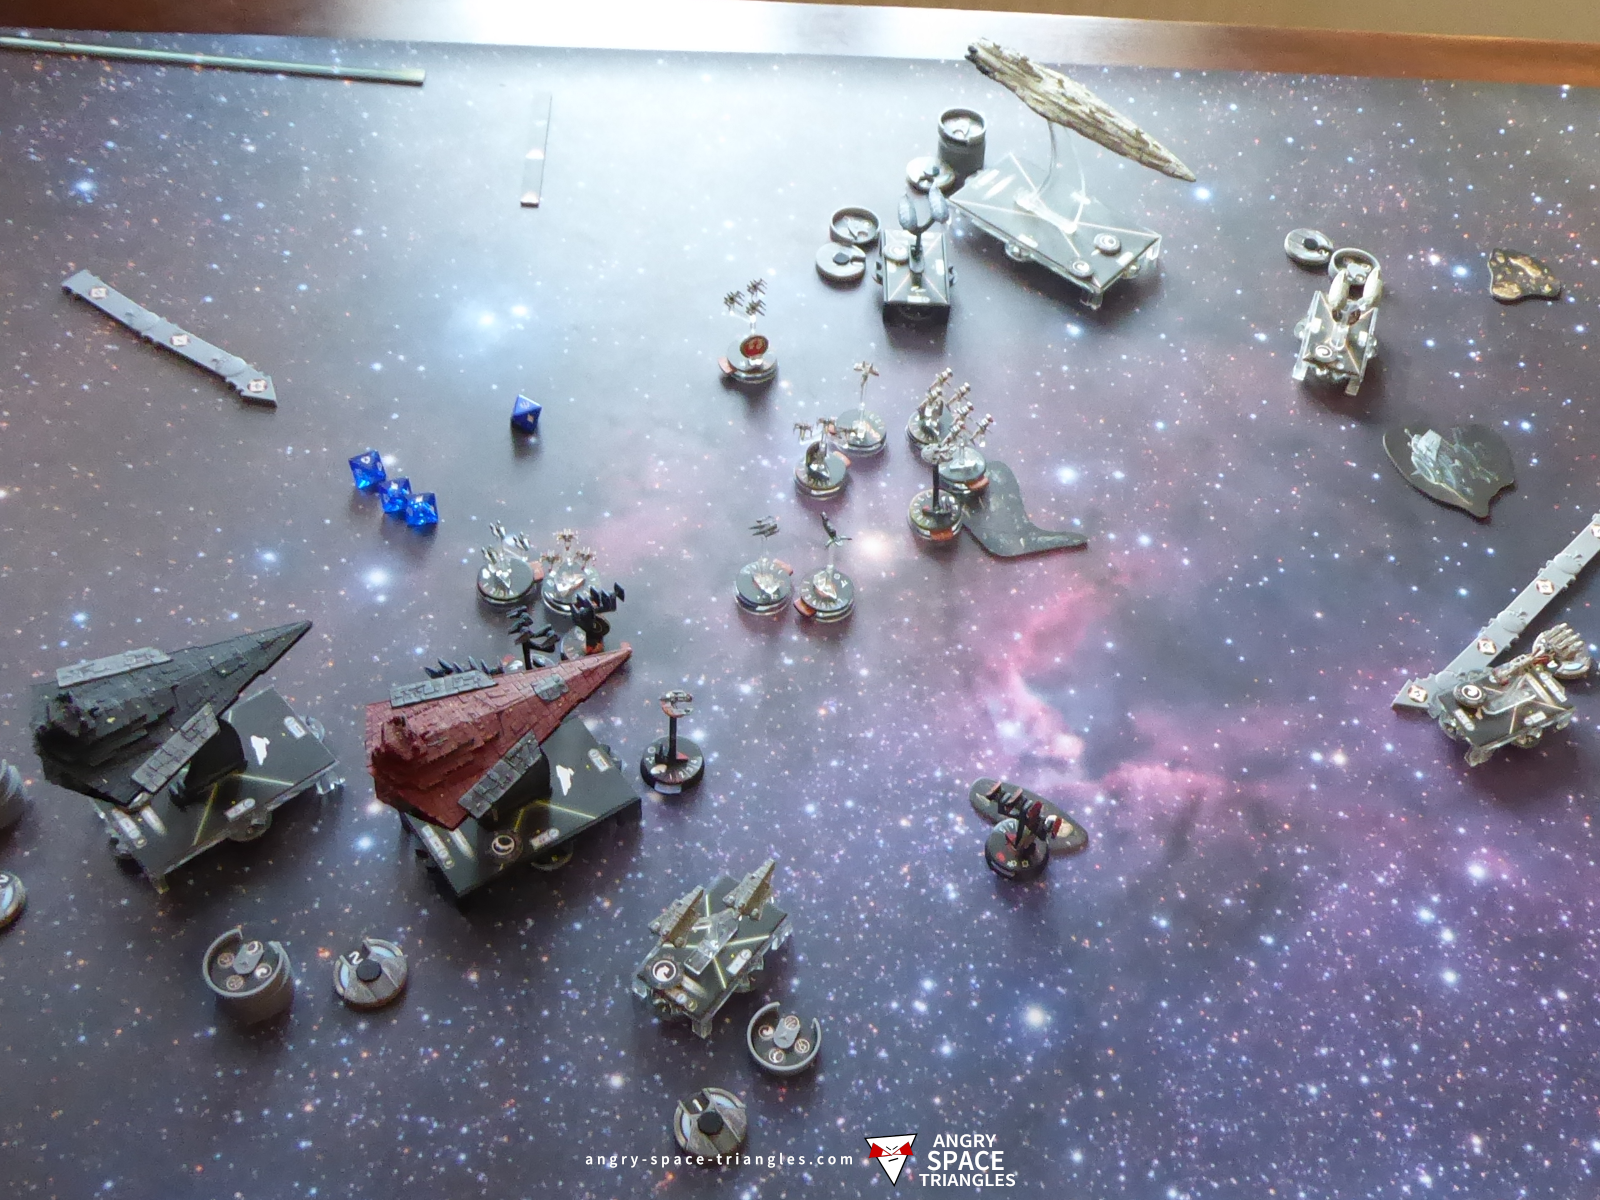
Turn 4
I made a bit of a balls-up during turn 4. I mistakenly didn’t give my carrier VSD a Squadron command, thinking that it had Weapons Liaison and could assign itself this command by spending a token. Fortunately, it turned out to not be a critical as Warlord could activate squadrons too, but I missed out on the Flight Controller buff and wasted a command token on Warlord to activate a Weapons Liaison. I often find this is the case; my tiny brain doesn’t deal well with asymmetric ships of the same type. Here for example, I got confused as to which Victory had which upgrade. If I ever do any tournament play in the future I need to bear this in mind: having to play so many games in a single day makes tiredness-driven mistakes much more likely.
Warlord activated Howlrunner, Dengar and an Interceptor, all of whom each did 1 damage to the annoying YT-1300 thanks to Biggs’ ability to migrate damage to other escorts. The CR90 was now in range of the Victory’s front arc and took 3 damage. It made use of both Jonus to give it an accuracy, and then Warlord to turn an accuracy into a double damage.
Bright Hope sent in Dagger Squadron against Warlord, doing 1 damage, and brought Bossk down to 1 hull with the other B-Wing. It then moved onto a debris field and suffered the loss of 2 shields as a result.
Suppressor began what was the start of its demise. It flakked Dagger Squadron, and then collided with Warlord in an attempt to end up on an asteroid. 1 hull damage face-down rather than 1 critical hit.
The MC80 command cruiser continued to approach slowly. It activated Jan Ors who finished off Bossk. This was the first time I’ve lost Bossk I think; he tends to be a survivor with that 7 hull and his brace token!
Next, Sato started to show his worth with Bright Hope rolling 2 black dice against Warlord. With concentrate fire, 1 blue dice became 2 black at medium range – not bad for just 24 points for the base ship. Bright Hope was not right in front of the black VSD, however, so I was hoping the flotilla would be blasted into bits before too long.
Next, the CR90 does 3 damage against Warlord using Sato to turn red and blue dice into black dice.
In the Squadron phase, Jonus had a crack at the CR90 which was approaching Warlord and Suppressor from their right flank, doing 1 damage to it. Luke did 2 damage on Dengar, who was now looking a bit vulnerable. Luke himself was attacked by IG88 who did a single damage.
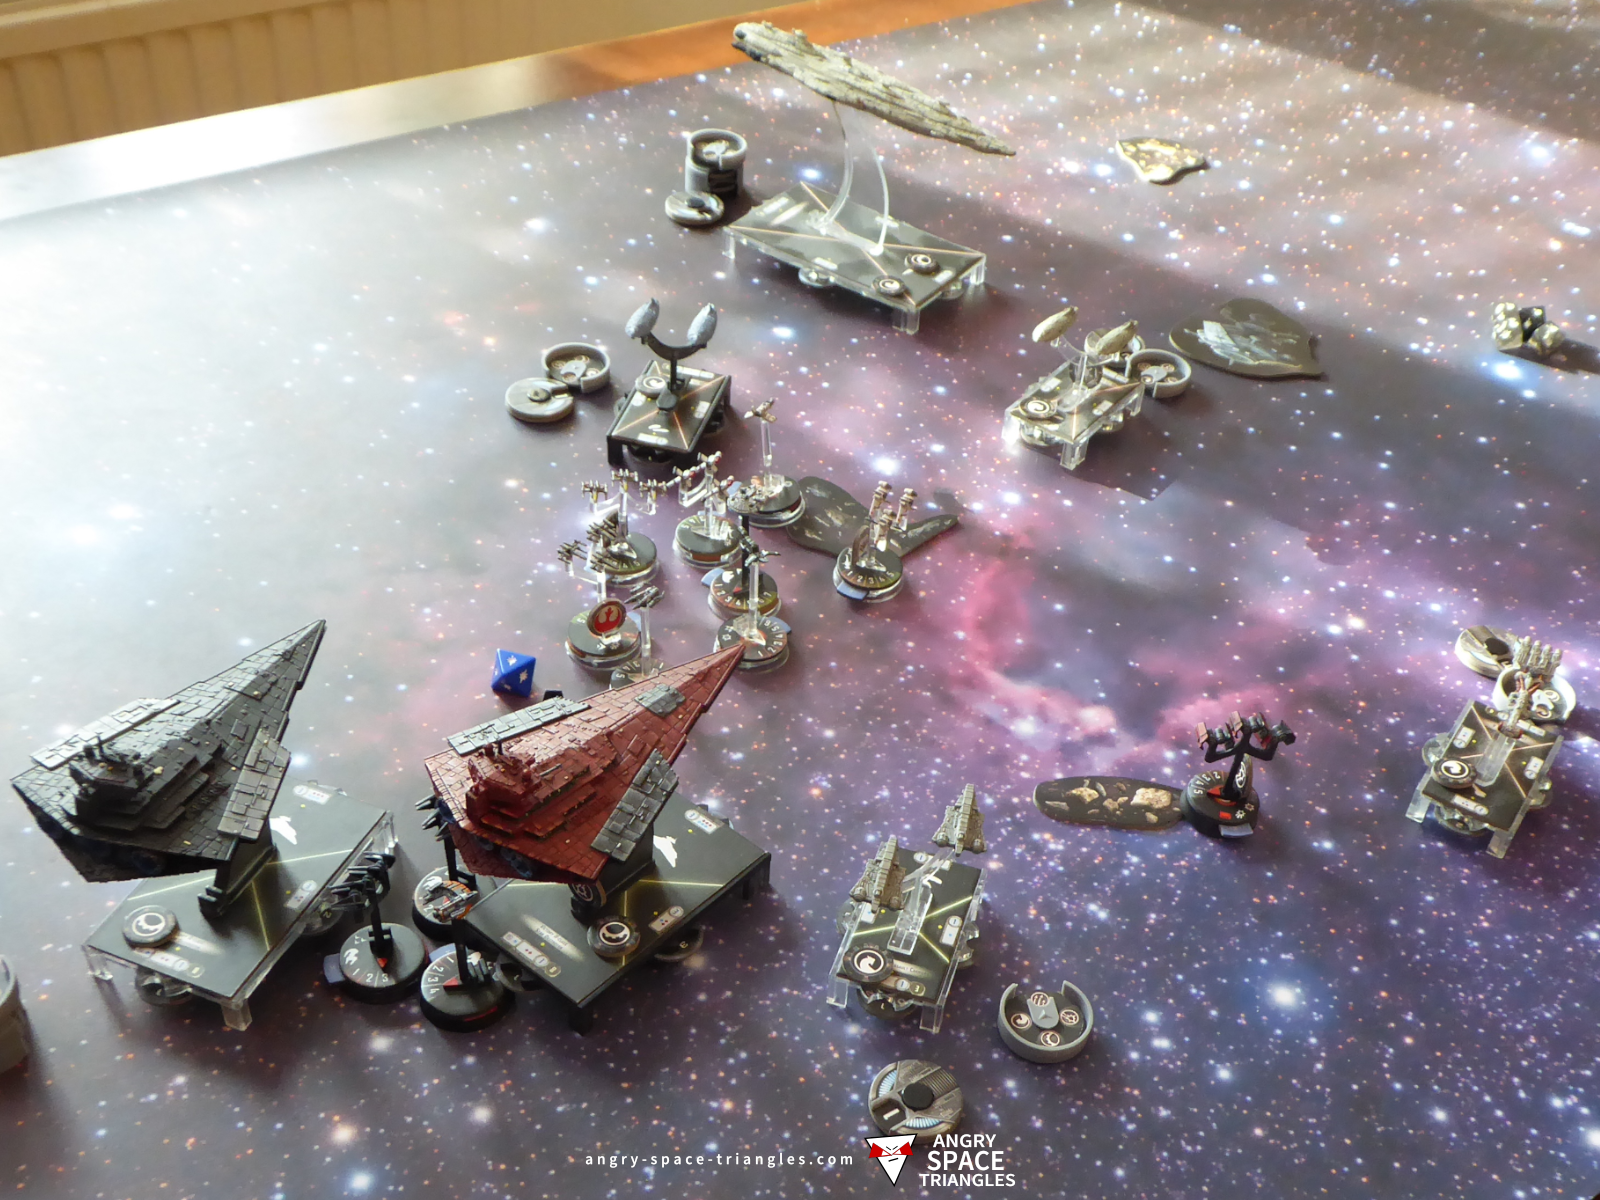
Turn 5
You’ll be glad to know that the the first ships started to explode in turn 5.
Suppressor was first to activate and used its Squadron command to allow Jonus to do another damage against the CR90, before heading off to try and help provide his accuracy-giving powers to attacks on the Rebel transports. It flakked and killed Dagger Squadron and did a single damage to the CR90 from its side arc, before duplicating its move from a turn earlier and ramming the Warlord, allowing it to stay in place. Better that than hitting an asteroid (or not, as it turns out).
The CR90 attacks Warlord, again using Sato to get more black dice, doing 4 damage including a Projector Misaligned critical. The vicious little Corvette then rammed Supressor, destroying it and keeping CR90 in place. Had I moved Suppressor onto the asteroid then, there was a good chance that it’d still be alive at this point, since it wouldn’t have been rammed. You could argue that protecting Warlord was more important, but I didn’t feel I had my points worth from Suppressor in this game, and getting rammed to death felt wasted.
The black Victory Star Destroyer continued its role as a carrier this turn, destroying the remaining B-Wing and Jan Ors by activating IG88 and an Interceptor. The front arc shot that followed took out Bright Hope.
The remaining Rebel transport took another Sato-empowered shot at Warlord, doing 2 damage including a Coolant Discharge critical. This critical hit stops ships from attacking other ships more than once. This would prove to be handy for the Rebels, as Warlord activated next and shot the CR90 from its side arc…but then couldn’t attack the transports from its much more potent front arc! Not only that, but Jonus had moved up into position to ensure that any shot would benefit from an accuracy to mitigate the risk of the whole shot being scattered.
Continuing the assault on Warlord, the MC80 does a single red critical hit from a side shot that was obstructed by the remaining Rebel Transports. The Injured Crew critical caused a redirect defense token to be discarded.
Turn 6
Final turn started with the black VSD activating an Interceptor and Jonus who put in the finishing blows to destroy the CR90. A massively high damaging roll from the VSD’s front arc into the Rebel Transports was simply scattered away since there was no accuracy! This is always a risk. The transport responded by giving Warlord yet another critical hit (Overpower Armaments) and then bumped into it, earning a damage in the process. Warlord promptly fired back using its front arc, blowing the Transports to bits. Warlord then slows to speed 0 to stay out of the MC80’s medium range.
The last action of the battle was a side shot from the MC80 into Warlord at long range, doing 2 damage, one of them being a crit (Point Defense Failure). This is the 4th critical suffered by Warlord, bringing it up to 7 hull damage. Nearly destroyed, but not quite,
The end of the game was a minor Imperial Victory. The MC80 and Biggs remained on the Rebel side, versus two VSDs and a bunch of fighters on the imperial side.