Star Wars Armada
Battle Report 1 – Ackbar vs Jerjerrod
![]()
Battle Participants
A battle between SpaceTriangle (me, the author) fielding Jerjerrod, and my good friend SpacePotato who fielded Admiral Ackbar.
We are making our way through the waves of expansions and are currently up to wave 5. SpacePotato is experimenting with the Pelta and its fleet commands (when he remembers to use them…) and I’m getting to grips with the Arquitens and its strange movement template.
(This report has been written a month after the actual game, so details will be a bit light.)
Thanks to https://armada.ryankingston.com for his great fleet builder.
Objectives and Fleet Deployment
With a bid of 7 vs. a bid of just 1, I chose to go first and SpacePotato had to choose objectives. He selected the Minefields objective as it’s one he’d not played before.
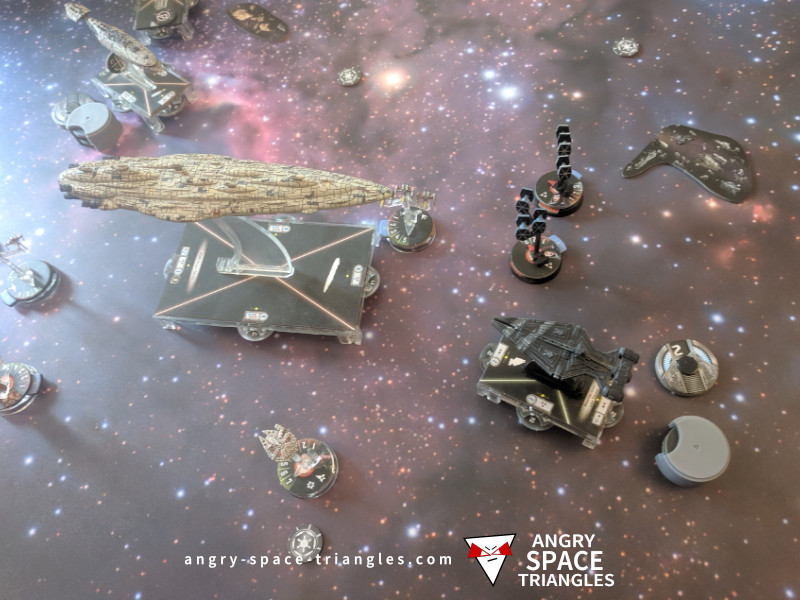
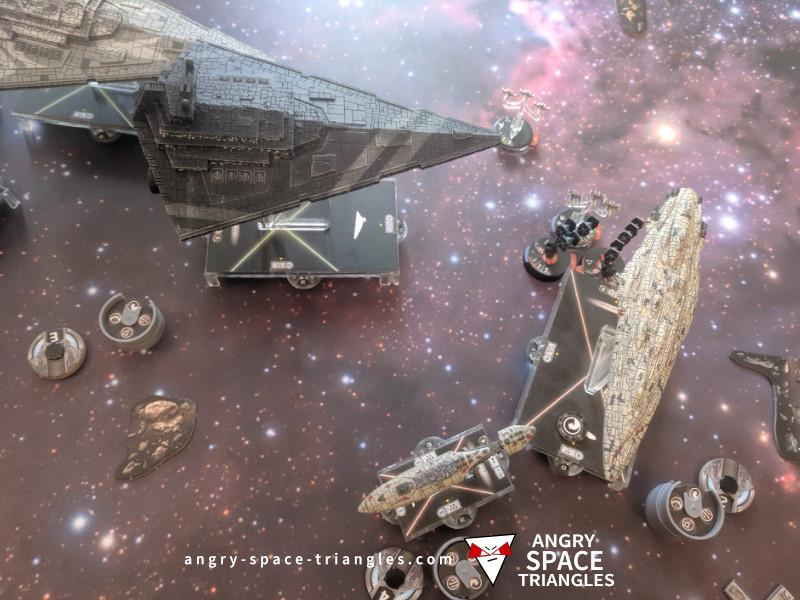
The fleets ended up facing off against each other, with the rebels all pointed in one direction, with the hope of making it into a line in order to take advantage of Ackbar’s ability at enhancing their broadside attacks.
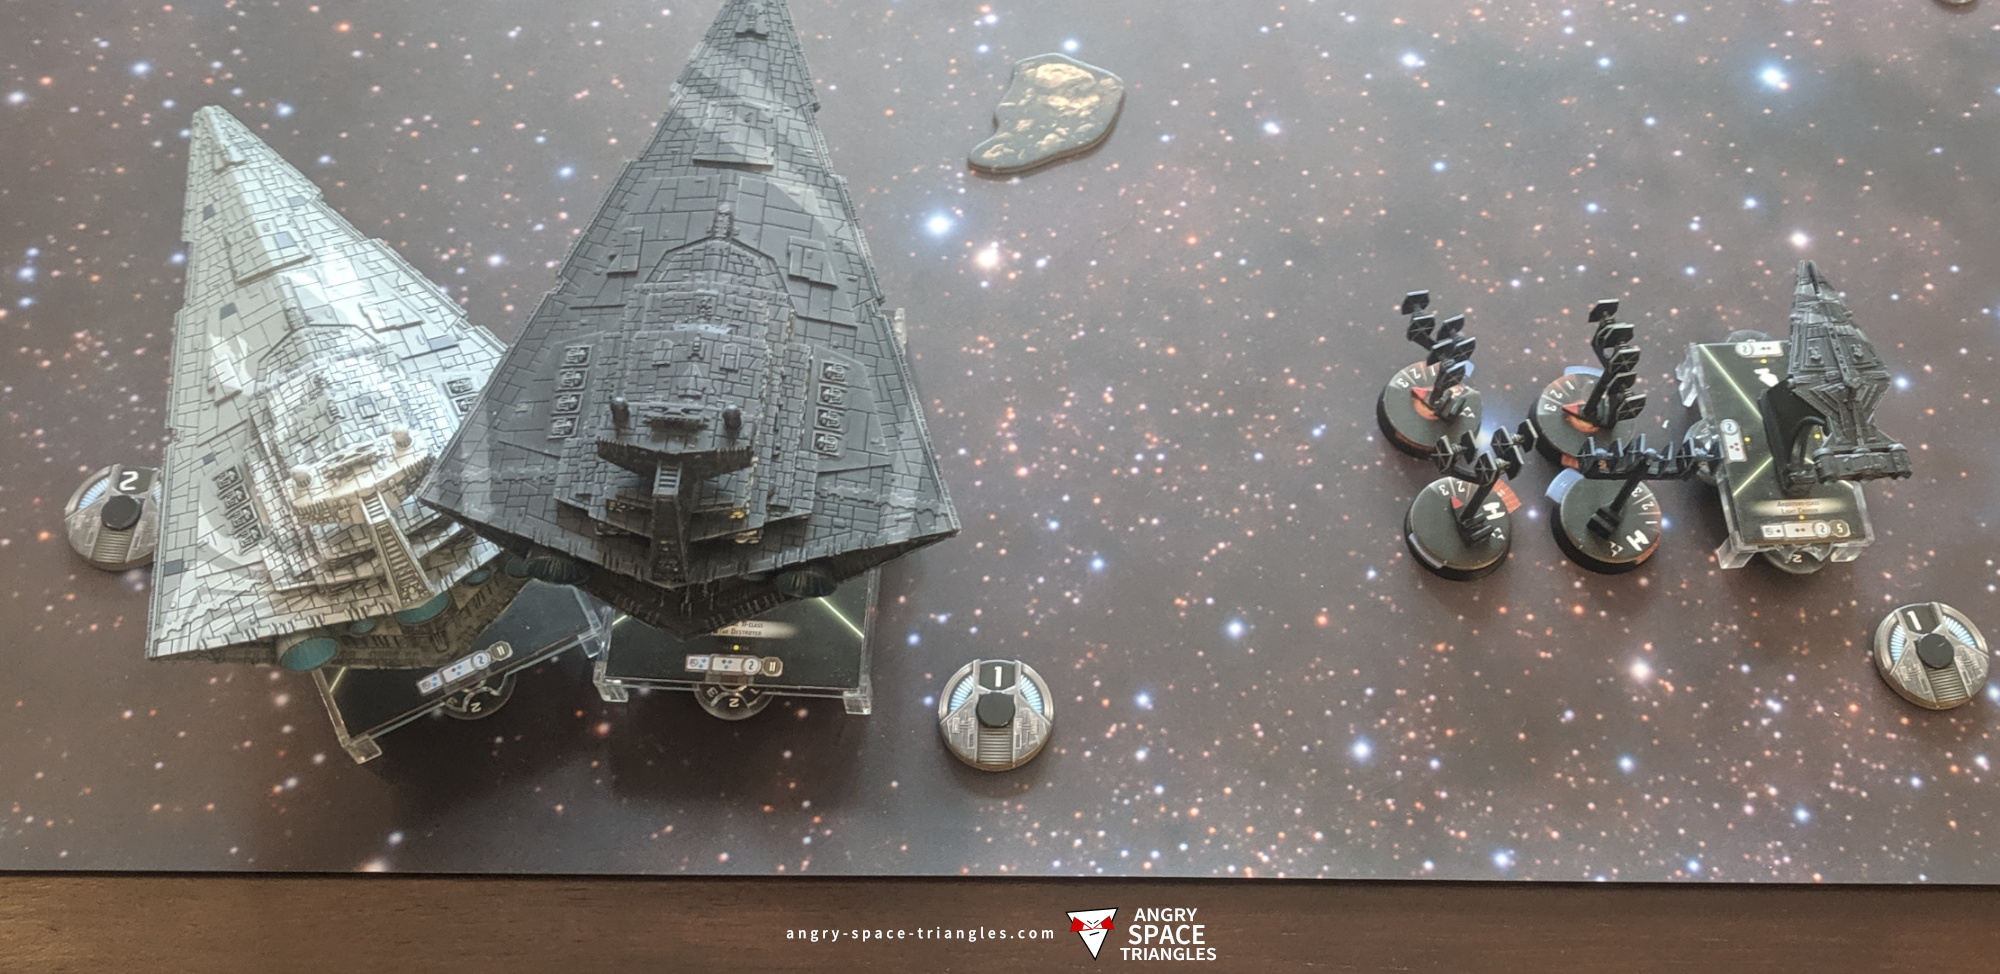
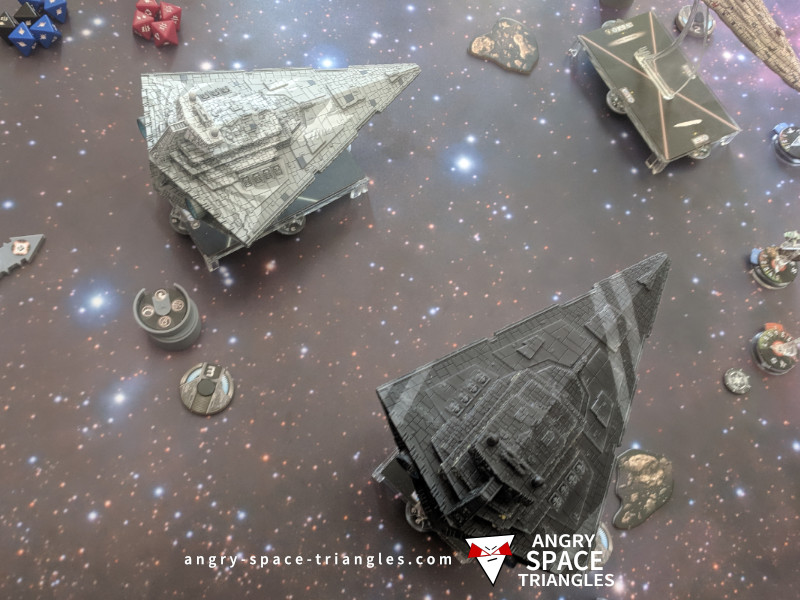
The Imperials ended up with the two ISDs pointing at slightly different angles, with the intention of sending one around the side to flank (at speed 3), with the other ISD forming the centre with the Arquitens.
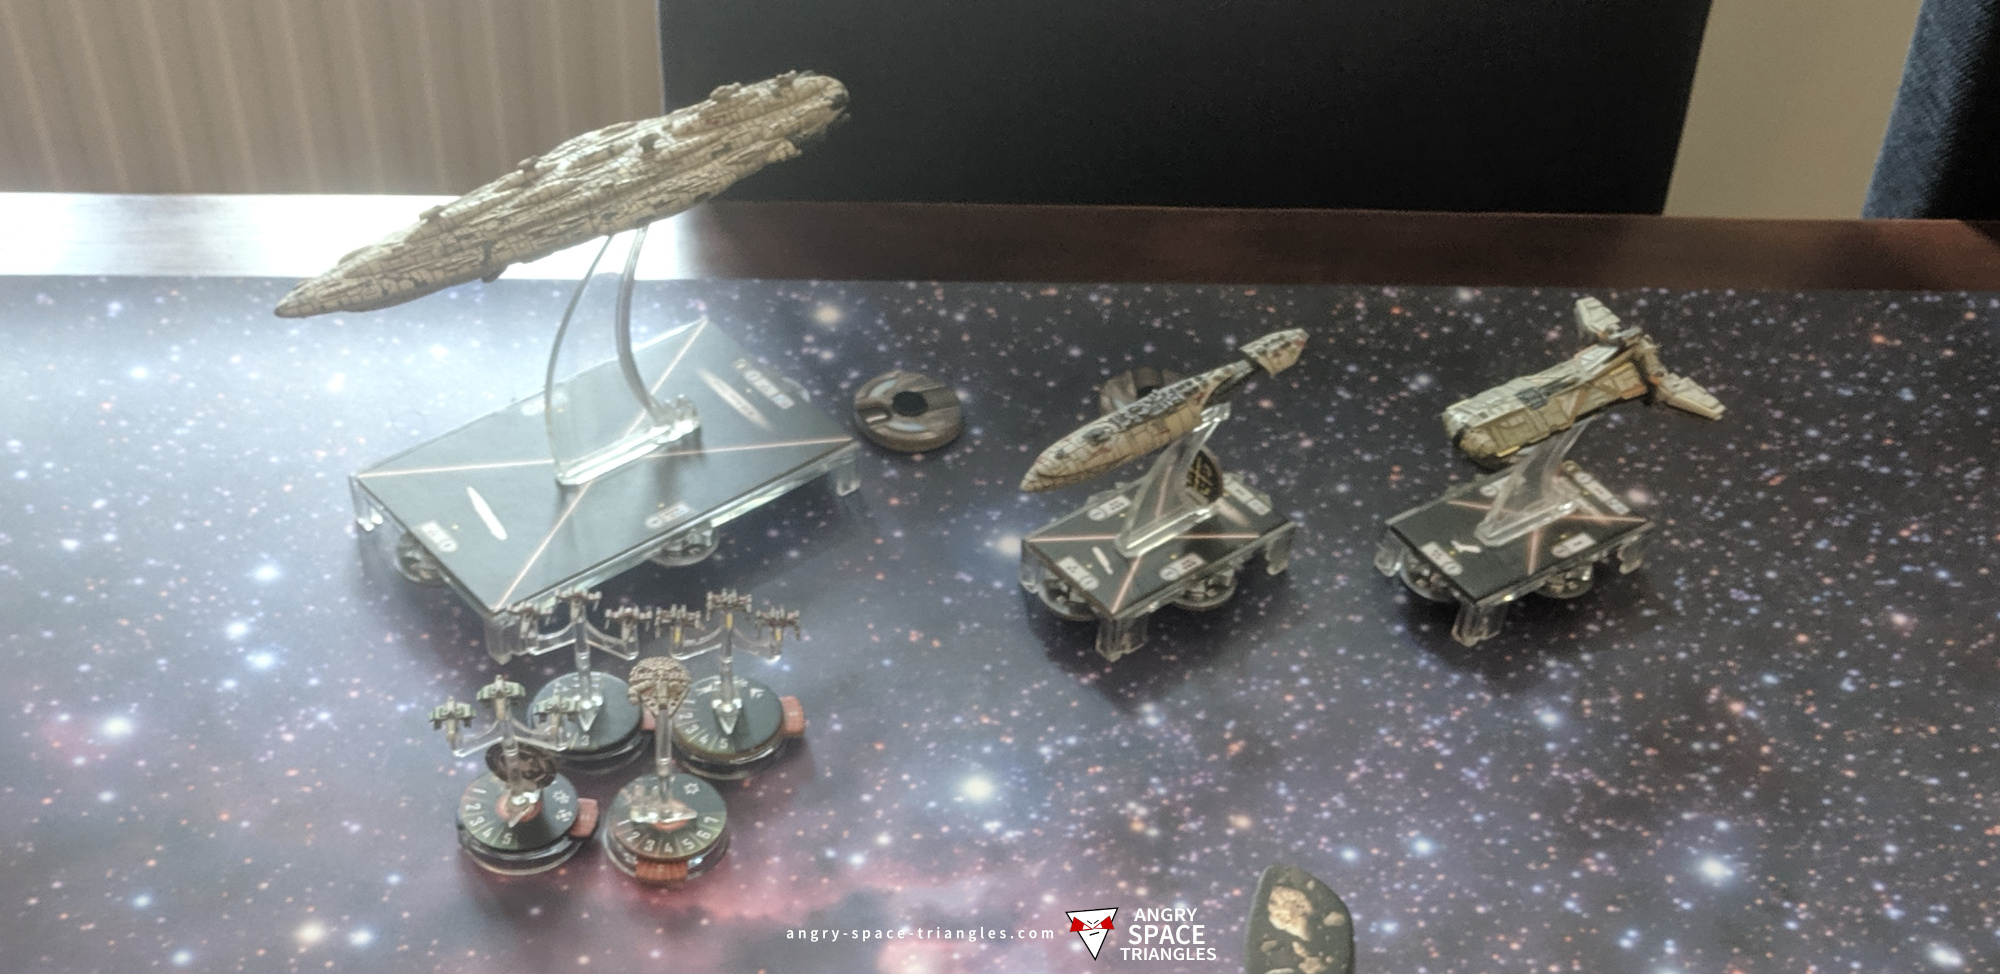
Rebel Fleet
Commander: Admiral Ackbar
MC80 Assault Cruiser (114)
- Admiral Ackbar (38)
- Weapons Liaison (3)
- Engine Techs (8)
- Leading Shots (4)
- XI7 Turbolasers (6)
- Defiance (5)
178 Points
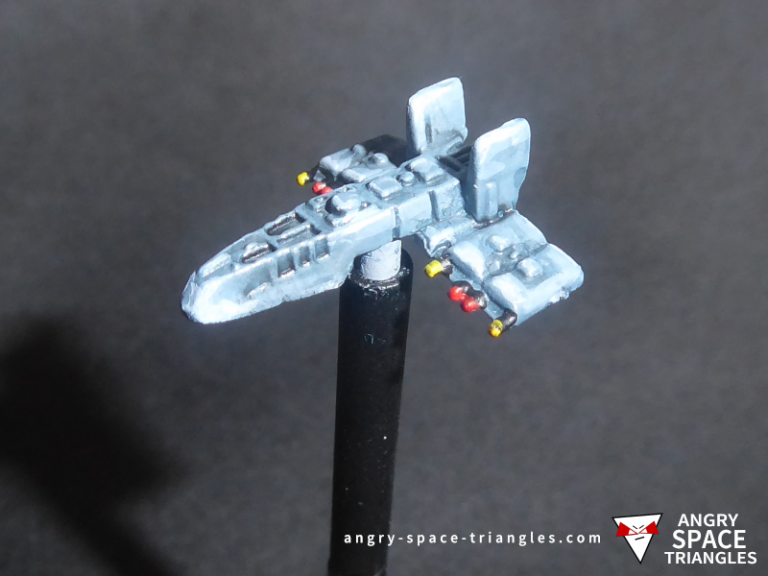
Pelta Assault Ship (56)
- Intensify Firepower! (6)
MC30c Scout Frigate (69)
- Gunnery Team (7)
- Turbolaser Reroute Circuits (7)
Squadrons:
76 Points
Total Points: 399
Imperial List
Commander: Moff Jerjerrod
Imperial II (120)
- Moff Jerjerrod (23)
- Captain Needa (2)
- Electronic Countermeasures (7)
- Leading Shots (4)
- Relentless (3)
159 Points
Imperial II (120)
- Electronic Countermeasures (7)
- Leading Shots (4)
131 Points
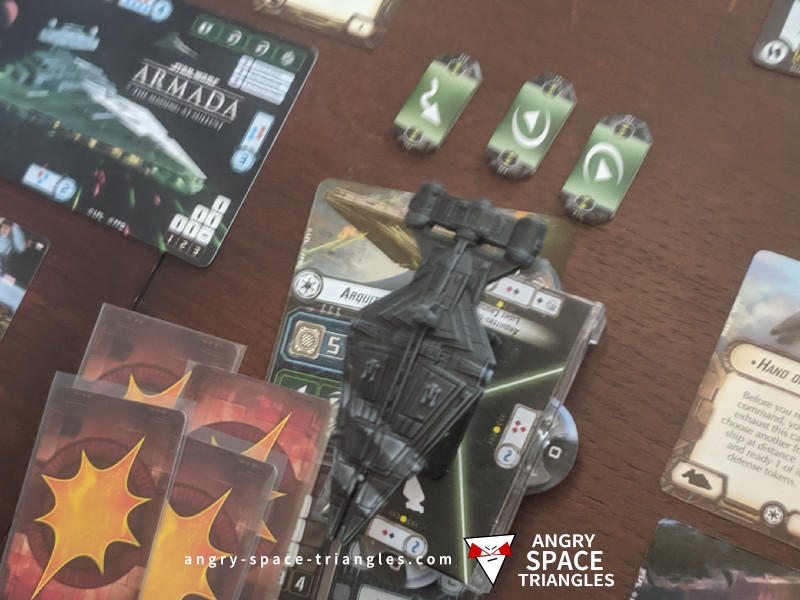
Arquitens Light Cruiser (54)
- Intel Officer (7)
- Slaved Turrets (6)
- Hand of Justice (4)
71 Points
Squadrons:
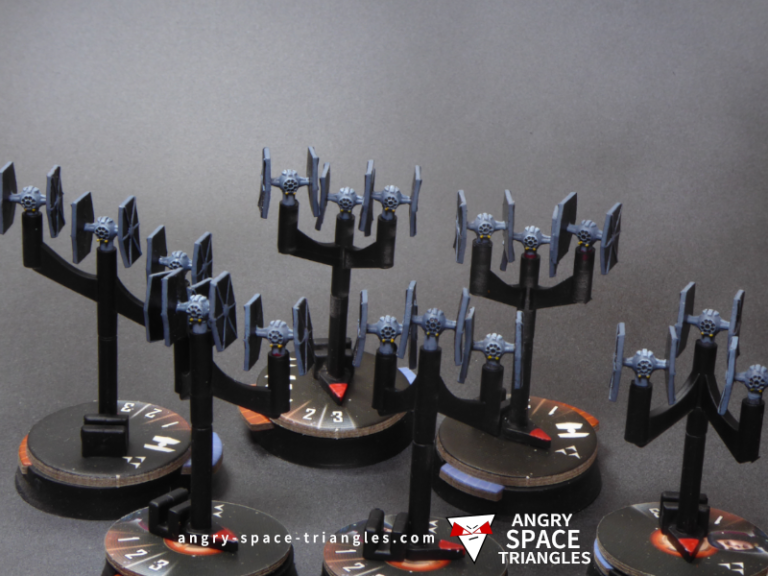
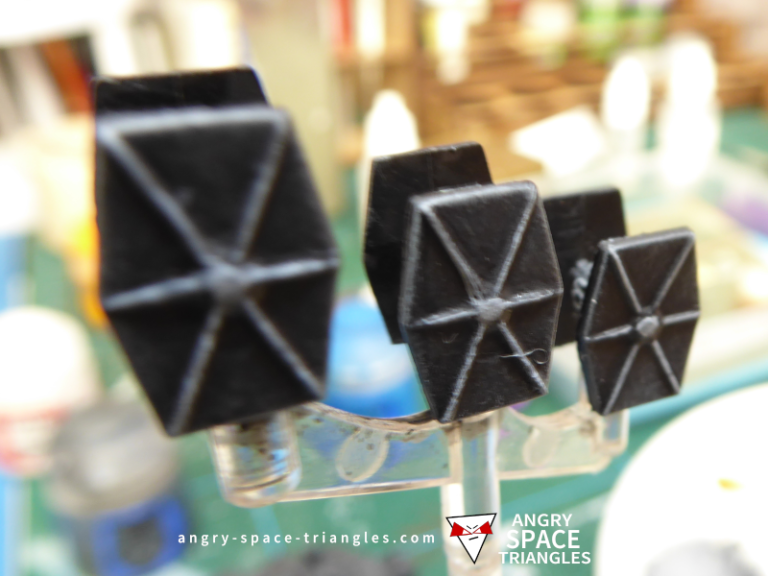
4 x TIE Fighter Squadron (32)
32 Points
Total Points: 393

Turns 1 and 2
Minefield Antics
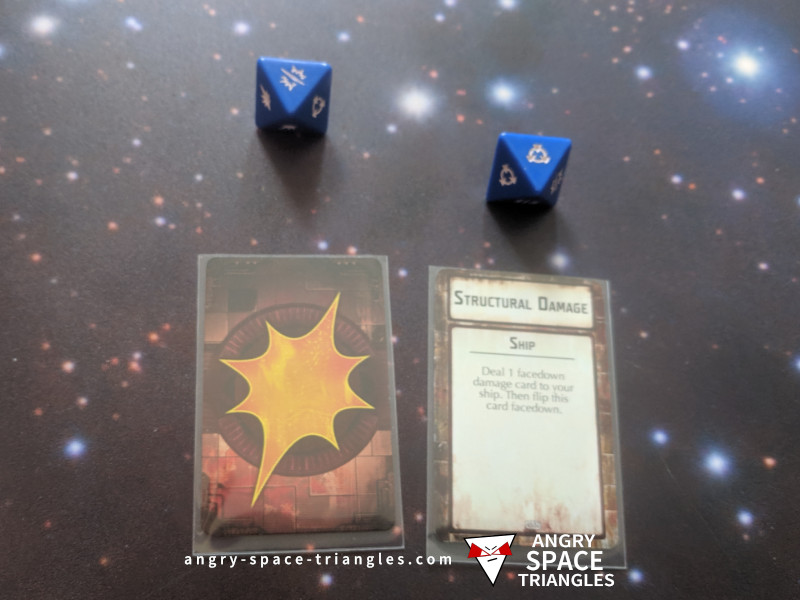
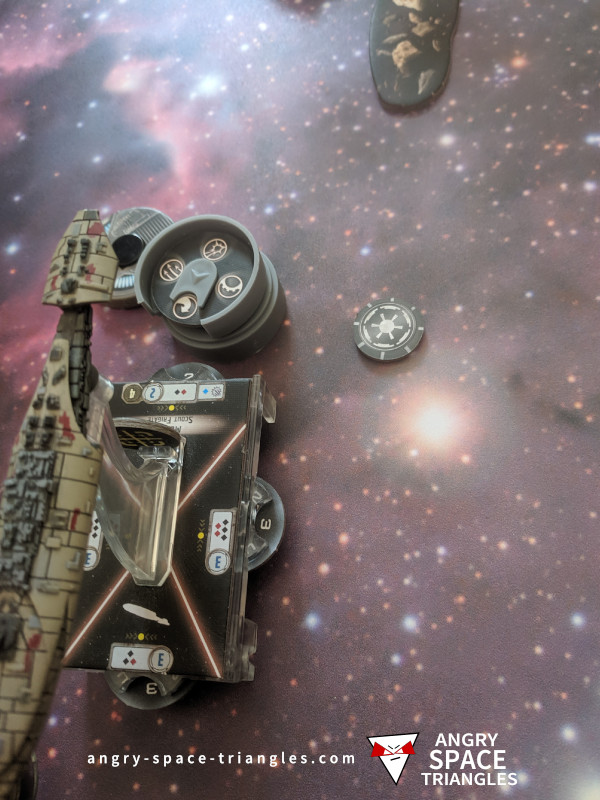
As first player, I started flanking with the first ISD II (the grey Chimera in the photos) and moved forward my Arquitens, which I hoped was small enough to dodge the asteroids and mines. It wasn’t. It hit a mine, got a critical hit which resulted in Structural Damage. 2 damage on turn 1. Not a good start.
Space Potato started to bring his fleet around for a change in direction – aiming to sweep around and use his other broadside. I was afraid that the MC80 with engine techs would be difficult to catch, and that my already damaged Arquitens was heading directly for it.
Murdering TIE Fighters
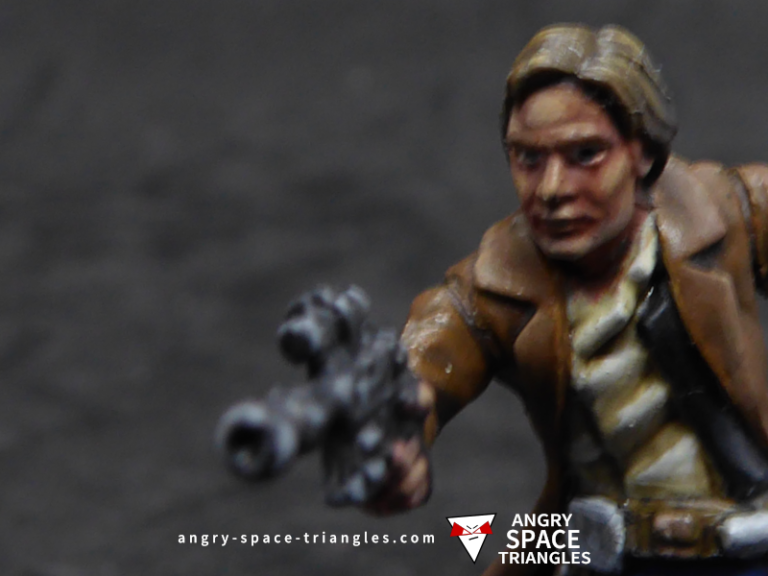
I moved my TIEs up and SpacePotato moved up his squadrons. I’d not counted on Corran Horn having “Rogue” and “Snipe” – he shot forwards and nailed one of my TIE fighters in one hit (rolling 4 blue hits). Han Solo then followed up and finished off a second TIE fighter. The squadron game was looking lost already for the Imperials.
Fleet Manoeuvres and First Shots
I started to bring my ISDs around in what looked like a nice formation. I wasn’t sure that I was going to get close enough to the MC80 before it flew off. As you can see, my ISDs were not in close enough range to get a shot off at the start of their turn.
The MC80, however, was in range and got a good 7 damage (braced down to 4) on to the first ISD. It then moved to close with the Arquitens.
Minefield Antics, Round 2
In an attempt to get in a position to use its side arc next turn, my Arquitens tried to do a clever manoeuvre and moved to the left of the MC80, ready to be first player next turn and shot before getting out of there.
I hadn’t banked on the little guy hitting another mine, getting 2 damage in the process and bringing it to just 1 damage away from exploding into little pieces.
D’oh.
It was then the MC30’s turn to get too close to a mine; however, I rolled 2 accuracies and did no damage. (I guess this was only fair, as it was SpacePotato’s mine field in the first place.)
Turn 3
Run Away!
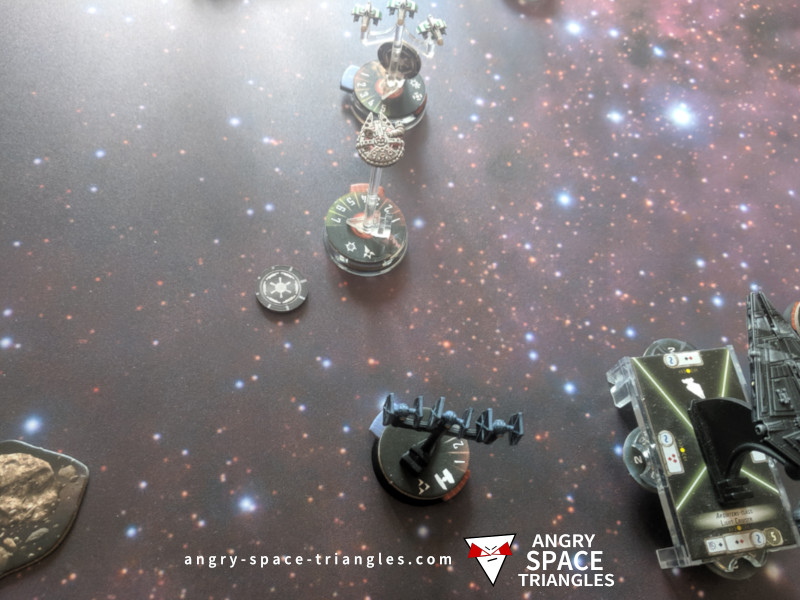
The Arquitens took a shot at the MC80 and did a couple of damage off its shields before getting the hell outta there, moving itself into the gap between the ISDs. Now, it’s hopefully out of harm’s way?

Long Range Fire
The MC30 had a long range shot at the ISD first and hopped ahead of the MC80, forming a nice Ackbar line. The second ISD put its 4 red dice to use against the MC80, stripping off more shields with 2 doubles, a single and an accuracy.
I was worried that the ISD was going to collide with either the Arquitens or the other ISD, but with the aid of Jerjerrod I exchanged a single damage to the rear for extra turning power and avoided collisions, bringing the ISD nice and close to the MC80.
Another one of my TIE fighter squadrons died in the squadron phase, but this time at the cost of a rebel Z-95 squadron.
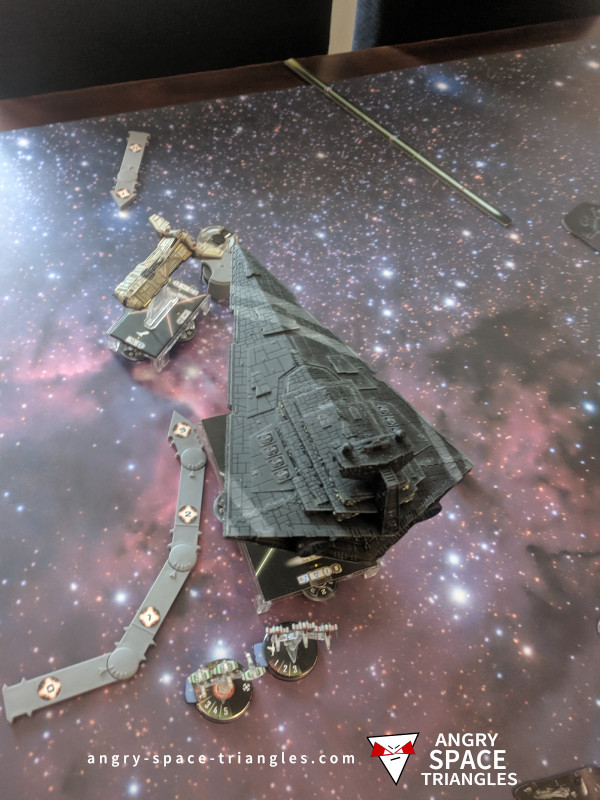
Turn 4
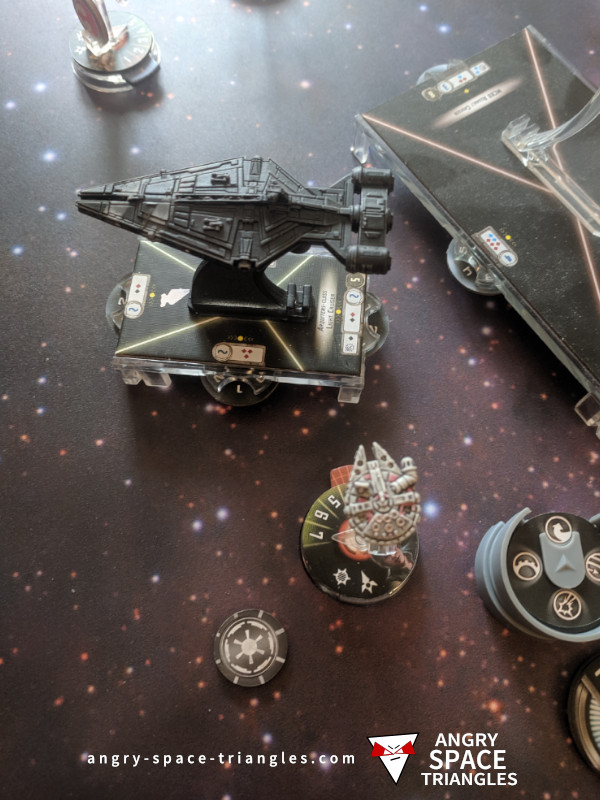
Hunting with Han Solo
Han’s ability to move first, at the start of the ship phase (before the first player gets to do anything), can be really useful for finishing off wounded ships. With grit, Han can escape a light fighter presence and push the attack.
In this case, my Arquitens was easy prey for Han given its 1 remaining hull.
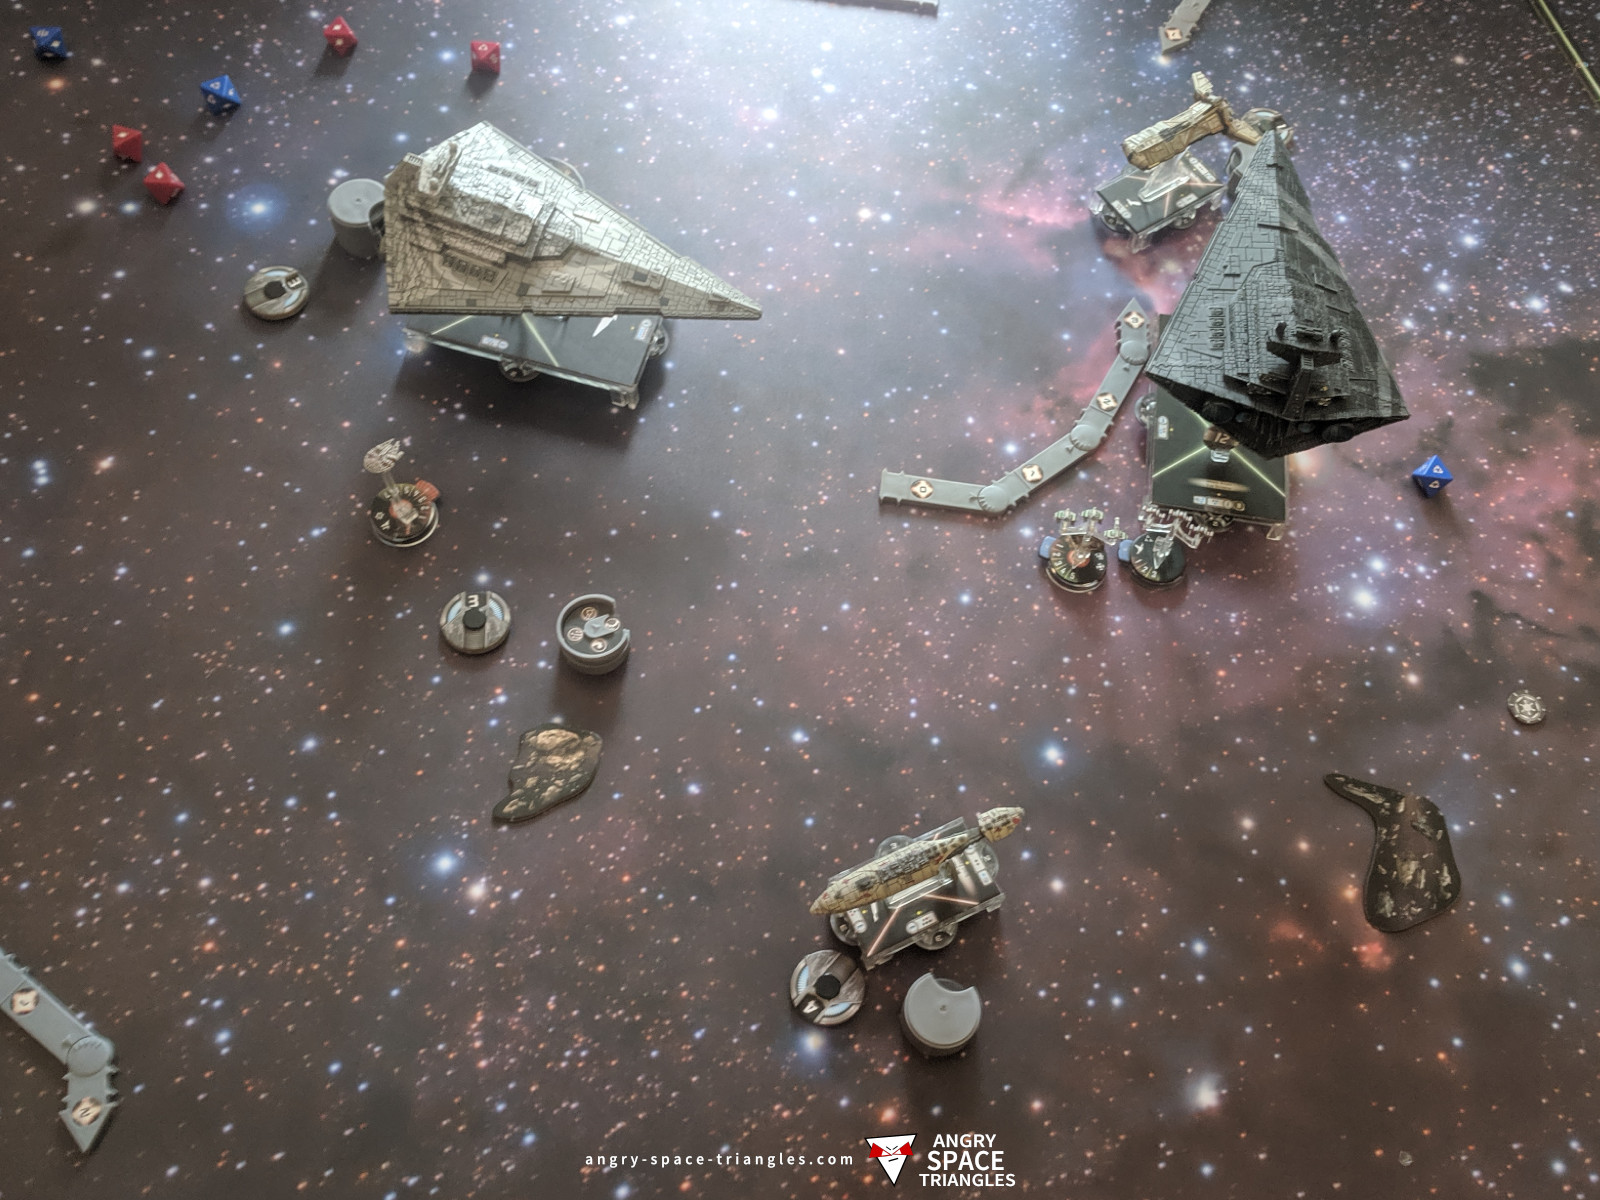
ISD Double Arc
It’s kind of a running joke between SpacePotato and myself that I am never able to double-arc anything. The Potato, on the other hand, is quite good at it.
However, for once, I’ve lined up my ISD to take advantage of being first player and get revenge for Han’s handy work.
I try and take out the MC80, first using the side shot which is in medium range, getting 3 damage and an accuracy. This is enough to put 2 damage on the MC80. Potato didn’t use his brace here and in hindsight he should have.
The front shot from the ISD was enough to take it out, the 8 dice resulting in 3 accuracies, a crit, and 5 damage. The crit turned out to be a Structural Damage which was enough to take the damage total to 6, destroying the MC80.
The ISD moved up to face the Pelta at close range. Going at speed 1, it wasn’t looking good for the Pelta next turn.
Turn 4 – End of the Game
At this point, SpacePotato conceded defeat as it looked like his Pelta was going to get munched next turn, his MC30 was heading the wrong way and it was now heavily out-gunned.
Battle Report Wrap-up
- I made a significant effort to avoid the minefield with my ISDs, but in hindsight, I should probably have been less worried about them, taken the damage and then repaired it.
- The Arquitens did well to survive as long as it did. Without first player, it would have been destroyed without firing a shot.
- I’m not a fan of the ISD I. This game showed just how powerful the ISD II can be – it’s much easier to get value for money with blue dice instead of the ISD I’s black dice.
- It’s easy to forget to take advantage of all your upgrades etc when using new ships. SpacePotato forgot his fleet command a number of times. In this case it wouldn’t have swung the game.
- We were both happy to end the game at the close of turn 4 – there’s no fun in spending time finishing off a game when it’s obvious what the conclusion is going to be. It’s much better to squeeze in another game!
- 4 TIE Fighter squadrons died without doing much. I forgot how important it is for them to utilise their speed and get first strike, because if they don’t, they might not get to do anything.
- I got lucky with the ISD destroying the MC80 in one activation. It may have been able to escape had this not happened, although I suspect it was close enough to the ISD to receive at least one more long-range shot.
- I’ve learned a lot about the information I need to capture for future battle reports; for example, I need a consistent set of photos for each turn so that it’s obvious to you guys how the board state changes over time.
Thanks for reading!