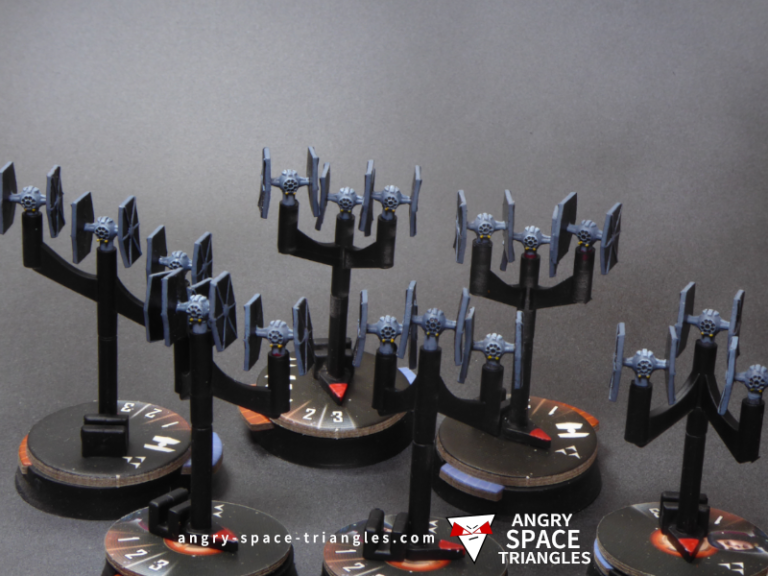
More Rebel Fighters for Star Wars Armada
I love the look when you get a whole bunch of painted Star Wars Armada fighters squadrons together.
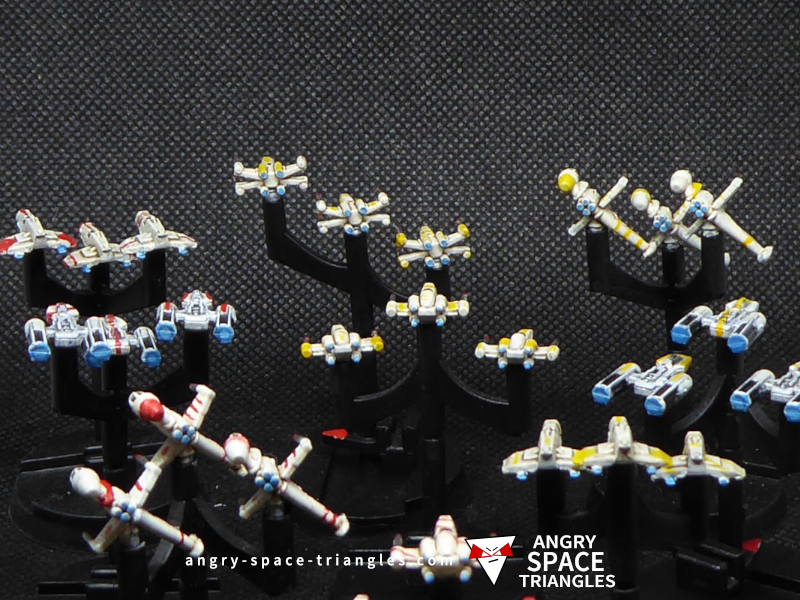
I spent some time setting up these squadrons in my 20cm light box.
All fighters apart from the Y-Wings were painted using the technique described in a previous post.
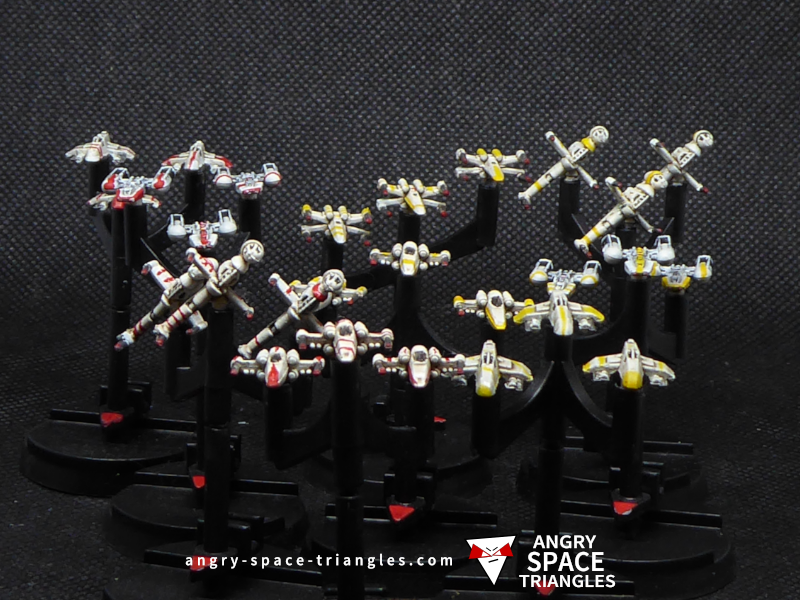
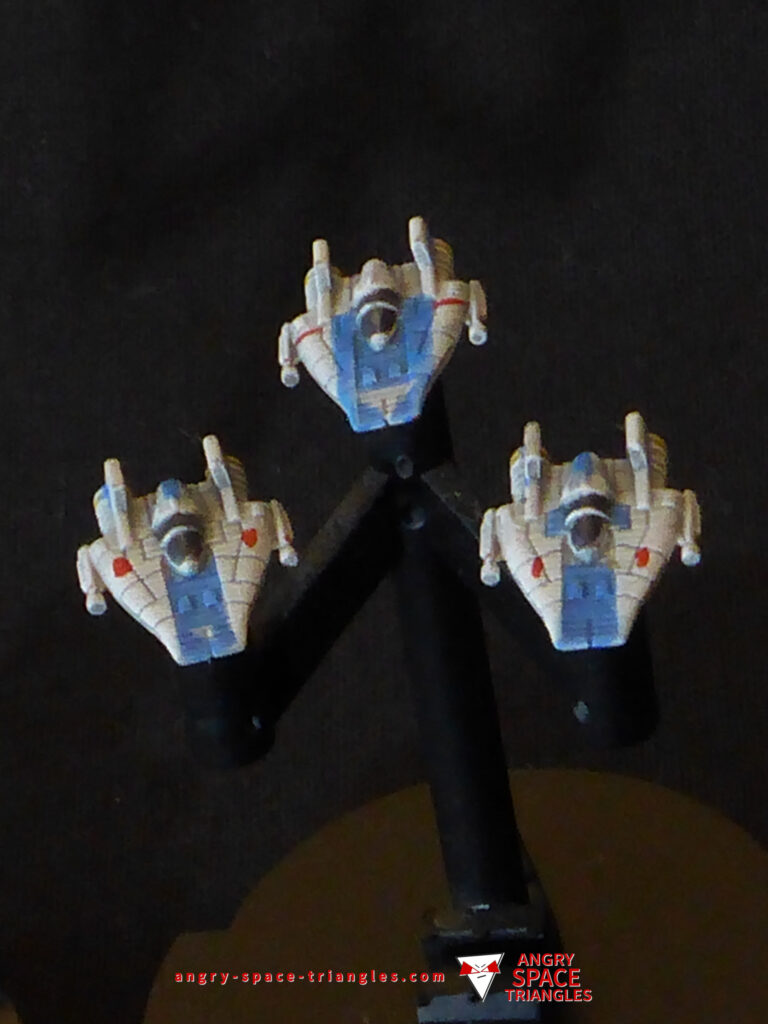
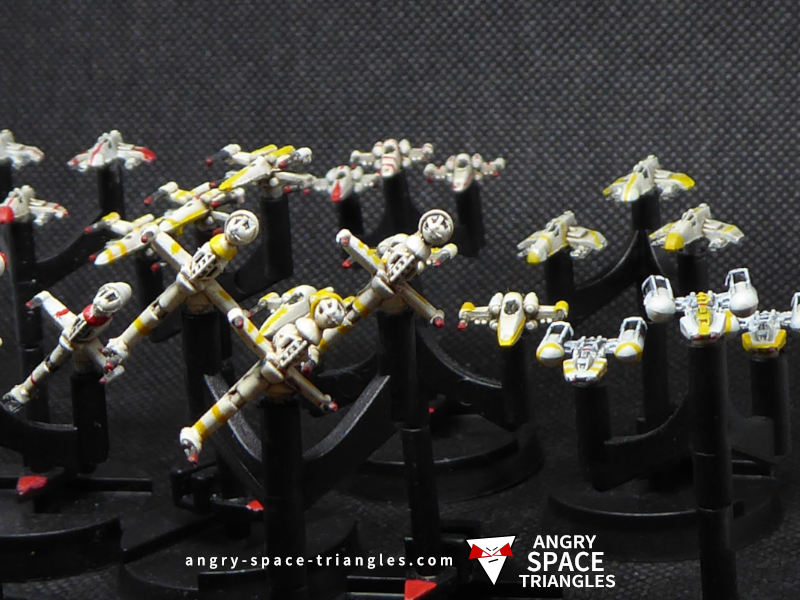
A simple frontal shot of the fighter wing with the z-95 squadrons front-and-centre.
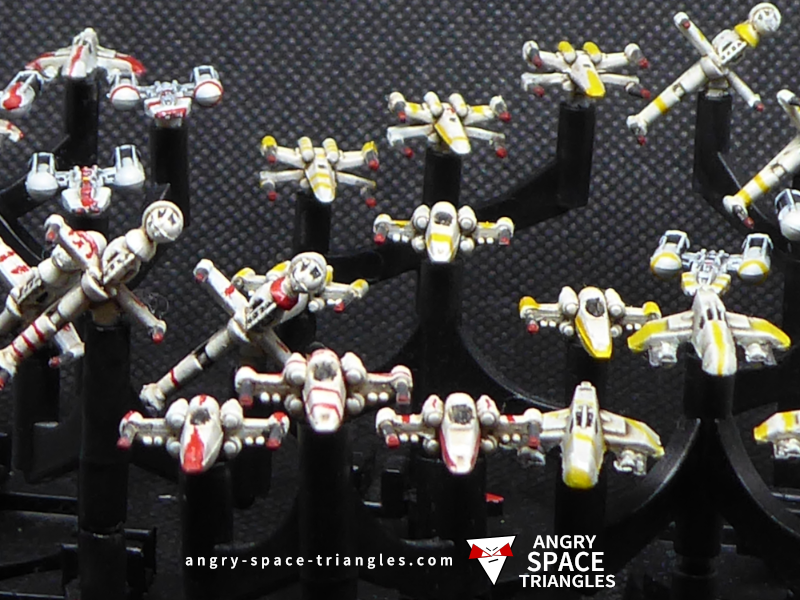
A zoomed in frontal shot with the z-95 squadrons front-and-centre.
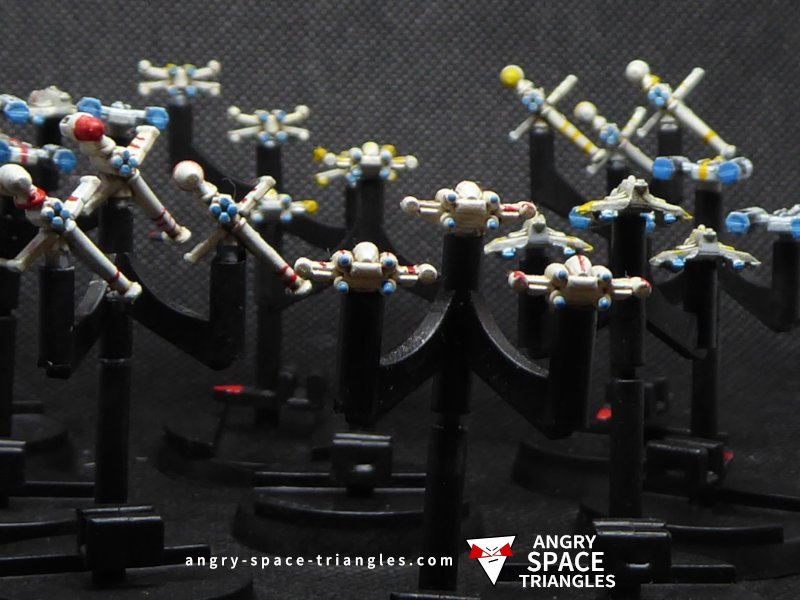
A zoomed in frontal shot with the B-Wings in the front-and-centre.
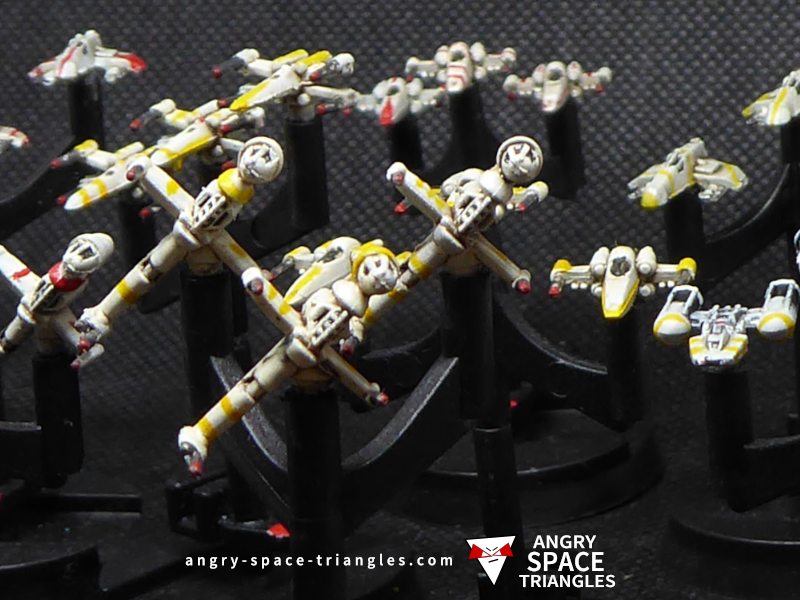
Even closer to the B-Wings.
Initially, I struggled with the close-up macros shots using my digital camera. It turned out that the problem was not having enough light – it’s much easier when the subjects are in a light box!
Another shot of focusing on the B-Wings.
I was trying to get an almost “flat” view of the squadrons along the plane.
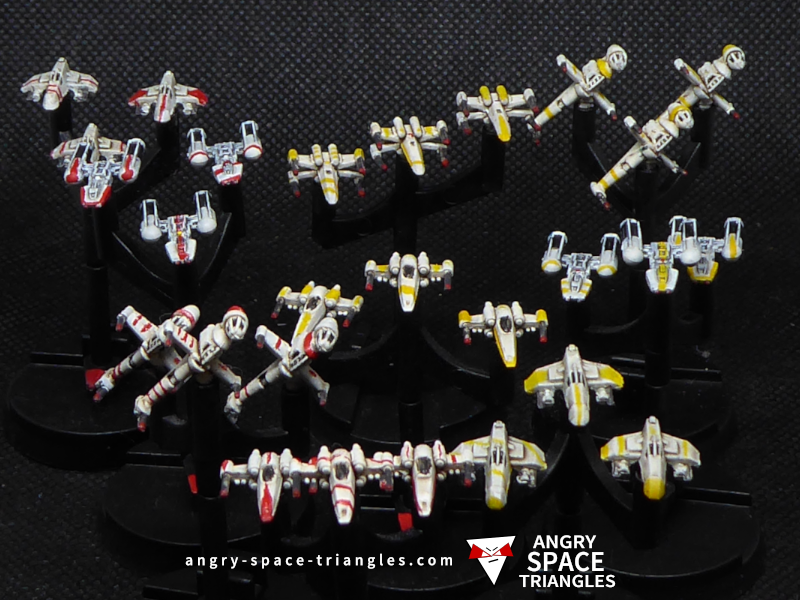
A final front shot of the Rebel Fighters.
While they are all in shot and relatively un-obscured, they don’t look anywhere as near as dynamic as some of the other shots.
A challange here is that so many squadrons are hard to fit in my 20cm lightbox!
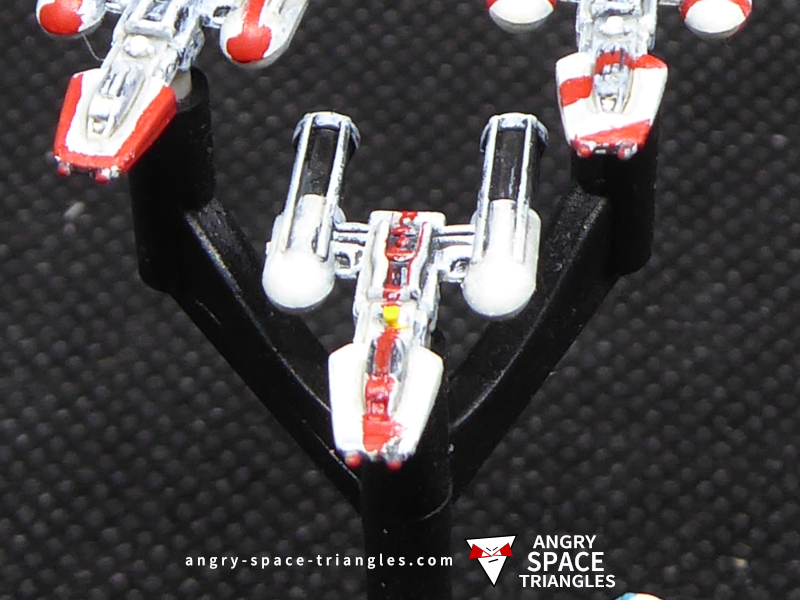
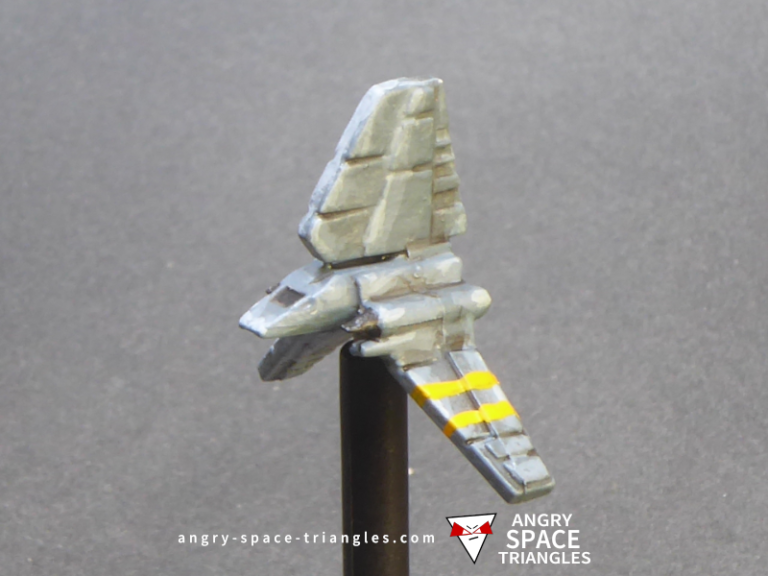
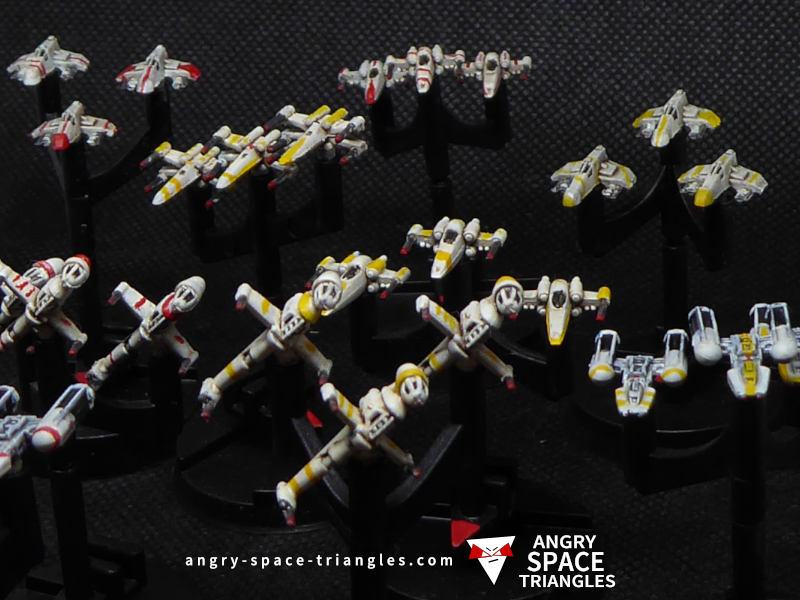
A close up of a Y Wing. The Y-Wings were painted using a different technique to the rest of the models. They took longer to do, but look better (IMO)

A read view of the Y-Wings. Because of the engine glow I like them seen from the back more than the front!
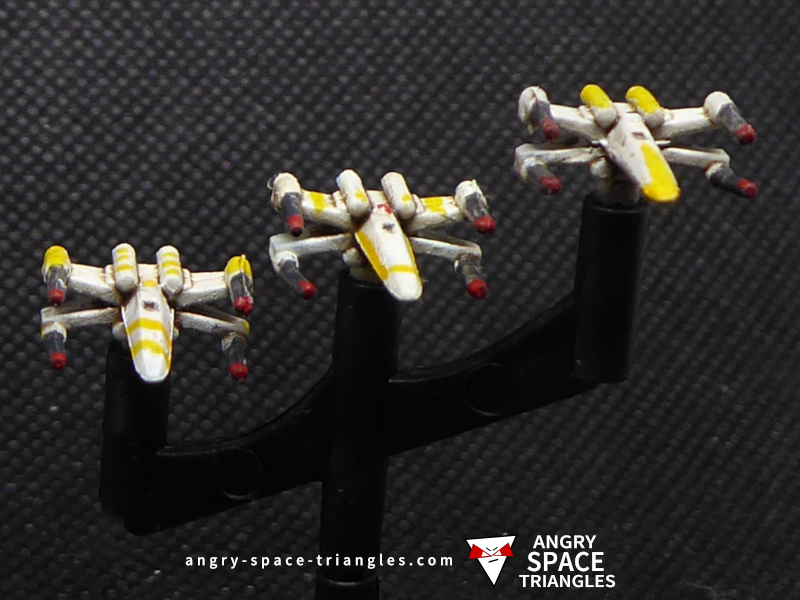
Just the X-Wings.
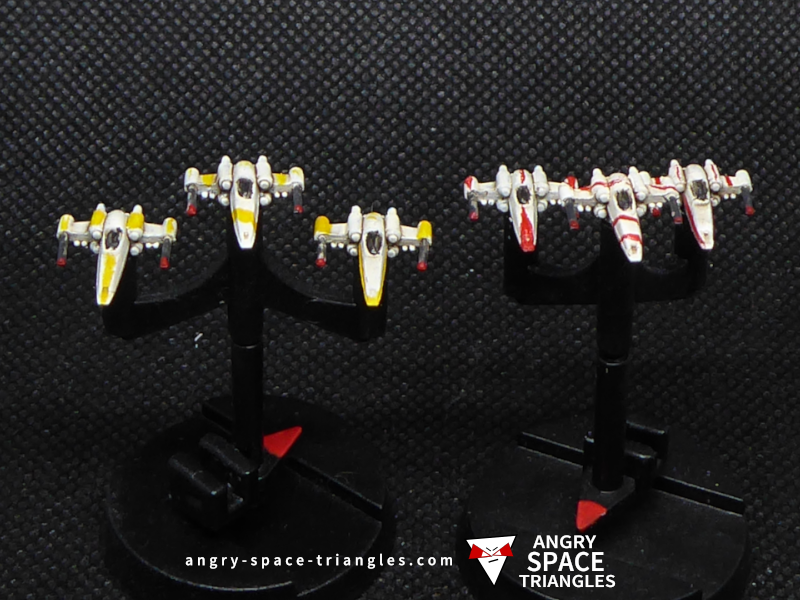
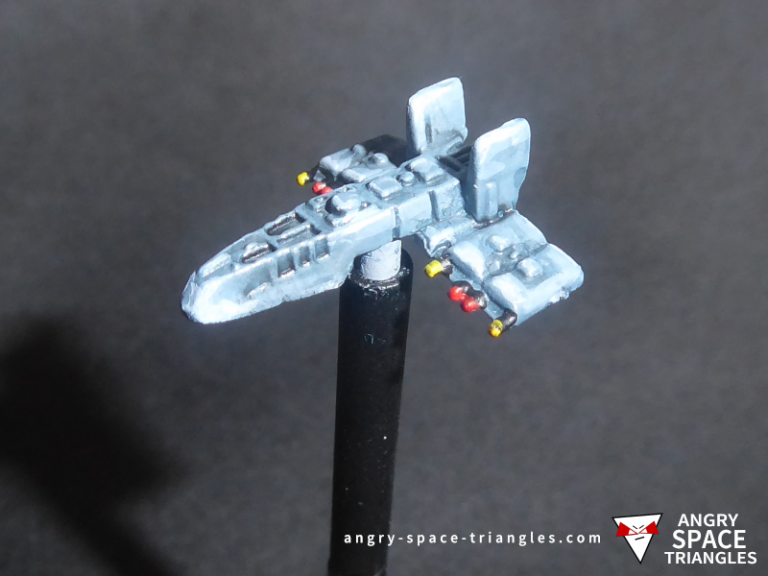
Just the Z-95 Headhunters.
A rear shot of the Rebel Fighters.
Again, I was trying to get a flat shot through the plane the fighters were in.
Another rear shot of the Rebel Fighters with the X-Wings leading the fighter wing.