Early Prototyping – Quick and Dirty
This blog post is the first in a short series on getting started with designing a game.
Before I start, here’s a set of quick links to all posts in the series:
- Early Prototyping – Quick and Dirty
- Early Prototyping – Dice Mechanics
- Early Prototyping – Turn Order, Who Does What, and When?
- Early Prototyping – Completing the Systems
- Early Prototyping – First Test Build
I’m designing a fantasy board game about magic and wizards and spells and mythical creatures. This post looks at how I approached getting started with building components so I could begin to test out game mechanics and ideas.
Just do it
If you’ve read my first games design blog post, you’ll know that the biggest take-away for me from the Needy Cat design course was that it’s best to make real physical test builds rather than design in theory and on paper.
This is the same as with software development – the Agile Manifesto says “prefer working software over comprehensive documentation*”. As a designer, you learn so much more from seeing an actual thing in front of you that you can play around with it; you solve real problems when building the thing, rather than theoretical problems that might not exist.
*Note that I’m not an advocate on writing no documentation whatsoever – it’s a necessary evil and is essential for longer term concerns like making up for our fallible memories! Anyway…
Getting started on a test build
I started off with a strong gut feel for what I wanted to do, and knew I was going to need the following things:
- Spell cards or another way of representing spells that wizards could cast
- A play area
- Some method of representing wizards and creatures on the play area
- Mechanics that facilitate spell casting, creatures fighting and what-not
Spell cards and creature templates
The spell cards were easy to make.
Fortunately, I usually have a bunch of spare game cards hanging around. These are a by-product of my side business of selling Star Wars Armada stuff on eBay; I planned to use the spare cards as a base for creating ‘spell cards’. These spell cards would make a deck from which players could draw from.
After measuring the rough size of the cards ,I knocked up a set of templates in Inkscape that I then printed out, cut out and then glue onto the Armada playing cards. If you’ve not used it, Inkscape is a vector drawing package that’s noteworthy for being completely free!
In theory, producing templates digitally would allow me to quickly modify and reproduce them. I’m all about productivity!
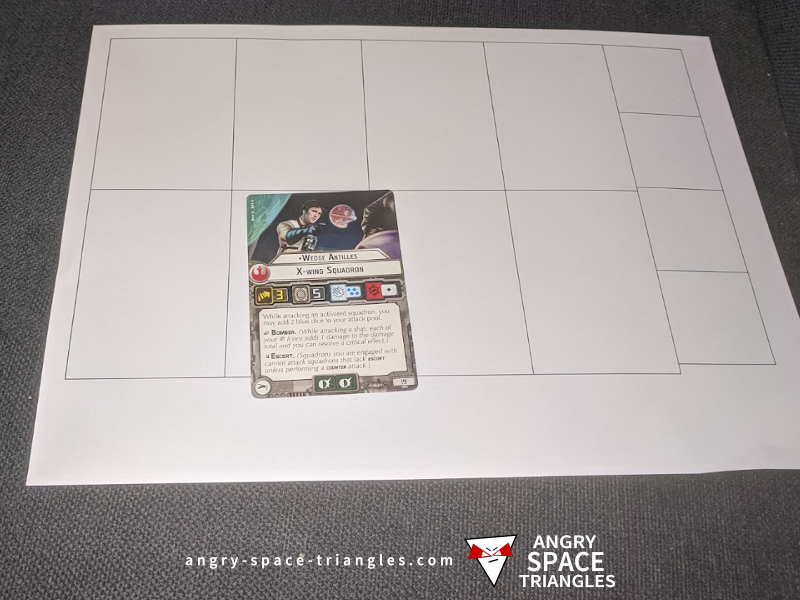
The card and template made in Inkscape
There was no cutting required for the spell cards. For the creature representations, I cut up a variety of different sized rectangles of card to allow me to make human sized creatures, animals and larger giant-sized creatures such as ogres or trolls. I had no idea what size pieces of card I should use, so I just took a guess! The smallest pieces that represented human sized creatures were 40mm x 40mm. I still don’t know what size I’ll use in the final game – I’ll refine the scale way into the future after a significant amount of play testing.

Templates cut out and ready for gluing
The finished spell cards
Make a list of creatures
With the cardboard ready, I needed to come up with some creatures to implement. The first step was to brain-dump a list of them into Evernote, and give them some attributes that defined them. Rather than think too much, I used ideas lifted from every other fantasy game made – elves, dwarves, wolves etc. I can come up with my own unique ideas in my own time. Right now, I just need things to play with!
Stats and abilities
Previous to building these components, I’d done some thinking on how I might want to model the creatures in terms of game statistics. These ideas didn’t have to be final, they just had to be something that I could create easily and put into practice to see how it all worked.
This is what I was aiming for at version 1:
- Creatures would have a “health” stat
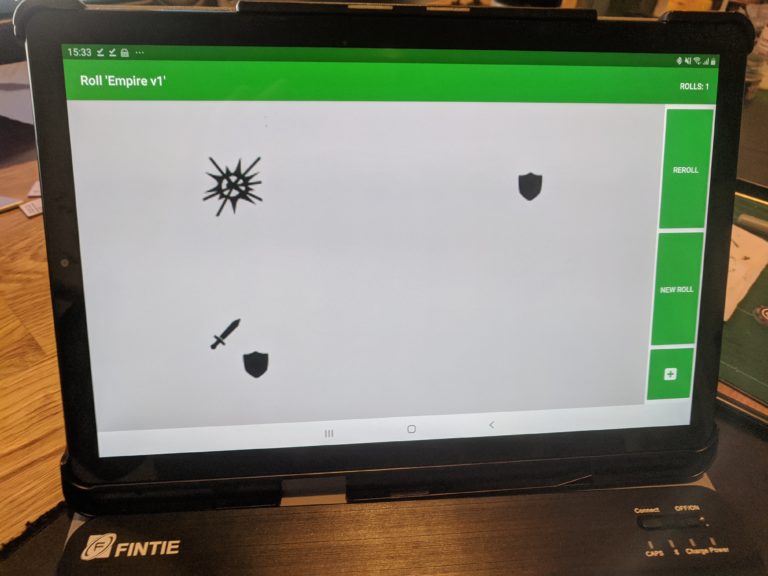
- Each creature would have a number of combat dice for fighting each other; I’d have different dice as follows:
- Standard dice
- Heavy dice; these would add greater swing to the dice results
- Magic dice; much more rare – these would be purely offensive
- Dice would have the concept of a critical result which could activate an ability or add to the damage
- I would have modifier keywords that would signal that creatures benefited from special game mechanics, for example, “flying” to indicate that the creature flew when it moved.

Drawing up a quick list of creature and their statistics in Evernote
Making the Creatures
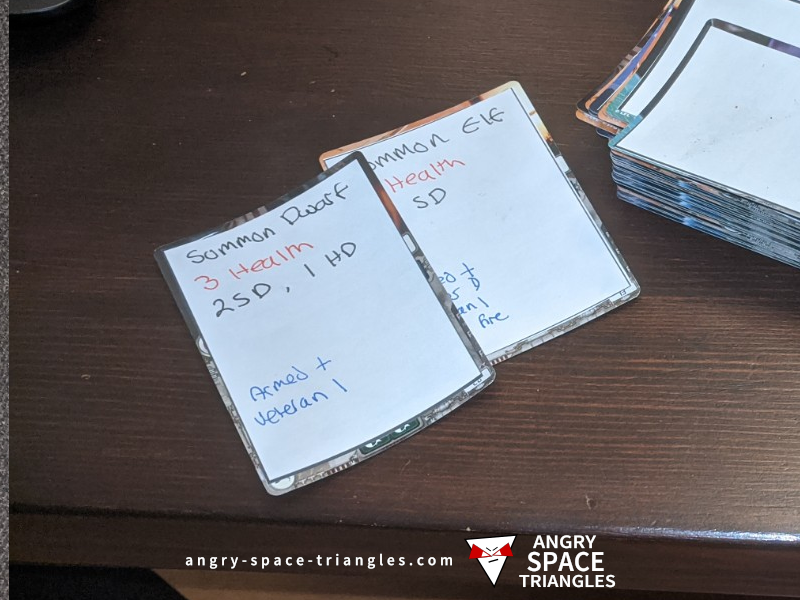
Once I had a list of creatures, I also needed some other type of spells: think fireballs and lightning bolts. These were easy to come up with – again, I just used ideas from the genre. In the long term I’d need a database of this kind of spell, but for now, just a few quick ideas were adequate for testing game mechanics.
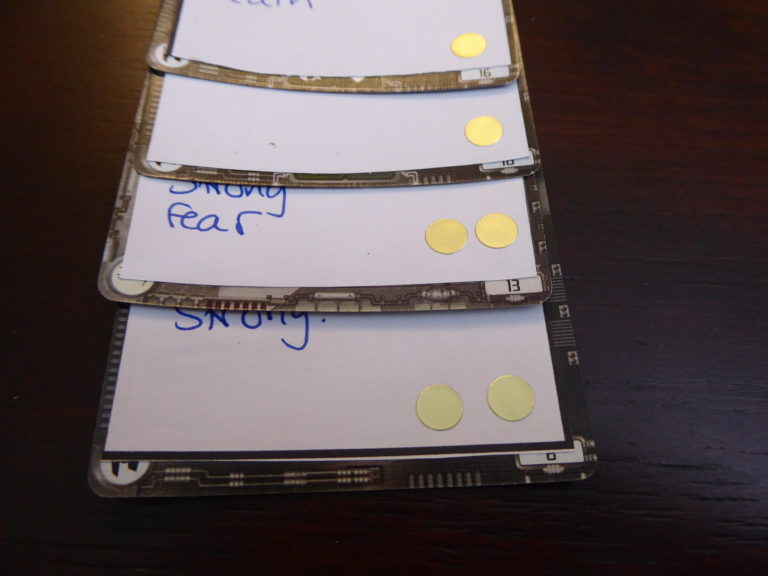
Using the list of spells and creatures, I just wrote up some spell cards. Creatures would be summoned from a spell card, and spells would be cast from a spell card . With the spell cards done, I drew some quick sketches on the cardboard templates to give the creatures pieces some character. And, that’s all I needed for now!
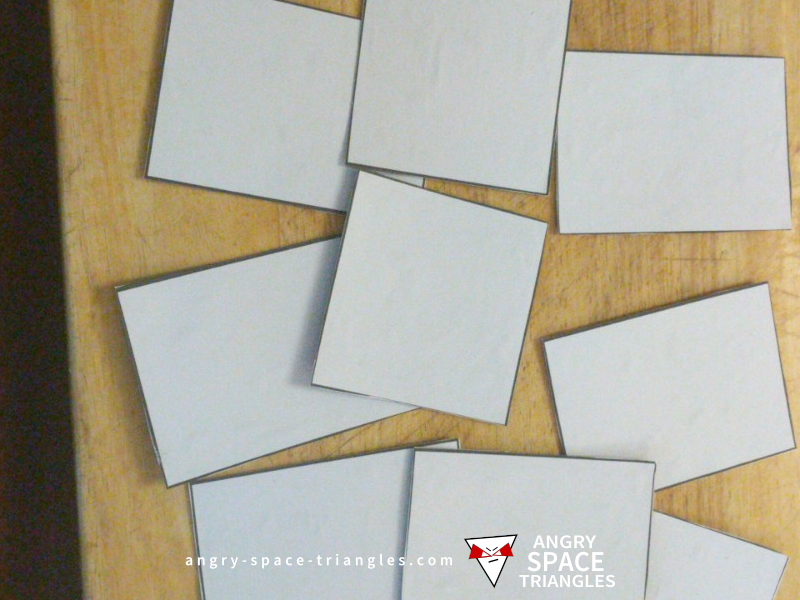
Blank cardboard pieces ready for my artwork…
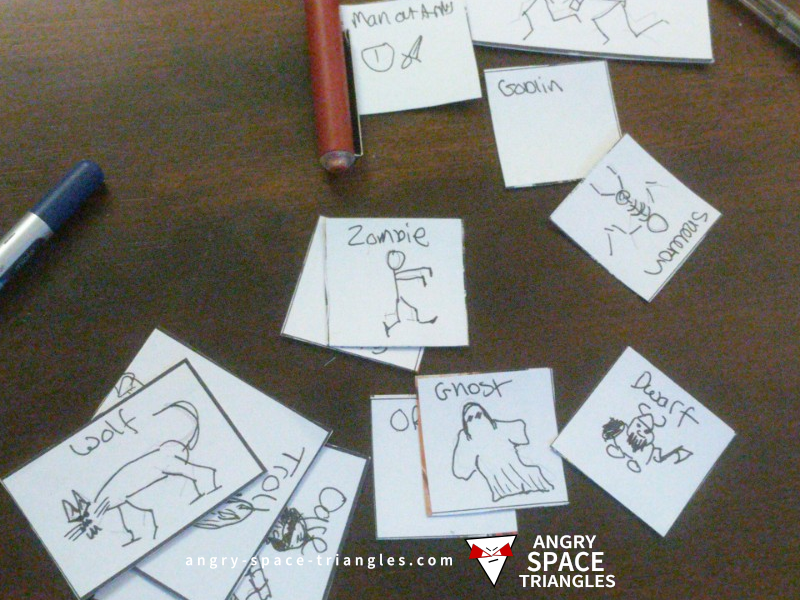
The final creatures, drawn onto the blank card pieces
Check those corners
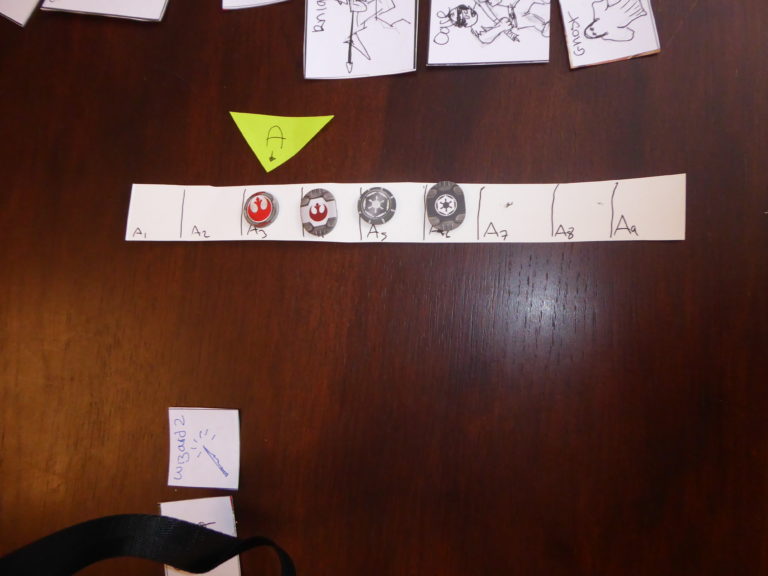
To create a play area, I simply butchered a few Post-it notes; I created some yellow ‘corners’ to indicate the boundaries of the play area. A game ‘feature’ that I’m set on having is that the game should be playable on any reasonably sized flat area, whether a square, rectangle or circle; big or small. I’d like the players to be able to make use of what they have.
What did I learn?
By making these components and laying them out on a table I gained a feeling for the physical size of everything, and consequently got a better idea of what I should focus on developing next. This was probably the biggest learning and benefit of the “just do it” – working out where to spend your effort!
What’s next?
After an afternoon’s cutting, gluing and drawing, the test build wasn’t 100% ready to play yet, but I’d made 90% of the components. My next post will look at some essential game mechanics and how the creature combat dice system was going to work.
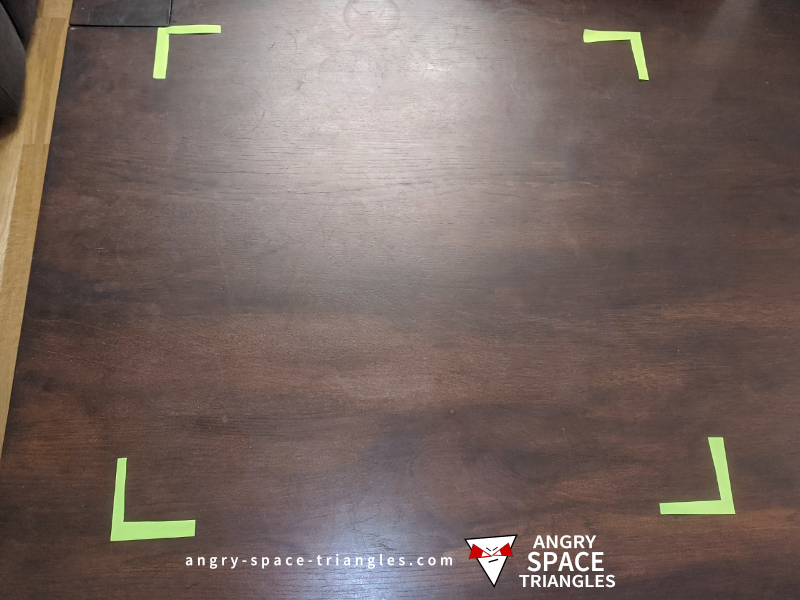
A realy simple way to mark the play area!