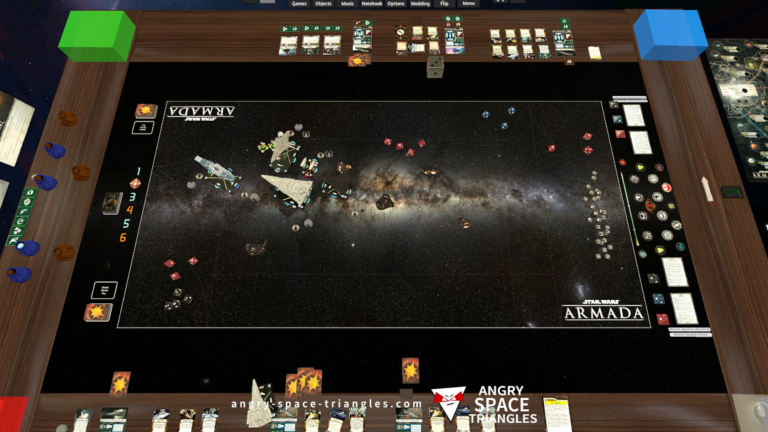
Star Wars Armada
Battle Report 5 – Now with Wave 6
![]()
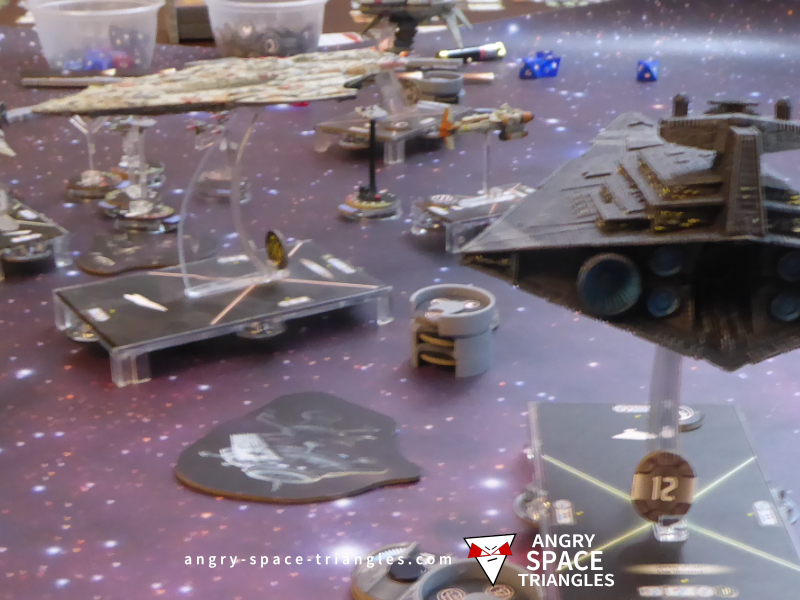
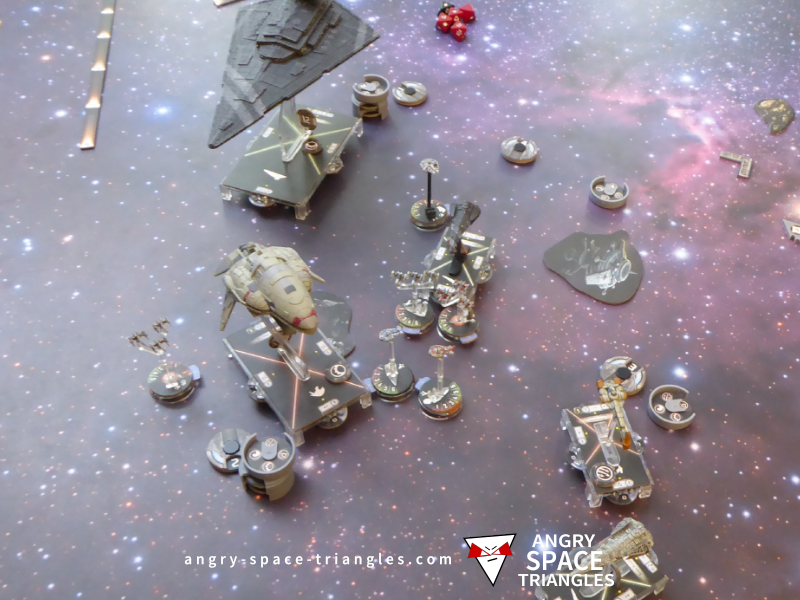
Battle Participants
OK, game on with new Wave 6 stuff! As a brief recap, we’re a bit behind the release schedule of FFG and are only now moving on to Wave 6 ships.
SpacePotato’s fleet was thrown together just before we played so he didnt have much opportunity to look for good combos and synergies in his list, whereas I designed my fleet to take advantage of a few specific cards.
Overload Pulse and Avenger
I wanted to have a go with the well know combination of using Overload Pulse and an ISD with the Avenger title. To make this happen I chose two Imperial Raider II ships, both identically equiped with Overload Pulse and Disposable Capacitors (I have a thing about fleet symmetry…).
I chose an ISD-II as I don’t really like the ISD-I: it seems comparitively ineffective for the points that it costs, and I wanted to host ECMs on the ISD to extend it’s suitability and hence needed a defensive retrofit slot which the ISD-I doesn’t have.
Ozzel was chosen as my admiral as he works well with Raiders and Imperial Star Destroyers, he is cheap, and I find that I get lots of use out of him.
Fleet lists are below.
Rebel Fleet
Commander: Leia Organa
MC80 Battle Cruiser (103)
Leia Organa (38)
Gunnery Team (7)
Spinal Armament (9)
Quad Turbolaser Cannons (10)
167 Points
Hammerhead Torpedo Corvette (36)
Cham Syndulla (5)
External Racks (3)
Garel’s Honor (4)
48 Points
Assault Frigate Mk2 B (72)
Expanded Hangar Bay (5)
77 Points
Squadrons
Biggs Darklighter (19)
YT-1300 (13)
3 x X-wing Squadron (39)
2 x YT-2400 (32)
103 Points
Total Points: 395
Imperial Fleet
Commander: Admiral Ozzel
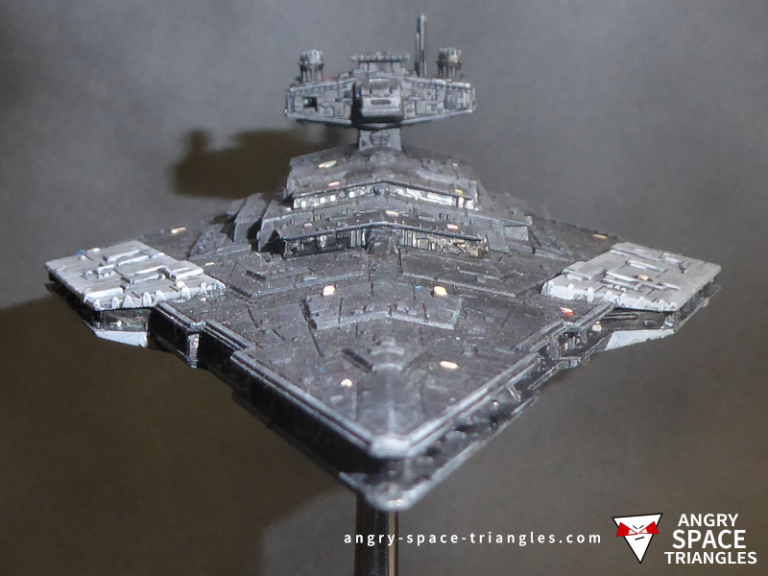
Imperial II (120)
Admiral Ozzel (20)
Support Officer (4)
Electronic Countermeasures (7)
Leading Shots (4)
Avenger (5)
160 Points
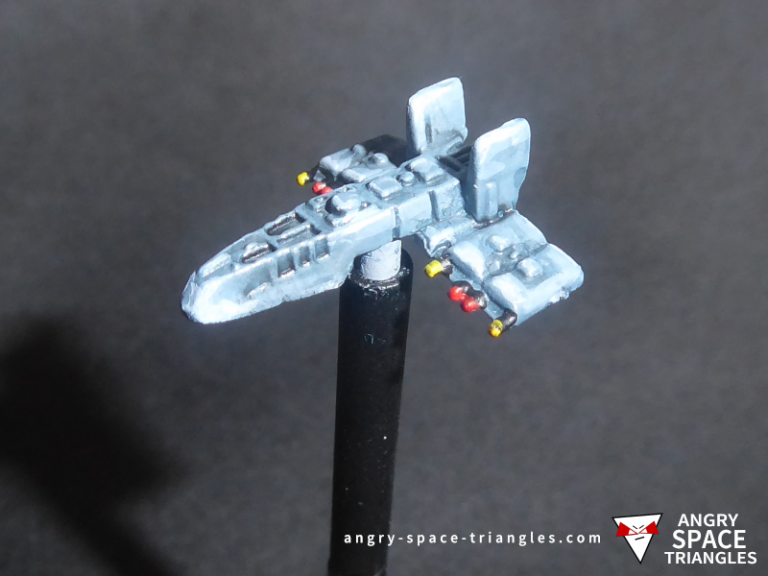
Raider II (48)
Disposable Capacitors (3)
Overload Pulse (8)
59 Points
Raider II (48)
Disposable Capacitors (3)
Overload Pulse (8)
59 Points
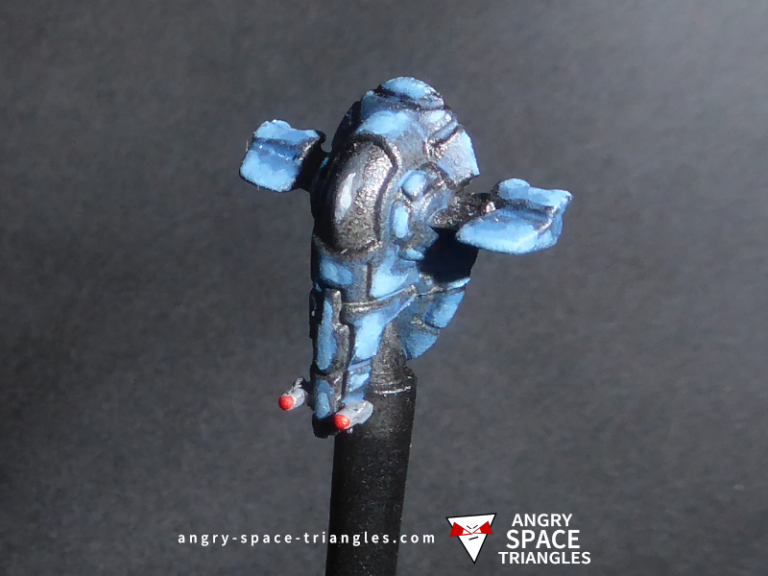
Quasar Fire I (54)
Flight Controllers (6)
Boosted Comms (4)
64 Points
Squadrons
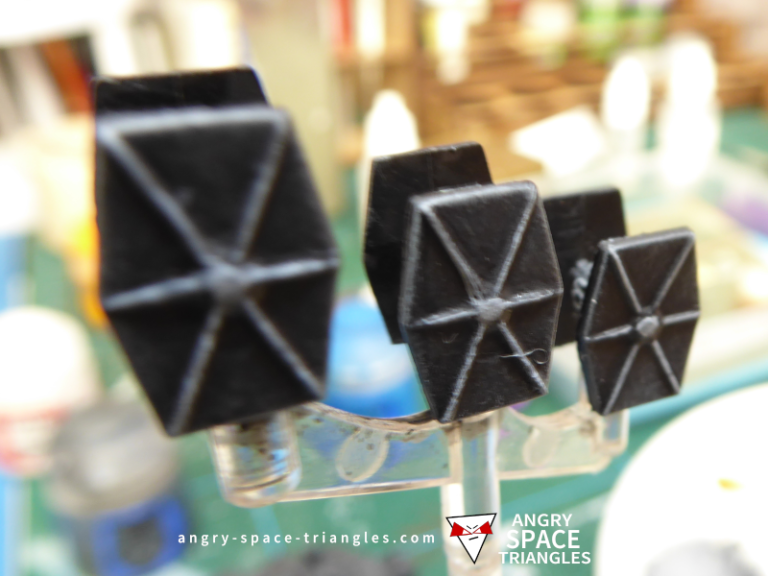
6 x TIE Fighter Squadron (48)
48 Points
Total Points: 390
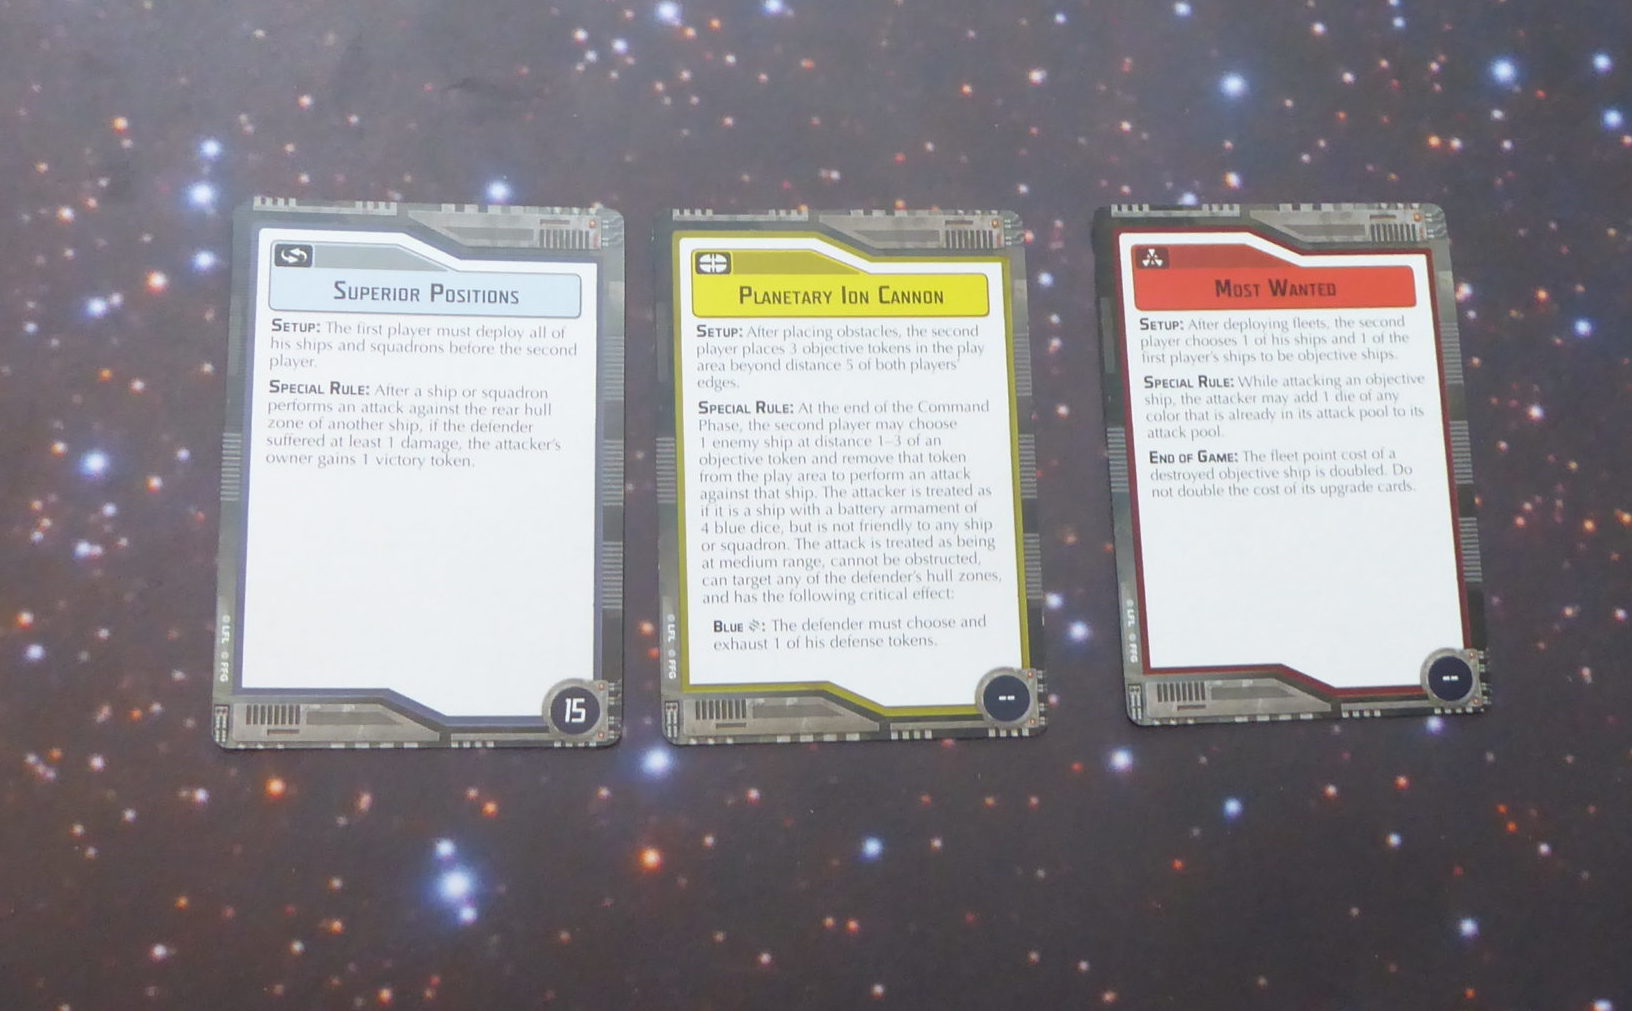
Objectives
I won the bid by an optimum 1 point: 390 vs 395. To get the Overload Pulse shots to work I felt that I really needed First Player.
SpacePotato chose “Most Wanted” as it was an objective we’ve not played before.
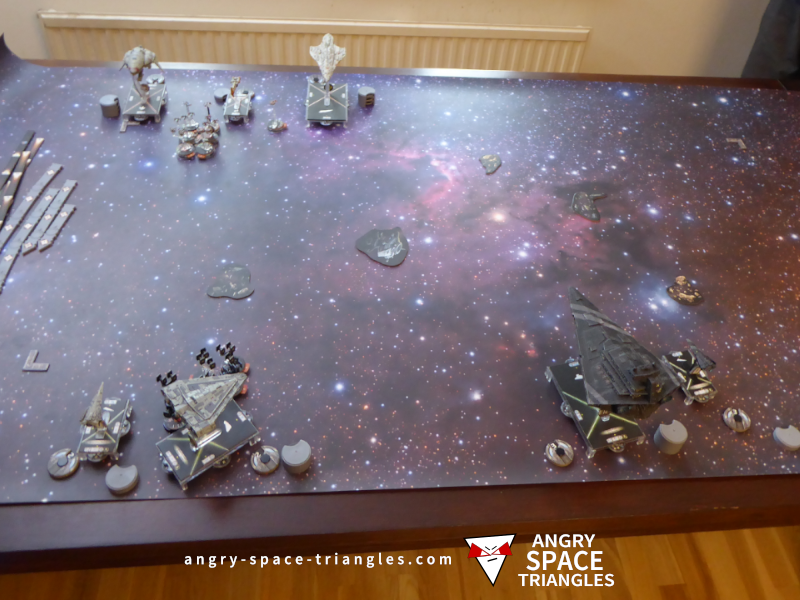
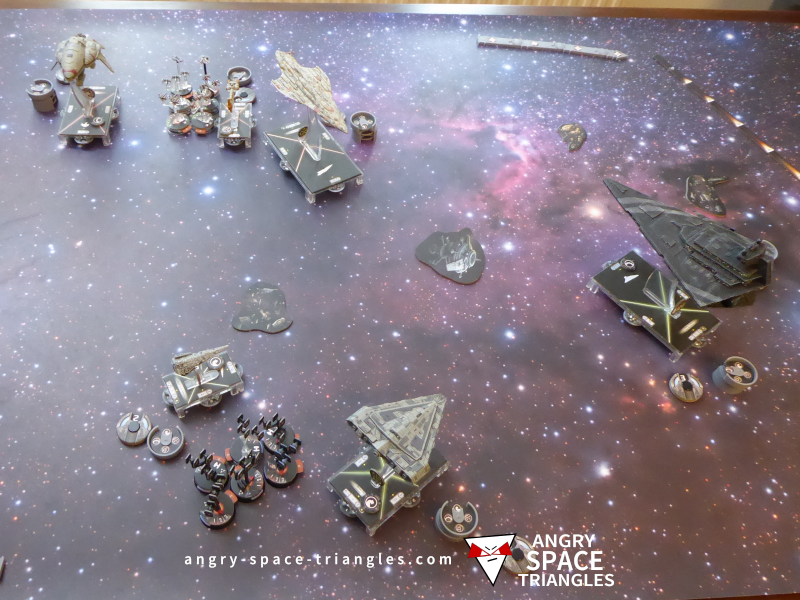
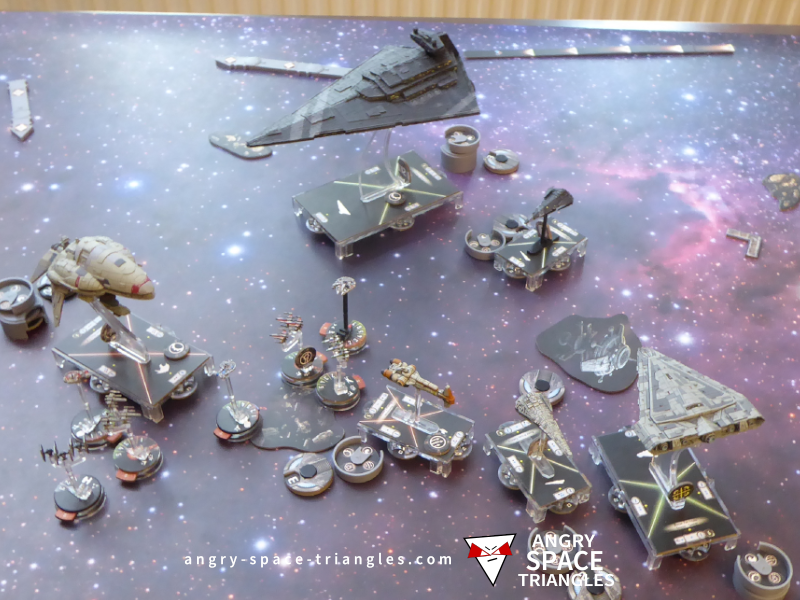
Deployment
I had a slight deployment advantage in terms of numbers and hence used it to try and get my ISD to face the Liberty. I was hoping to engage it at the same time as at least one of the Raiders and the Star Destroyer. The carrier was going to hang back and push squadrons and hopefully avoid being shot at.
The Rebels were keeping their options open with Space Potato deploying together but with enough space to manoeuvre. His fighter ball was clumped in the centre. I was expecting my TIES to be made short work of after just a turn or two.
SpacePotato chose the objectives ships to be my carrier and his Liberty. I was secretly please about the Liberty choice as I wanted to blow the Liberty to bits as soon as possible as it was by far the biggest treat.
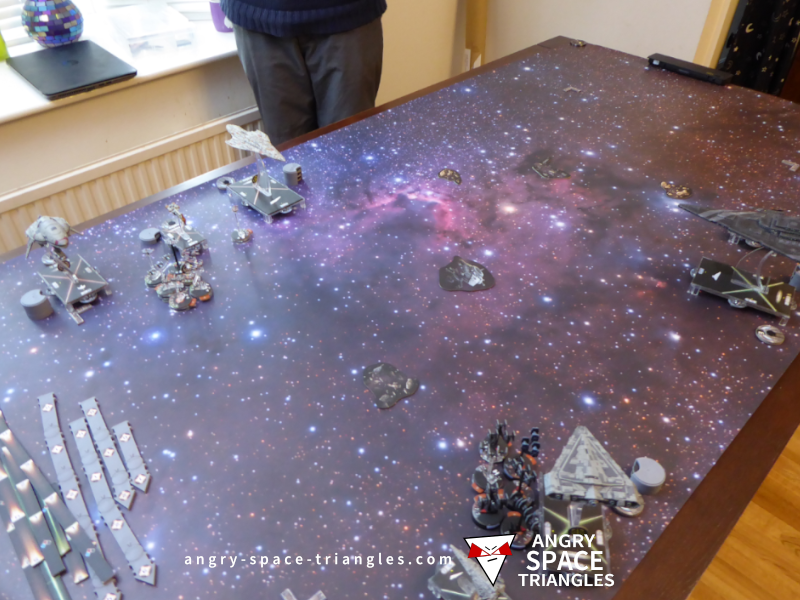
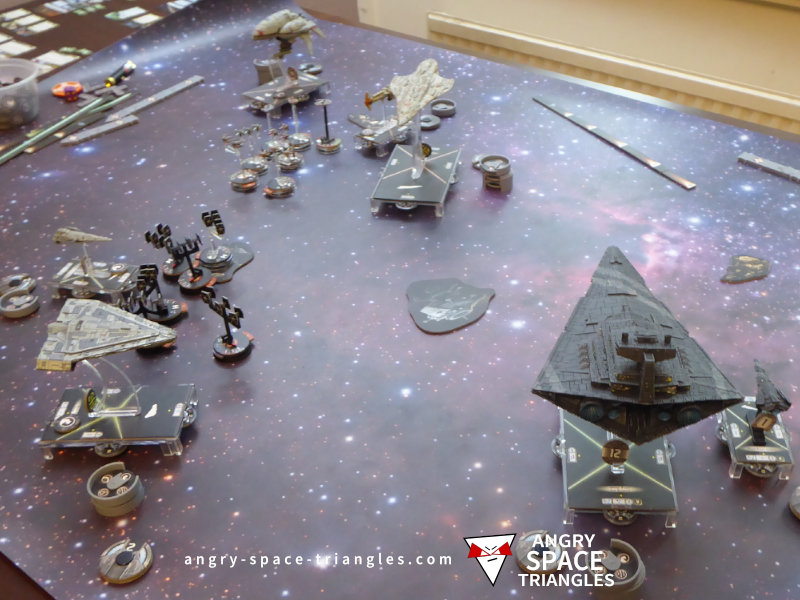
Turn 1
The first turn was pretty uneventful, with both of us moving into position. I was hoping to get my Raider into the action on the far-right flank and needed it to get around the Star Destroyer to cater for the Liberty potentially moving to the right flank. My other Raider on the left flank was lining up to engage the Liberty at the same time as the Star Destroyer. I was kind of ignoring the rest of the Rebels for now – hoping that the ISD could swing around after the Liberty was dealt with.
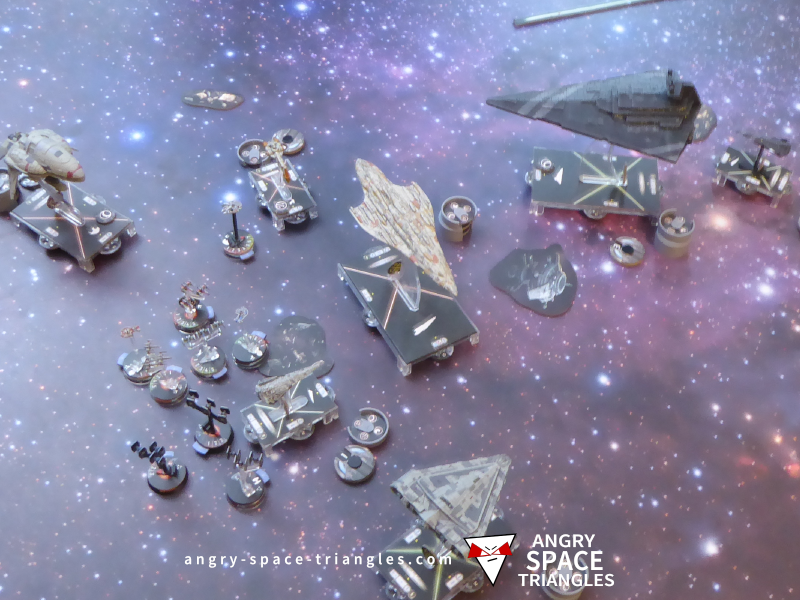
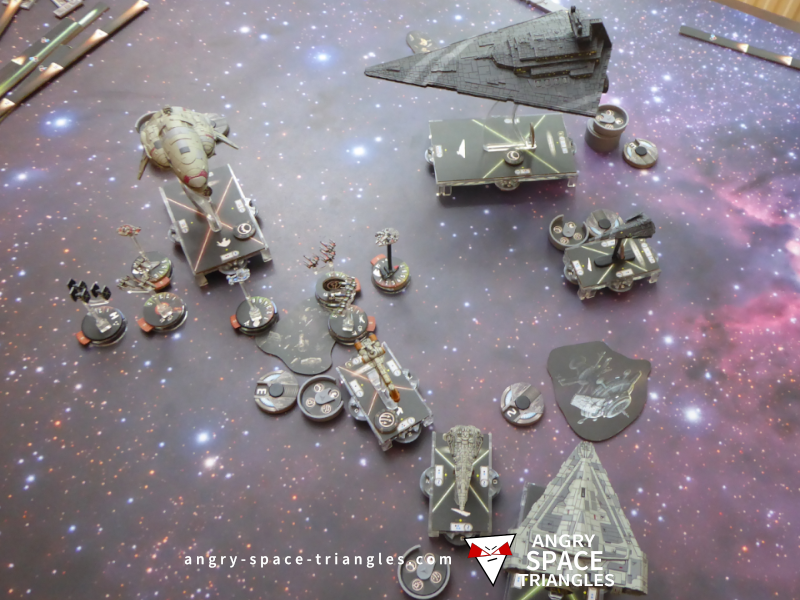
Turn 2
The raider on the left-flank scored an Overload Pulse critical on the Liberty, using the Disposable Capacitors and a concentrate fire command dial to shoot through the asteroids in front of it. (I forgot the extra dice for the Lib being the objective ship here too!). The Overload Pulse exhausted all the defence tokens on the Liberty, preparing it for Avenger! Having an activation advantage here as well as First Player made it much easier to plan attacks like this.
The Assault Frigate activated 5 squadrons thanks to Leia’s Admiral power, but some unlucky rolling meant that I lost only two TIE Fighter squadrons. The Quasar responded and the Imperial TIEs destroyed 1 X-Wing and damaged 3 others – Biggs helped distribute some of the damage between the escorts. The carrier then slowed to speed 0 in hope it would survive one more turn before the Liberty was in range.
Grael’s Honour activated a YT-2400, which killed another TIE, and it activated the YT-1300 which shuffled forward. The Liberty returned fire and had a 5 dice shot at the Raider, rolling 3 accuracies and scoring only 2 damage. At speed 3, it charged forward towards the Quasar which was looking like a sitting duck!
Last to activated was the Imperial Star Destroyer. I’d screwed up my orders up so it had an engineering command which, was annoying, as it was in a prime spot to shoot the Liberty which was double arced. The side and front shots did a total of 5 damage including a critical hit, causing a shield failure.
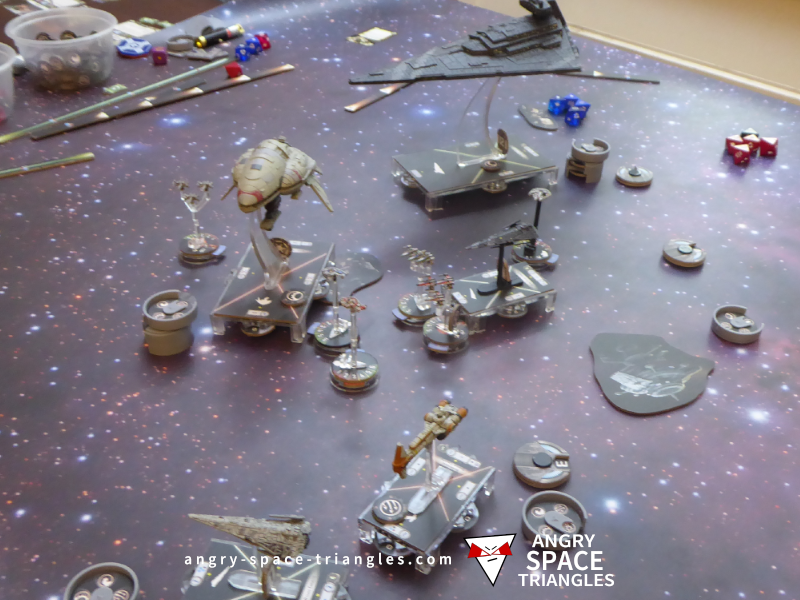
Turn 3
As First Player I wasn’t sure what to move first – the ISD, raider and quasar would all make good first activations. I chose to activate the Quasar to get it off speed zero, figuring that the Liberty probably wouldn’t be destroyed by the Star Destroyer if I activated the Star Destroyer first, hence it was looking really vulnerable. The carrier had a pop at the Liberty objective ship, causing a lucky Structural Damage critical hit (nice one, I like you new wave 6 ship!) and moved forward at speed 1.
The Liberty attacked both the Quasar and Raider, causing 5 damage and a Damaged Controls crit on the Quasar, and did 2 damage on the Raider (which was luckily out of the Liberty’s front arc).
The Raider returned fire, now at close range and double arcing the Liberty. The side arc got a lucky crit and Overload Pulse exhausted its defence tokens, and the front arc then finished it off with a total of 5 damage.
The hammerhead did a damage on the Quasar, followed by the remaining Raider II on the right flank tried to get involved by accelerating up to speed 4.
The Assault Frigate activated squadrons again which destroyed 2 more TIE fighters, leaving me with only 1. Fortunately, I was now feeling that even though squadron superiority was with the Rebels, they wouldn’t be able to take down the ISD before it made a mess of the remaining Rebel ships.
Turn 4
The fourth turn opened up with my Raider II which was being chased down by the Hammerhead, firing a bum-gun shot at the Hammerhead and getting a lucky critical blue, exhausting its defence tokens. The Raider’s side scored a further 2 damage against it. Go Raiders!
The Hammerhead now had an open path the Quasar and easily destroyed it, getting the accuracies it needed to do 3 damage with External Racks. It then sped into the raider, doing a Damaged Controls critical with the ram thanks to Garel’s Honour title.
Avenger took a front shot against the Assault Frigate which absorbed all the 7 damage with its shields; it then slowed down from speed 3 to speed 1 using Ozel.
The Assault Frigate activated squadrons again, damaging the remaining TIE Fighter and doing 2 damage against a Raider. My second Raider which had so not been in the action did some flak damage against the Rebel Squadrons. And finally, during the squadron phase the Rebels destroyed the remaining TIE Fighter and put another damage on the nearby Raider.
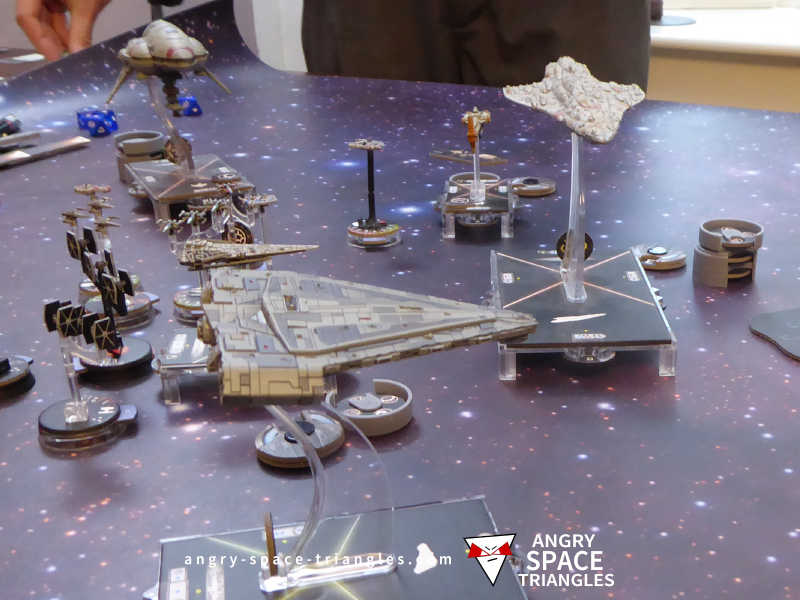
Turn 5
The only action in turn 5 was the single front shot from the ISD, doing a fat 9 damage against the Assault Frigate, destroying it with a lucky Structural Damage critical hit.
We called the game at that point as the Rebels didn’t have enough squadron activation capacity to mount an effective attack, even though they had the numbers still.
Battle Report 5 – Thoughts and Observations
Admiral – Leia Organa
So, Leia isn’t a cheap choice for an admiral – she costs 38 points and is as expensive as Grand Moff Tarkin.
But she’s loads better than Tarkin. We found that SpacePotato was able to get use out of Leia with most of his activations. She’s very easy to use – she’d work on any fleet.
On particular thing to notice is that you get a 100% increase in squadron value on a small ship like a hammerhead – it’s like getting an External Hangers upgrade for free.
Raider IIs
I’ve had some good use out of Raider Is in the past, but now with Disposable Capacitors, I have found Raider IIs to be useful too. They provided extra activations, something else to shoot at, and in this game i got lucky with the criticals which allowed me to use Overload Pulse a number of times.
External Racks
I’ve been looking forward to getting my hands on External racks. They pretty much put the nail in the coffin for the really expensive Expanded Launchers – the one time shot of external racks costs just 3 points and means you have far less risk invested in the upgrade:
1. Your ship could get destroyed before it can use the upgrade
2. You usually get just one chance to use close range upgrades.